Parts of the Lever
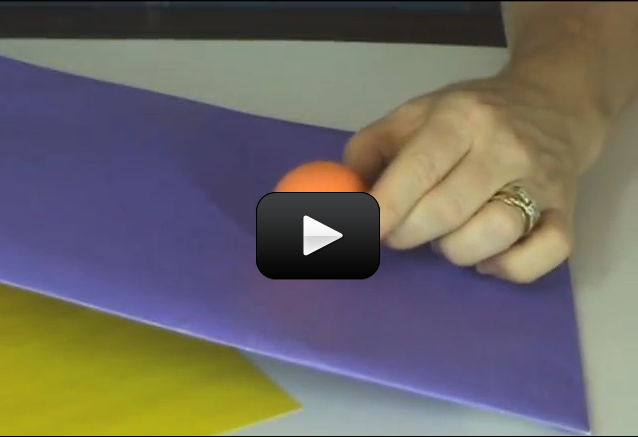
Levers, being simple machines, have only three simple parts. The load, the effort, and the fulcrum. Let’s start with the load. The load is basically what it is you’re trying to lift. The books in the last experiment where the load. Now for the effort. That’s you. In the last experiment, you were putting the force on the lever to lift the load. You were the effort. The effort is any kind of force used to lift the load. Last for the fulcrum. It is the pivot that the lever turns on. The fulcrum, as we’ll play with a bit more later, is the key to the effectiveness of the lever.
There are three types of levers. Their names are first-class, second-class and third-class. I love it when it’s that simple. Kind of like Dr. Seuss’s Thing One and Thing Two. The only difference between the three different levers is where the effort, load and fulcrum are.
[am4show have=’p8;p9;p14;p41;p88;p92;’ guest_error=’Guest error message’ user_error=’User error message’ ]
Are you ready for some ‘vintage Aurora’ video? We thought you’d want to check out one of the first videos she ever made (in her basement with the auto-focus stuck in the ON position). Enjoy!
Download Student Worksheet & Exercises
“Advanced students: Download your First, Second, and Third Class Levers”
First-Class Lever
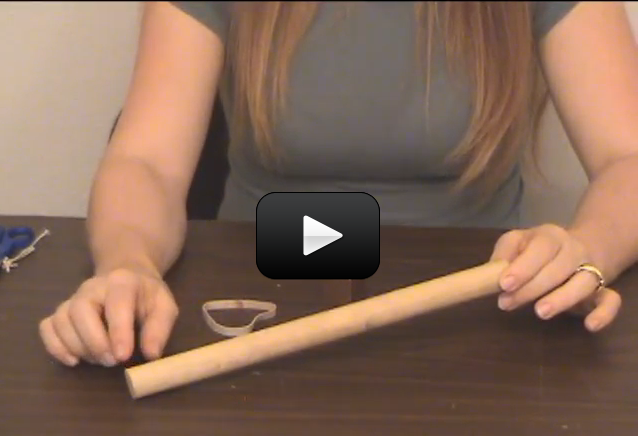
A first-class lever is a lever in which the fulcrum is located in between the effort and the load. This is the lever that you think of whenever you think of levers. The lever you made in Experiment 1 is a first-class lever. Examples of first-class levers are the see-saw, a hammer (when it’s used to pull nails), scissors (take a look, it’s really a double lever!), and pliers (same as the scissors, a double lever).
First Class Lever Experiment
For this experiment, you’ll need:
- A nice strong piece of wood. 3 to 8 feet long would be great if you have it.
- A brick, a thick book or a smaller piece of wood (for the fulcrum)
- Books, gallons of water or anything heavy that’s not fragile
Be careful with this. Don’t use something that’s so heavy someone will get hurt. Also, be sure not to use something so heavy that you break the wooden lever. Last but not least, be sure to keep your head and face away from the lever. I’ve seen folks push down on the lever and then let go. The lever comes up fast and can pop you pretty hard.
1. Put your fulcrum on the ground.
2. Put your lever on the fulcrum. Try to get your fulcrum close to the middle of the lever.
3. Put some weight on one end of the lever.
4. Now push down on the other side of the lever. Try to remember how hard (how much force) you needed to use to lift the heavy object.
5. Move the fulcrum under the lever so that it is closer to the heavy object.
6. Push down on the other side of the lever again. Can you tell the difference in the amount of force?
7. Move the fulcrum closer still to the heavy object. Feel a difference now?
8. Feel free to experiment with this. Move the fulcrum farther away and closer to the object. What conclusions can you draw?
What you may have found, was that the closer the fulcrum is to the heavy object, the less force you needed to push with to get the object to move. Later we will look at this in greater detail, but first let me tell you about the other types of levers.
Second-Class Lever
The second-class lever is a little strange. In a second-class lever, the load is between the fulcrum and the effort. A good example of this is a wheel-barrow. The wheel is the fulcrum, the load sits in the wheel-barrow bucket and the effort is you. Some more examples would be a door (the hinge is the fulcrum), a stapler, and a nut-cracker.
Second-class Lever Experiment
You need:
- A nice strong piece of wood. 3 to 8 feet long would be great if you have it.
- A brick, a thick book or a smaller piece of wood (for the fulcrum)
- Books, gallons of water or anything heavy that’s not fragile
Again, be careful with this. Don’t use something that’s so heavy someone will get hurt. Also, be sure not to use something so heavy that you break the wooden lever. Last but not least, be sure to keep your head and face away from the lever. I’ve seen folks push down on the lever and then let go. The lever comes up fast and can pop you pretty hard.
1. Put your fulcrum, the book or the brick, whatever you’re using on a nice flat spot.
2. Put the end of your lever on the fulcrum.
3. Put the books or gallon jugs or whatever you’re using for a load, in the middle of the lever.
4. Now, put yourself (the effort) on the opposite end of the lever from the fulcrum.
5. Lift
6. Experiment with the load. Move it towards the fulcrum and lift. Then move it toward the effort and lift. Where is it harder(takes more force) to lift the load, near the fulcrum or far? Where does the load lift the greatest distance, near the fulcrum or far?
Third-Class Lever
This fellow is the oddest of all. The third-class lever has the effort between the load and the fulcrum. Imagine Experiment 1 but this time the fulcrum is at one end of the board, the books are on the other end and you’re in the middle. Kind of a strange way to lift books huh? A few examples of this are tweezers, fishing rods (your elbow or wrist is the fulcrum), your jaw (the teeth crush the load which would be your hamburger), and your arm (the muscle connects between your elbow (fulcrum) and your load( the rest of your arm or whatever you’re lifting)). Your skeletal and muscular system is, in fact, a series of levers!
Third-class Lever Experiment
You need:
- A nice strong piece of wood. 3 to 8 feet long would be great if you have it.
- A brick, a thick book or a smaller piece of wood (for the fulcrum)
- Books, gallons of water or anything heavy that’s not fragile
Again, be careful with this. Don’t use something that’s so heavy someone will get hurt. Also, be sure not to use something so heavy that you break the wooden lever. Last but not least, be sure to keep your head and face away from the lever. I’ve seen folks push down on the lever and then let go. The lever comes up fast and can pop you pretty hard.
1. Put your fulcrum on the ground in a nice flat place.
2. Put your lever on the fulcrum so that the fulcrum is at the very end of the lever.
3. Put your load on the lever at the end farthest from the fulcrum.
4. Now, put yourself (the effort) in the middle of the lever.
5. Lift. You may need someone to hold down the lever on the fulcrum
6. Experiment with the effort (you). Move towards the fulcrum and lift the load Then move toward the load and lift. Where is it harder(takes more force) to lift the load, near the fulcrum or far? Where does the load lift the greatest distance, near the fulcrum or far?
We’ve had a lot of fun levering this and levering that but now we have to get to the point of all this simple machine stuff. Work equals force times distance, right? Well, what have you been doing all this time with these levers? You’ve been moving something (the load) a distance against a force (gravity). You’ve been doing work. You’ve been exerting energy. See how it all ties in nicely?
In experiments 1,2 and 3, I wanted you to notice how much force you exerted and how much the load moved. You may have noticed that when the force was small (it was very easy to lift) the load moved a very small distance. On the other hand, when the force was large (hard to lift), the load moved a greater distance. Let me point your attention to one more thing and then we’ll play with this.
When the force used to lift the load was small, you moved the lever a large distance. When the force used to lift the load was great you moved the lever a small distance. Remember, work=force x distance. There is work done on both sides of the lever. The effort (you in this case) pushes the lever a distance against a force…work is done. The load also moves a distance against a force so there too…work is done.
Now, here’s the key to this that I hope you can see in the next experiment. Work in is equal to work out. The work you do on one side of the lever (work in), is equal to the work that happens to the load (work out). Let’s do a quick bit of math for an example. Phillip wants to move a 10 kg (22 lb.)box. He uses a lever and notices that when he lifts the box .1meter (4 inches) he has to push the lever down 1 meter with a force of 1 kg. Now let’s do some math. (Officially we should convert kilograms (a unit of mass) to Newtons (a unit of force) so that we can work in Joules which is a unit of work. However, we’ll do it this way so you can see the relationship more easily.)
Phillip’s work (the work in) = 1 kg x 1 m = 1
Work on the bowling ball (the work out) = 10 kg x .1 m = 1
Work in equals work out! Later in this energy unit, you’ll learn about energy efficiency. At that point, you’ll see that you never get all the energy you want from the energy you put in. Some energy is lost to sound and some to heat. A lever is incredibly efficient but you may still see, in your measurements, that the energy in is greater than the energy you get out.
For Advanced Students:
[/am4show][am4show have=’p9;p41;’ guest_error=’Guest error message’ user_error=’User error message’ ]
Speaking of your measurements…let’s make some. Open up your science journal and record the type of lever, weight, and location information for your different trial runs. Take a look at your data – can you figure out how much weight you’d need to lift your parents?
Let’s see if we can figure this out. For a 10′ long beam with the fulcrum in the exact center, you can lift as much as you weigh. For example, if you weigh 100 pounds, you can lift some sitting on the other end, as long as they weigh 100 pounds or less. If you slide the beam and move the fulcrum so that the longer end is on your side, you can lift more than you weigh.
So if there’s 7 feet of beam on Alice’s side and only 3 feet on Bob’s end, you can easily figure this out with a little math (and principles of torque). Here’s what you do:
(Alice’s Weight) * (Distance from Alice to the Fulcrum) = (Alice’s Lifting Ability) * (Distance from Bob to the Fulcrum)
If Alice weighs 100 pounds and when standing on the 7-foot end of the see-saw, she barely can lift Bob, let’s find out how much Bob weighs.
(100 pounds) (7 feet) = (Alice’s Lifting Ability) * (3 feet)
700 / 3 = Alice’s Lifting Ability, and since she can just barely lift Bob…
Bob weighs 233 pounds!
Now can you figure out how much lever arm distance you need to lift your parents? If Mom and Dad together weigh 300 pounds, and you have a 10′ long beam and you weigh 100 pounds, let’s find the fulcrum distance you’d need to lift them. Let’s put your algebra to use here:
Let’s make ‘x’ the distance from you to the fulcrum. This makes the distance from your parents to the fulcrum 10′ – x. (If you’re 4 feet from the fulcrum, that means your parents are 6′, right?)
(100 pounds) (x) = (300 pounds) (10′ – x)
100 x = 3000 – 300 x
400 x = 3000
x = 3000 / 400
Solve for x and you’ll find that the distance from you to the fulcrum is 7.5 feet!
Exercises Answer the questions below:
- What is the best definition for a simple machine?
- A machine with less than three parts
- A machine with a simple name
- A machine that changes the direction or amount of a force
- A machine that helps you do work quickly
- What are the three parts of a lever? Circle all that apply:
- Fulcrum
- Weight
- Load
- Effort
- Name two examples of levers that you could find in your house:
- What are the types of levers called?
- Three tiers
- First, second, and third class
- Poor, rich, and middle
- Forty-five and ninety-nine percenters
[/am4show]


 If you watch the moon, you’d notice that it rises in the east and sets in the west. This direction is called ‘prograde motion’. The stars, sun, and moon all follow the same prograde motion, meaning that they all move across the sky in the same direction.


 This lecture series is from an astronomy course at Ohio State. It’s a 20-week college-level course, so don’t feel like you’ve got to do it all in one night! You’ll learn about the solar system, planets, and universe through a well-organized set of lectures that really brings astronomy, human history, and current technology together. This content is appropriate for advanced students and above.


 Sound can change according to the speed at which it travels. Another word for sound speed is pitch. When the sound speed slows, the pitch lowers. With clarinet reeds, it’s high. Guitar strings can do both, as they are adjustable. If you look carefully, you can actually see the low pitch strings vibrate back and forth, but the high pitch strings move so quickly it’s hard to see. But you can detect the effects of both with your ears.
 So why do we hear a boom at all? Sonic booms are created by air pressure (think of how the water collects at the bow of a boat as it travels through the water). The vehicle pushes air molecules aside in such a way they are compressed to the point where shock waves are formed. These shock waves form two cones, at the nose and tail of the plane. The shock waves move outward and rearward in all directions and usually extend to the ground.
 If your mom’s worried about making a mess with water (and it’s not bath night tonight) then try this alternate experiment: you’ll need a mixing bowl, wooden spoon, and rubber bands.
 This is the experiment that all kids know about… if you haven’t done this one already, put it on your list of fun things to do. (See the tips & tricks at the bottom for further ideas!)

 This experiment is just for advanced students. Ernst Florens Friedrich Chladni (1756-1827) is considered to be the ‘father of acoustics’. He was fascinated by vibrating things like plates and gases, and his experiments resulted in two new musical instruments to be developed.
 What you’ve done is create a transverse wave. With a transverse wave, if the particle (in this case your hand) moves up and down, the wave will move to the left and/or right of the particle. The word perpendicular means that if one thing is up and down, the other thing is left and right. A transverse wave is a wave where the particle moves perpendicular to the medium. The medium is the material that’s in the wave. The medium in this case is the rope.
 Here you made a longitudinal wave. A longitudinal wave is where the particle moves parallel to the medium. In other words, your hand vibrated in the same direction (parallel to the direction) the wave was moving in. Your vibrating hand created a wave that was moving in the same direction as the hand was moving in. Did you take a look at the tape? The tape was moving back and forth in the same direction the wave was going.
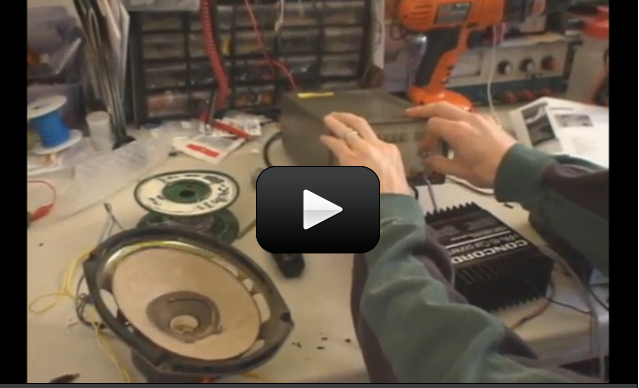
 Alexander Graham Bell developed the telegraph, microphone, and telephone back in the late 1800s. We'll be talking about electromagnetism in a later unit, but we're going to cover a few basics here so you can understand how loudspeakers transform an electrical signal into sound.

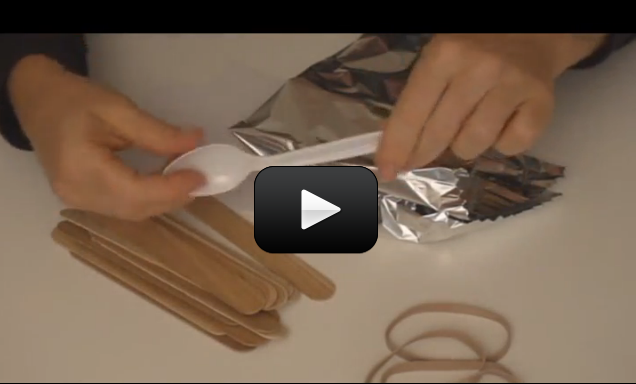
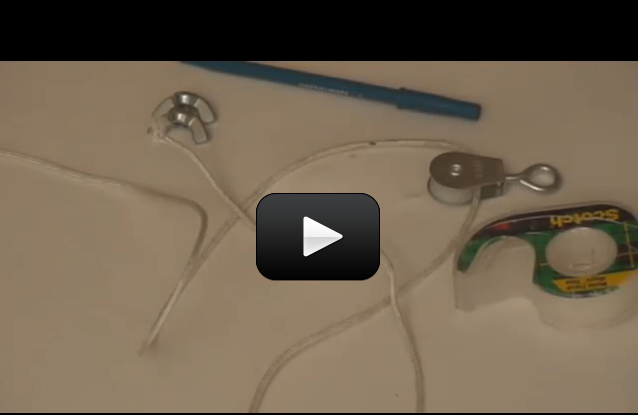
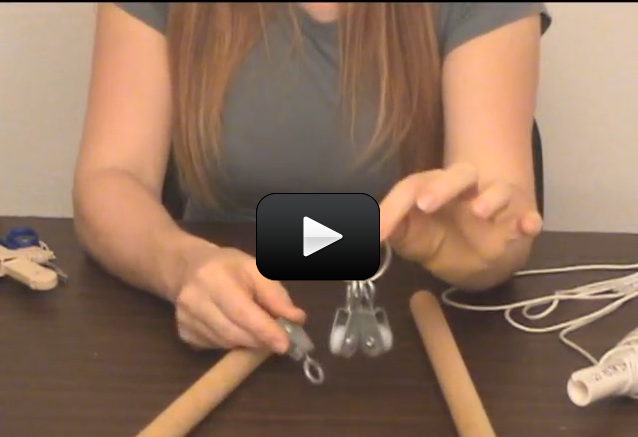
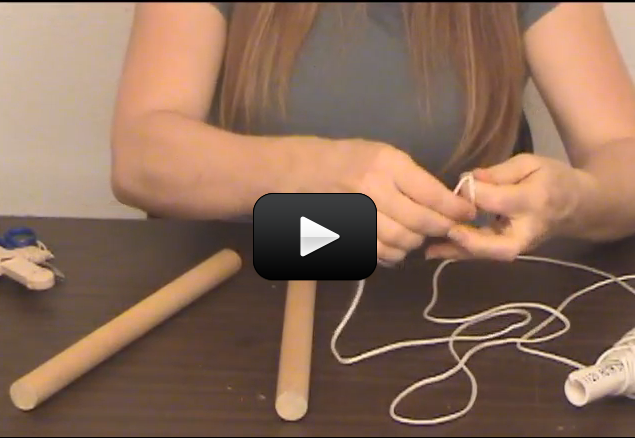
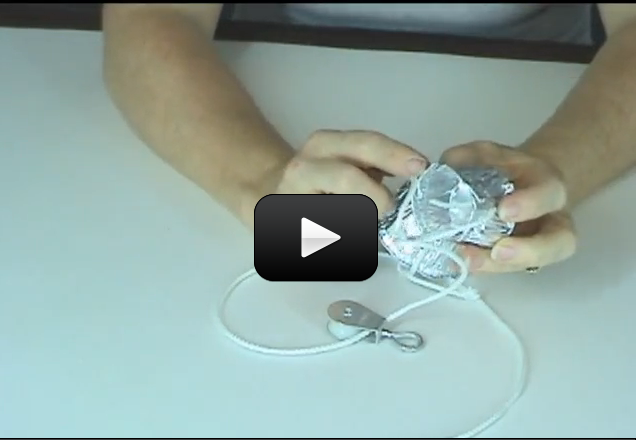
 What’s going on? We’re utilizing the “springy-ness” in the popsicle stick to fling the ball around the room. By moving the fulcrum as far from the ball launch pad as possible (on the catapult), you get a greater distance to press down and release the projectile. (The fulcrum is the spot where a lever moves one way or the other – for example, the horizontal bar on which a seesaw “sees” and “saws”.)
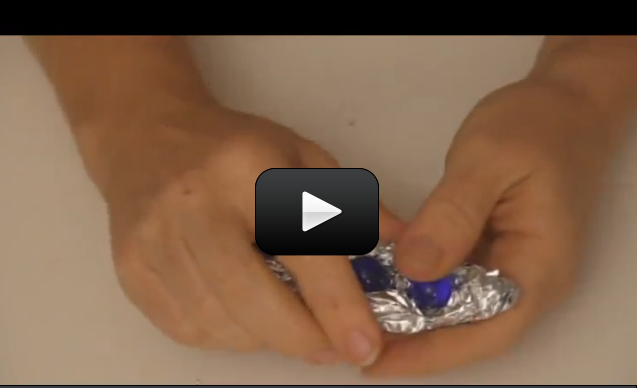
 If you’re finding that the marbles fall out before the bobsled reaches the bottom of the slide, you need to either crimp the foil more closely around the marbles or decrease your hill height.
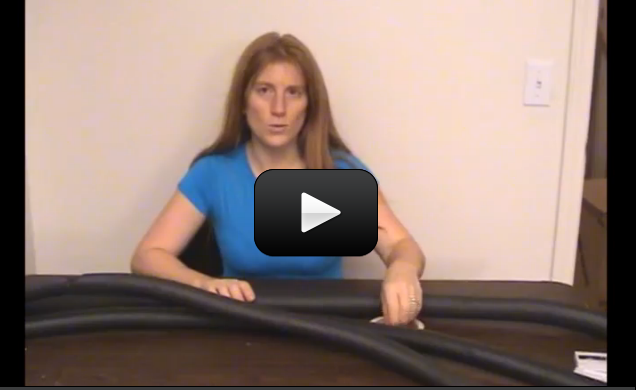
 Have you ever torn apart something and then couldn’t figure out how to get it back together again so that it worked? Worse, you knew that if you had only taken a few moments to think about the problem or jot something down, you know it would have taken you far less time to figure it out?


 This experiment is for Advanced Students. For ages, people have been hurling rocks, sticks, and other objects through the air. The trebuchet came around during the Middle Ages as a way to break through the massive defenses of castles and cities. It’s basically a gigantic sling that uses a lever arm to quickly speed up the rocks before letting go. A trebuchet is typically more accurate than a catapult, and won’t knock your kid’s teeth out while they try to load it.
 When you warm up leftovers, have you ever wondered why the microwave heats the food and not the plate? (Well, some plates, anyway.) It has to do with the way microwaves work.
 8. Pour the sugar water into the jar. Put the whole thing aside in a quiet place for 2 days to a week. You may want to cover the jar with a paper towel to keep dust from getting in.
 The atoms in a solid, as we mentioned before, are usually held close to one another and tightly together. Imagine a bunch of folks all stuck to one another with glue. Each person can wiggle and jiggle but they can’t really move anywhere.
 Can we really make crystals out of soap? You bet! These crystals grow really fast, provided your solution is properly saturated. In only 12 hours, you should have sizable crystals sprouting up.
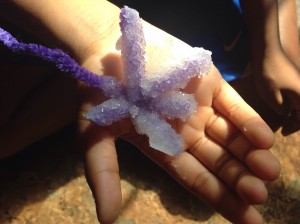
 You should see a bluish or yellowish light coming from the middle section of the grape. This is plasma! Be careful not to overcook the grape. It will smoke and stink if you let it overcook. Also, make sure the grape has time to cool before taking it out of the microwave.
 Density is basically how tightly packed atoms are. Mathematically, density is mass/volume. In other words, it is how heavy something is, divided by how much space it takes up. If you think about atoms as marbles (which we know they’re not from the last lessons but it’s a useful model), then something is more dense if its marbles are jammed close together.

 This is a simple experiment that really shows the relationship of mass, volume, and density. You don't need anything fancy, just a piece of bread. If you do have a scale that can measure small masses (like a kitchen scale), bring it out, but it is not essential.
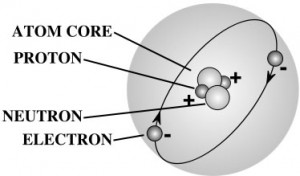
 A gram of water (about a thimble of water) contains 1023 atoms. (That’s a ‘1’ with 23 zeros after it.) That means there are 1,000,000,000,000,000,000,000,000 atoms in a thimble of water! That’s more atoms than there are drops of water in all the lakes and rivers in the world.