 Relays are telegraphs, and they both are basically “electrical switches”. This means you can turn something on and off without touching it – you can use electricity to switch something else on or off!
We’re going to build our own relay that will attract a strip of metal to make our telegraph ‘click’ each time we energize the coil.
IMPORTANT! This experiment is very tricky to get working right. You’ll want to pair up with someone who’s handy in the workshop and has a keen eye and a feather touch for adjusting the clicker in the final step. Someone who is a patient, fix-it type of person will be able to help you get this project working well.
Note: There are bonus experiment ideas near the bottom once you’ve mastered this activity.
[am4show have=’p8;p9;p21;p48;p106;p77;’ guest_error=’Guest error message’ user_error=’User error message’ ]
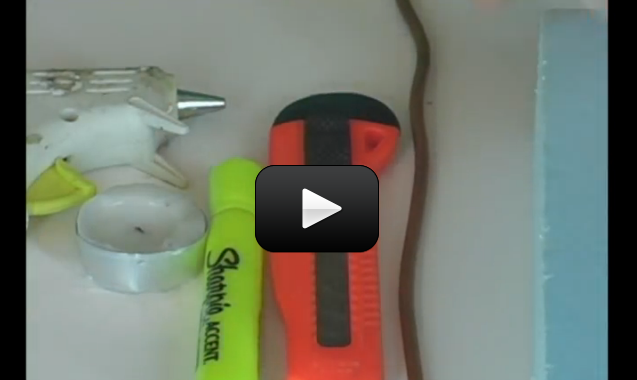
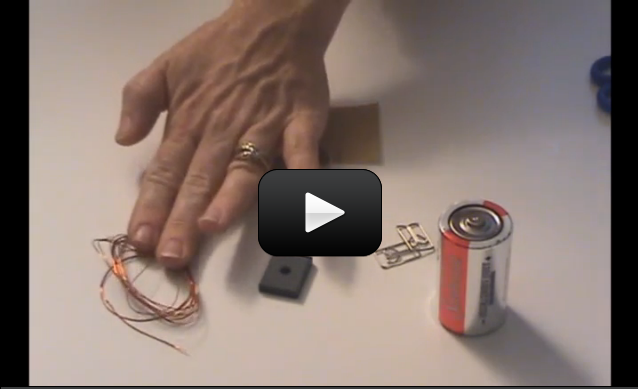
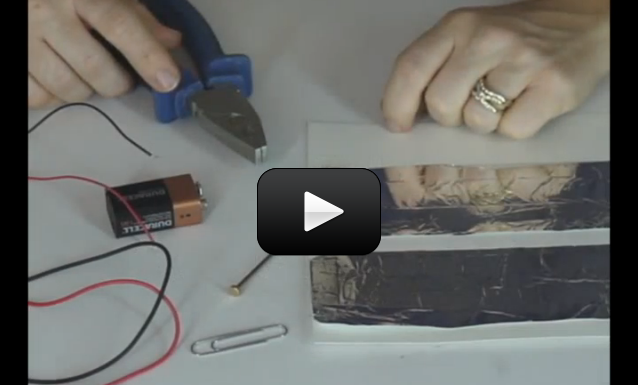
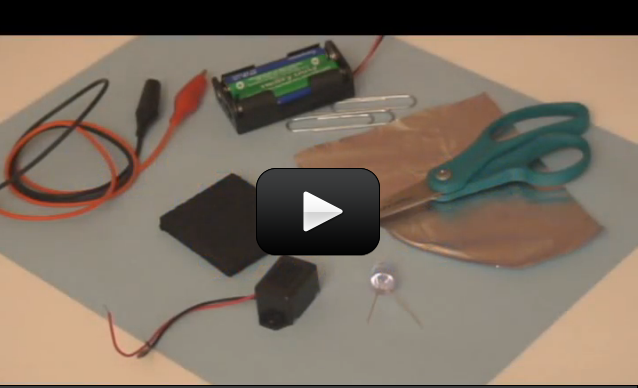
Materials:
- block of foam
- sandpaper
- alligator wires
- battery case
- AA batteries
- film canister or similar
- nail
- thin magnet wire (26-28g)
- brass fasteners
- 1/2″ strip from a soup can for the clicker (watch video)
- paper clip
- hot glue gun
- scissors
- tape
Download Student Worksheet & Exercises
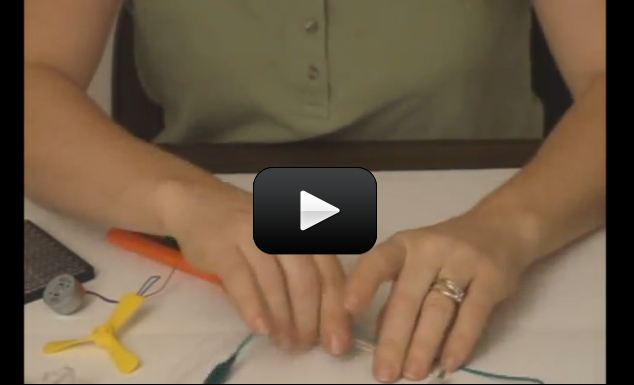
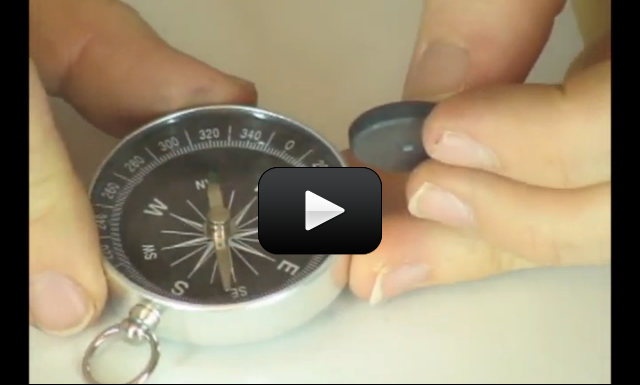
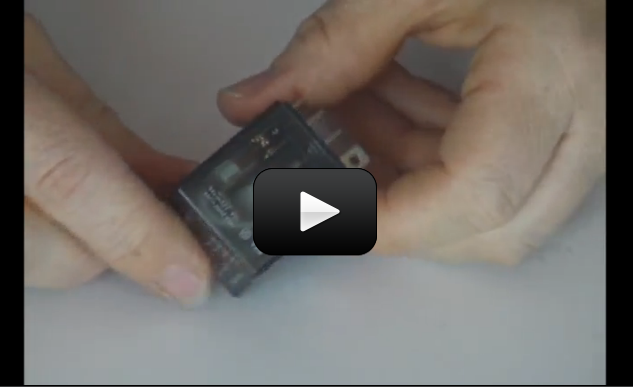
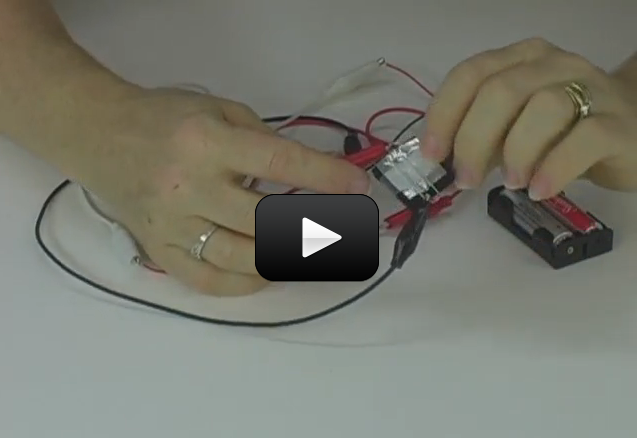
1. Make the electromagnet first (the nail turns into a magnet when you add power to the wire): Carefully unwrap your wire and stretch it into a long length. Cut it roughly in half, reserving one half for the next experiment.
2. Wrap the thin insulated wire (called ‘magnet wire’) around the nail. (More wraps mean more power for your magnet, so use a lot!) You can insert a nail into a drill and wind it on slow speed, too. Sand the insulation off the end leads. (We do this so you can attach things to the exposed metal part.)
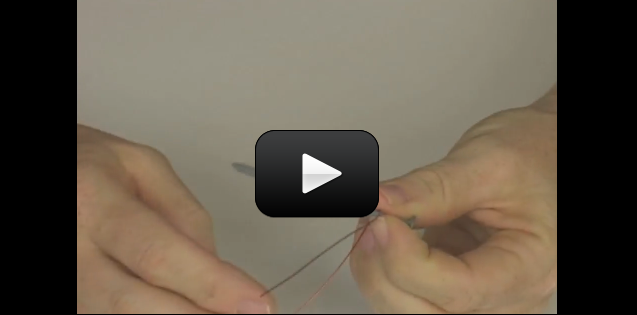
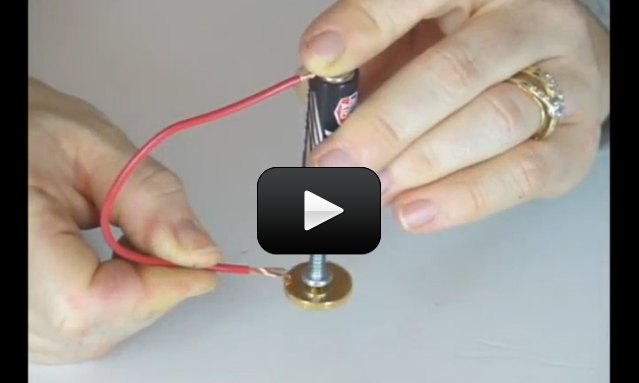
3. Insert the AA batteries into their case. Using alligator clips, clip onto a brass fastener and insert it into the foam.
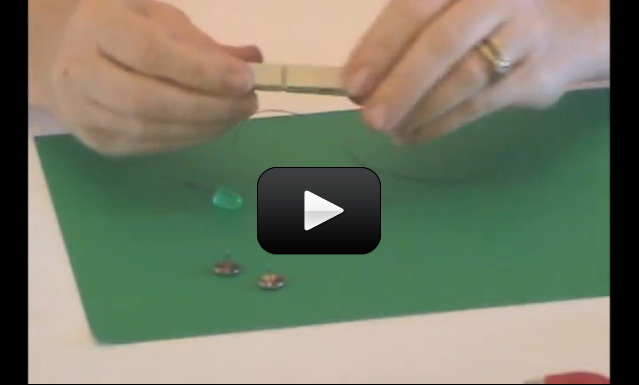
4. Attach the other end of the clip lead to the positive battery terminal. Bend a paperclip into a “V” shape. Wind the free end of the exposed metal of the electromagnet wire around another brass fastener and insert through the tip of the “V” shape and into the foam, opened up on other side.
5. Be sure the smaller side of the “V” rests on the foam such that it does not reach the first brass fastener; but the larger side of the “V”, when pressed down, does. (You just made a switch!)
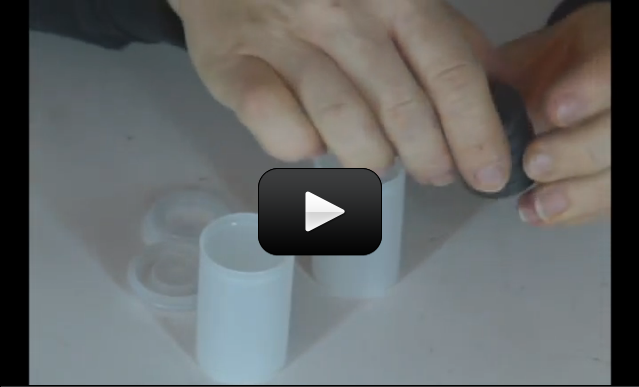
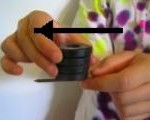
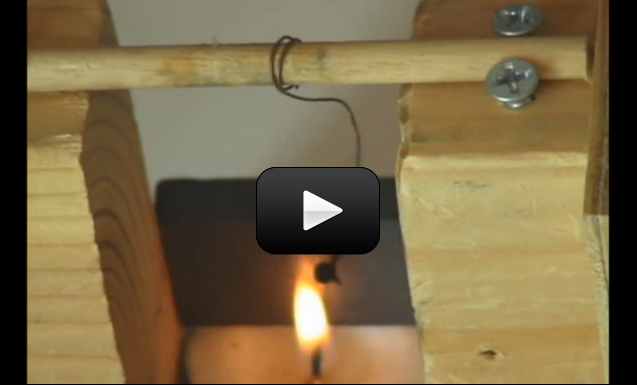
6. Stick the electromagnet pointy-end down into the foam. If it wiggles around, you will need to hot glue it into place later. Wiggling is good for now. Hot glue one end of the clicker (narrow steel strip) to the top of a film canister.
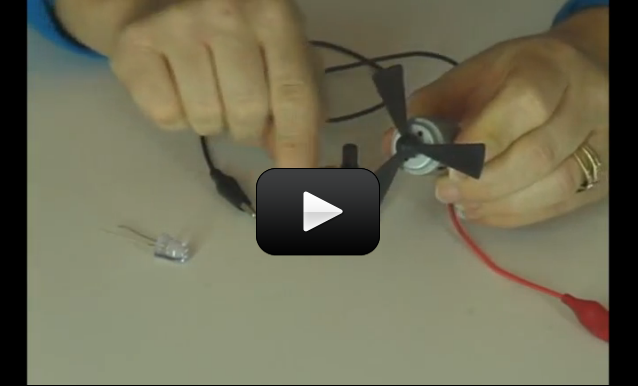
7. Attach the film canister with hot glue, making sure the tip of the clicker is over the nail head. Do not glue the lid to the canister! (It’s a big plus to have it rotate and be adjustable.) Be sure that the electromagnet and nail have a tiny clearance between the nail head and the metal strip. Push your switch to the “ON” position, and the electromagnet should click accordingly!
Troubleshooting: If it doesn’t click, move your electromagnet up or down, changing the nail-head-to-clicker distance until it clicks! If it sticks, it’s too close. If it doesn’t move at all, it’s too far away. Hot glue nail into right position. (Clicker is bendable, too—for future adjustments.)
Take your time – this is a project that requires patience and observation to figure out what’s going on. If you’re frustrated, STOP, try another experiment, and return back later. For a more permanent project, use a small block of wood instead of the foam and hammer in your nail.
Still struggling? Then click here to try an easier relay experiment with shocking results.
Why does this work? Anytime you run electricity through a wire, a magnetic field shows up. We’re multiplying this effect when we coil the wire around a nail. A nail with wire wrapped around it is called an electromagnet. Think of it like a magnet you can turn on and off.
Using a paper-clip switch, we can turn the electricity on and send it through the electromagnet, turning the ordinary nail and wire into a magnet. When we release the paper-clip switch, the current (electricity) stops flowing and our electromagnet turns back into ordinary nail and wire.
When the electromagnet is energized (magnetized), it attracts the metal strip, which causes it to click downwards. Release the paper-clip switch, and the strip is no longer attracted to the nail (because it’s no longer a magnet).
When the switch is on, it’s a magnet. When it’s off, it’s not a magnet. Magnets attract steel, and that’s why the strip bends and clicks. It’s amazing we could communicate over thousands of miles this way, but we did!
For Advanced Students Only!
If you’ve got the relay working and you want more… we’ve got one for you! Dual relays are often called “repeaters”. They take an incoming signal and “repeat” the signal and send it out. You’ll find uses for this when you want to increase the signal strength – you detect the weaker, older one and repeat out a newer, stronger signal identical to it. When radio signals need to traverse long distances, this is the basic idea of how they do it on high mountaintops.
Here’s how you can make your own:
1. Make a telegraph with a switch (previous experiment) first, then make a second telegraph, without the switch, on a new foam slab. Here’s what you do for the telegraph without the switch:
2. The second electromagnet uses the first relay as a switch. One end of the electromagnet goes to the negative battery terminal (don’t forget to sand the magnet wire first!).
3. Connect the positive wire lead to the first telegraph’s ‘clicker’ piece. Wrap it around securely. If it doesn’t stick, wrap the wire onto a paperclip then clip it to the clicker.
4. Connect the second (sanded) electromagnet wire to the first telegraph’s Nail. (It must touch the nail part, not the wire part, in order to work correctly!) Click the switch! The switch controls BOTH relays now. If you make the wires between the two foam slabs longer (say, 50 feet), you could relay messages back and forth!
Troubleshooting Relays: If a clicker doesn’t work, check the clearance. Move the electromagnet up and down, until you find the perfect clicking spot. It needs to be close enough to click, but far enough so it won’t stick.
Can you make several ‘repeaters’? Repeaters are telegraphs (relays) that get switched on by each other (after an initial input from you). Can you connect three or four telegraphs together so that they get switched on in sequence?
Exercises
- Why does the soup can clicker move?
- Does this circuit use a permanent or electromagnet?
- Why do we need multiple turns around a nail? Why not just a couple wraps?
- What is the paper-clip switch used for?
- How can a relay be used in real life? Give three examples.
[/am4show]


 Does it really matter what angle the solar cell makes with the incoming sunlight? If so, does it matter much? When the sun moves across the sky, solar cells on a house receive different amounts of sunlight. You’re going to find out exactly how much this varies by building your own solar boat.
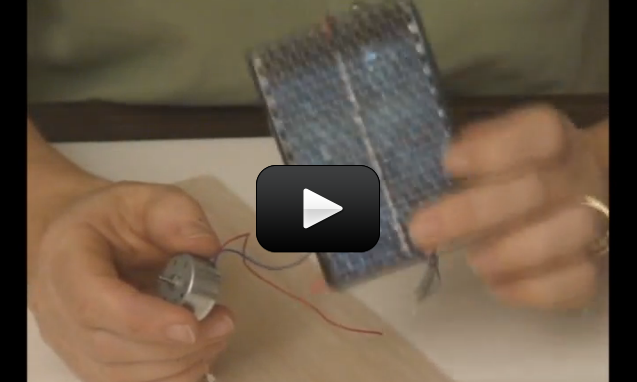
 Solar energy (power) refers to collecting this energy and storing it for another use, like driving a car. The sun blasts 174 x 1015 watts (which is 174,000,000,000,000,000 watts) of energy through radiation to the earth, but only 70% of that amount actually makes it to the surface. And since the surface of the earth is mostly water, both in ocean and cloud form, only a small fraction of the total amount makes it to land.


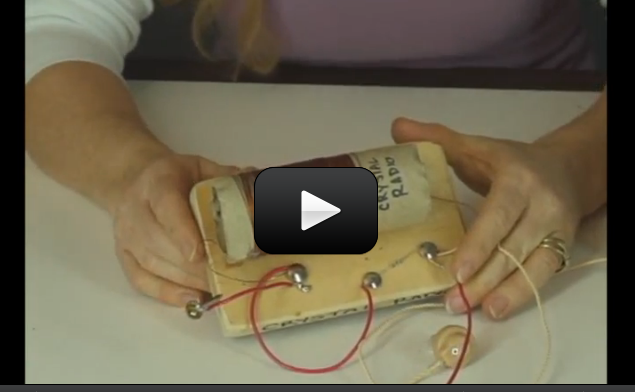
 This project is for advanced students. A crystal radio is among the simplest of radio receivers – there’s no battery or power source, and nearly no moving parts. The source of power comes directly from the radio waves themselves.

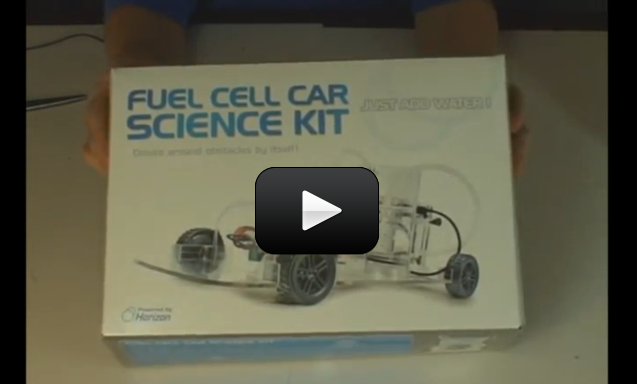
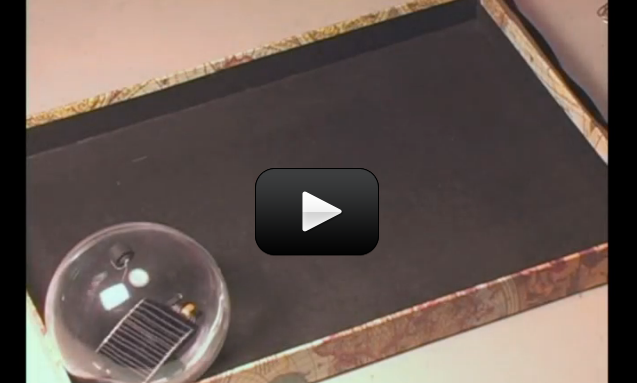
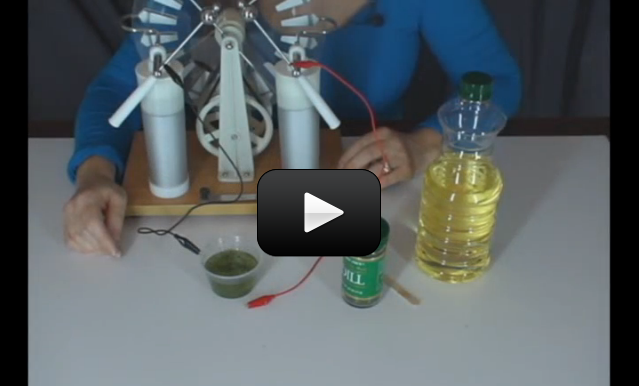
 This project is for advanced students. We’re going to build a car that runs entirely on sunlight and water. Use energy from the sun, we’ll first use a solar cell to convert sunlight into electricity.
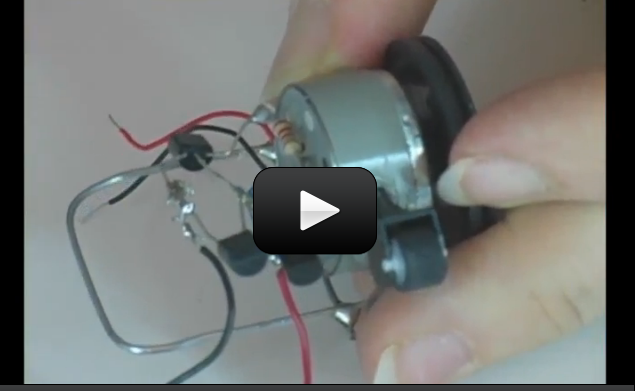

 This experiment is for advanced students. If you’ve attempted the
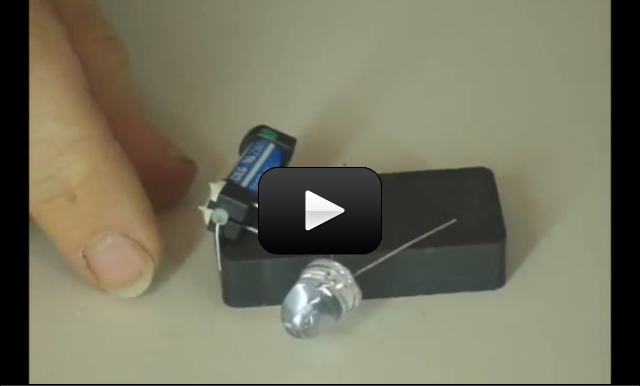
 Wouldn’t it be cool to have an alarm sound each time someone opened your door, lunch box, or secret drawer? It’s easy when you use a reed switch in your circuit! All you need to do it substitute this sensor for the
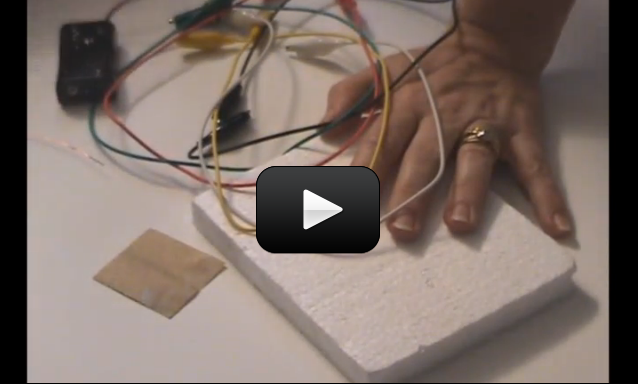
 Imagine you have two magnets. Glue one magnet on an imaginary record player (or a ‘lazy susan’ turntable) and hold the other magnet in your hand. What happens when you bring your hand close to the turntable magnet and bring the north sides together?

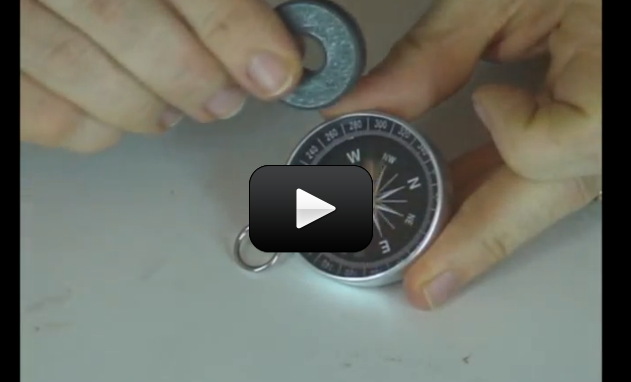
 Let’s play around with the idea of lining up all the mini-magnets inside an object to magnetize it. You’ll need a steel nail (steel is a combination of iron and carbon), a magnet (the stronger the better), and a few paper clips. Here’s what you do:
 “So, how come I can get a magnet to stick to a refrigerator but not my brother’s head?” Ah, I’m glad to see that you’re experimenting! (You might not want to use your siblings as test subjects though…just a thought.) In a way, you could say that magnets only stick to other magnets. I know you refrigerator is not a magnet but bear with me for a second. Your fridge is made of a metal that has iron in it.

 There are two ways to create a magnetic field. First, you can wrap wire around a nail and attach the ends of the wire to a battery to make an electromagnet. When you connect the battery to the wires, current begins to flow, creating a magnetic field. However, the magnets that stick to your fridge are neither moving nor plugged into the electrical outlet – which leads to the second way to make a magnetic field: by rubbing a nail with a magnet to line up the electron spin. You can essential “choreograph” the way an electron spins around the atom to increase the magnetic field of the material. This project is for advanced students.
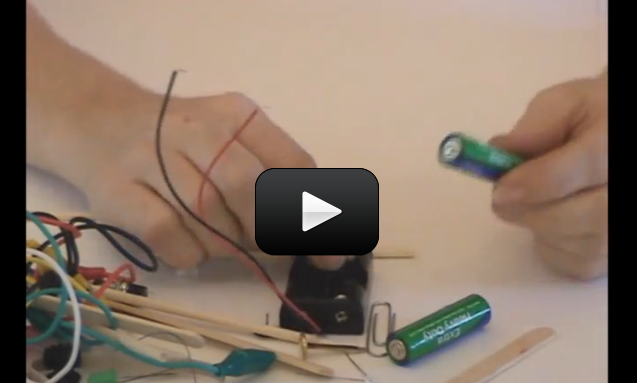


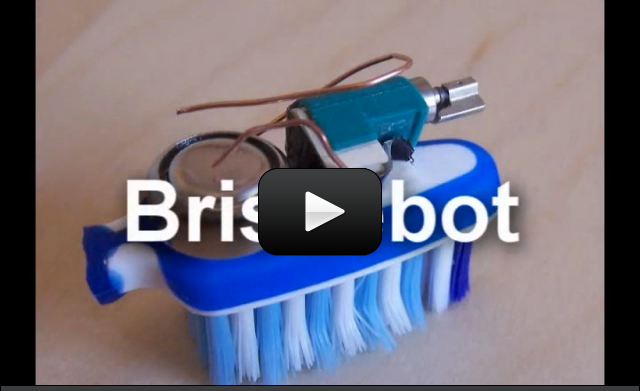
 Ever wonder how a cell phone vibrates? What mechanism could be in such a tiny space to make the entire phone jiggle around? Well, there’s a tiny motor inside with an off-center weight on the shaft, called an eccentric drive.
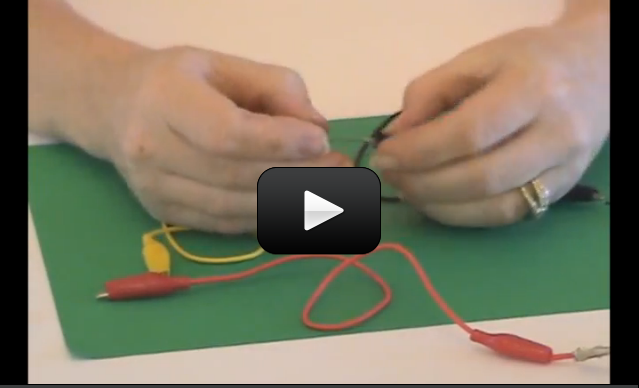
 Make yourself a grab bag of fun things to test: copper pieces (nails or pipe pieces), zinc washers, pipe cleaners, Mylar, aluminum foil, pennies, nickels, keys, film canisters, paper clips, load stones (magnetic rock), other rocks, and just about anything else in the back of your desk drawer.
 When you turn on a switch, it’s difficult to really see what’s going on… which is why we make our own from paperclips, brass fasteners, and index cards.
 One of the most useful tools a scientist can have! A
 If you have a pet, they’ll be sure to get a great workout chasing this nifty little robot. If you can, I totally encourage you to make two or more and have a contest!
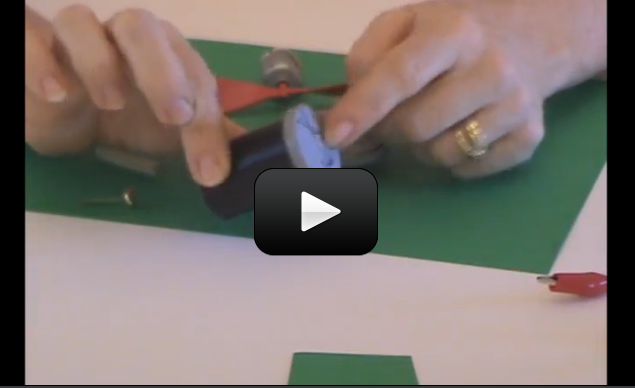
 Racerbots can steer, unlike the
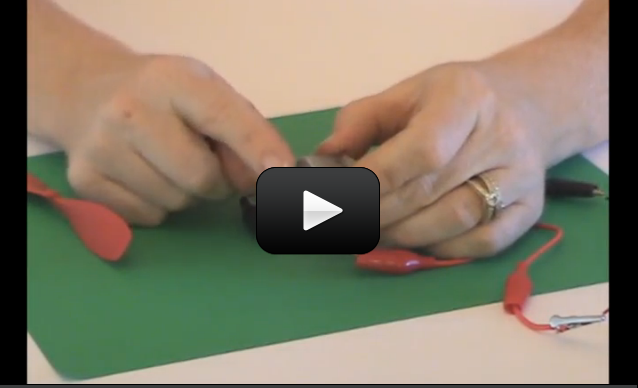
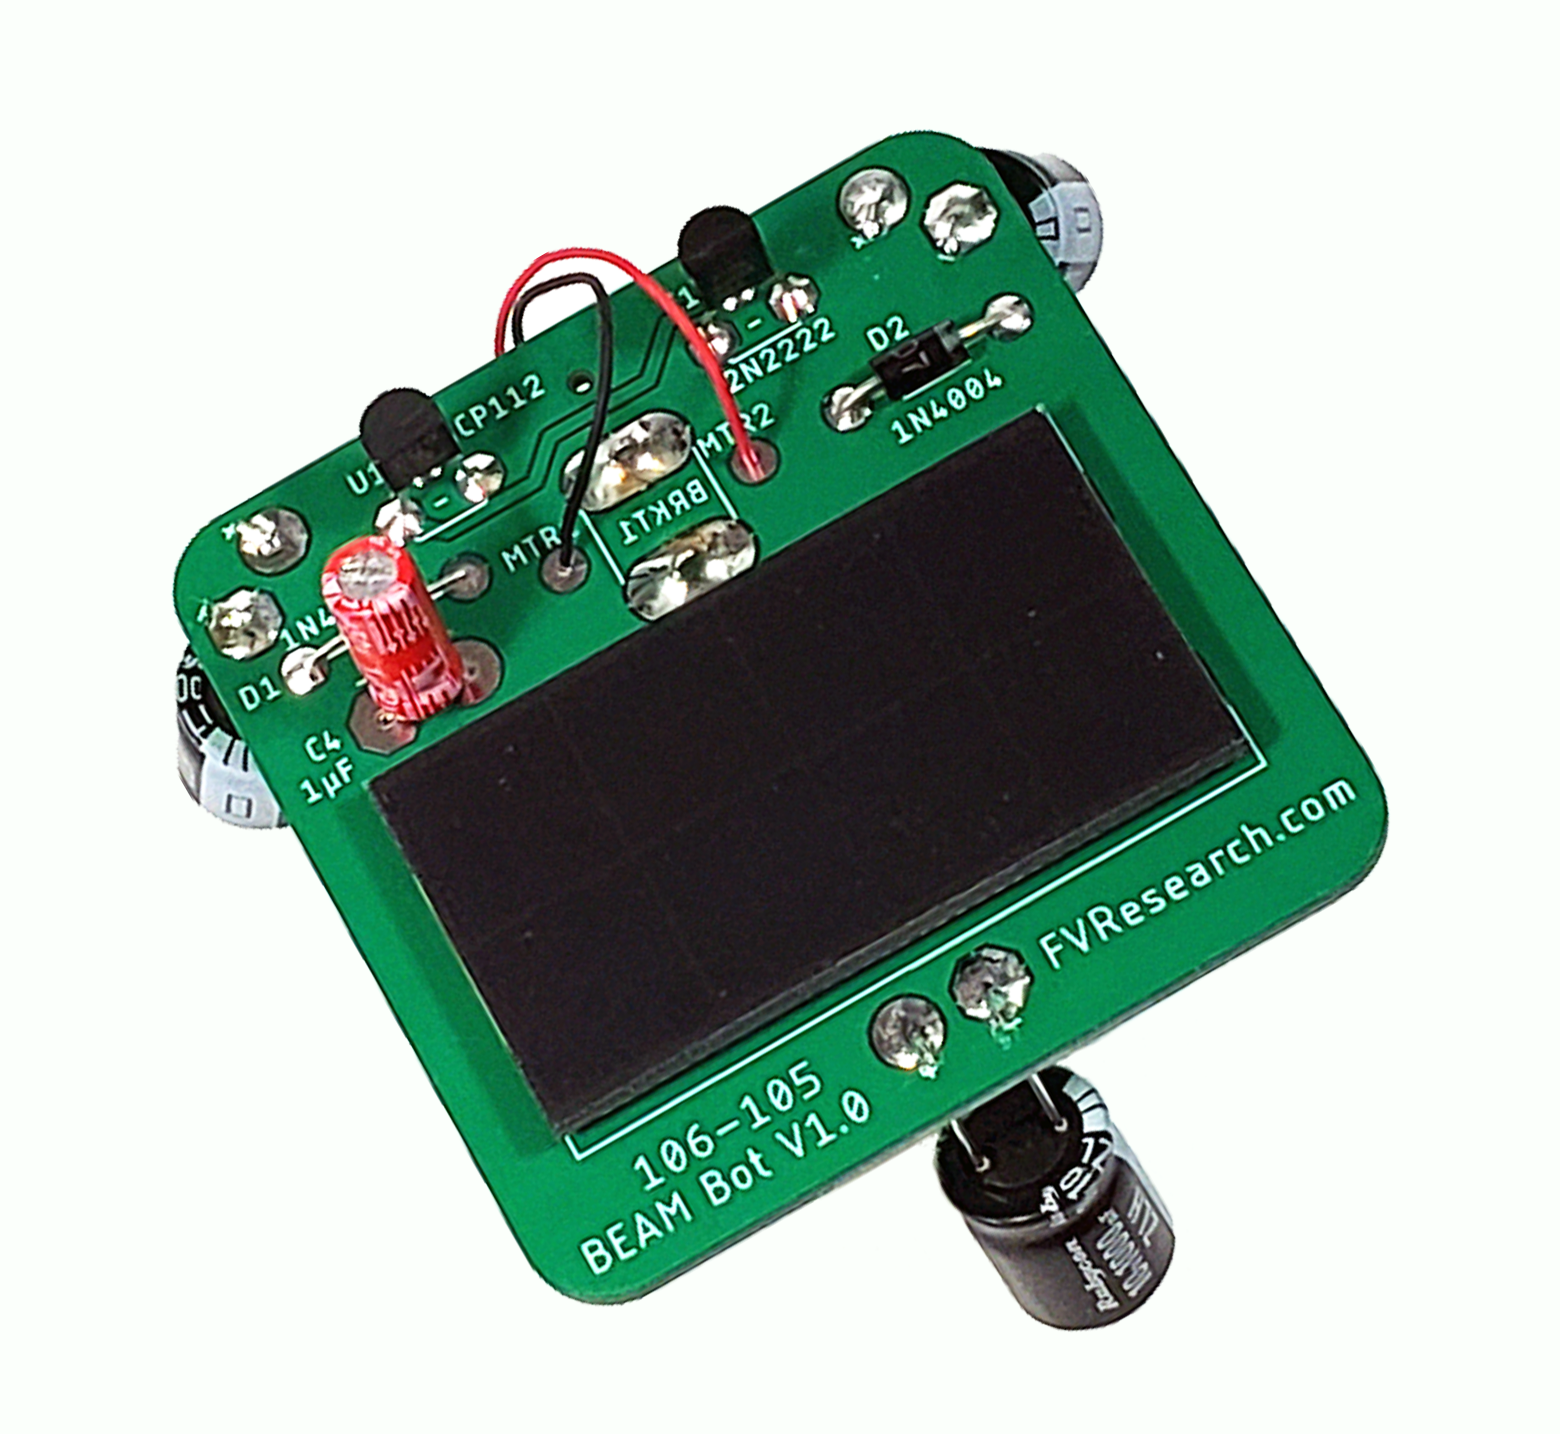
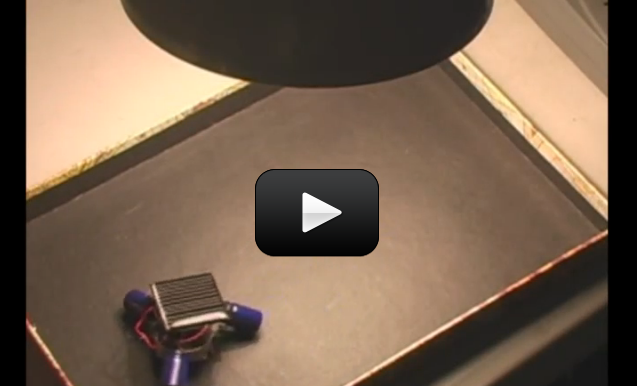
 This project is advanced students. If you like tiny robots, then this one is for you! Powered by cheap hobby motors, this fast little robot zips ’round and avoids obstacles using momentary switches and an idler wheel for a tail.
 This project is for advanced students.


 So now you know how to hook up a
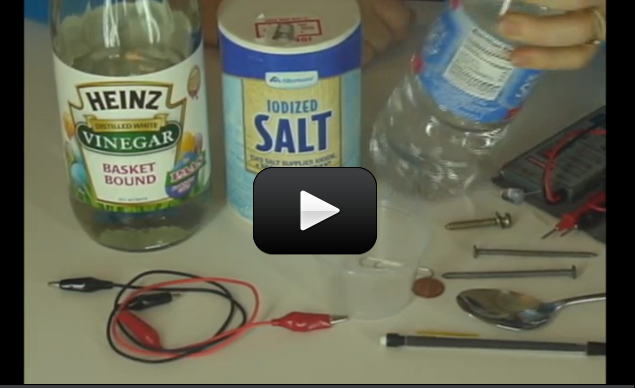
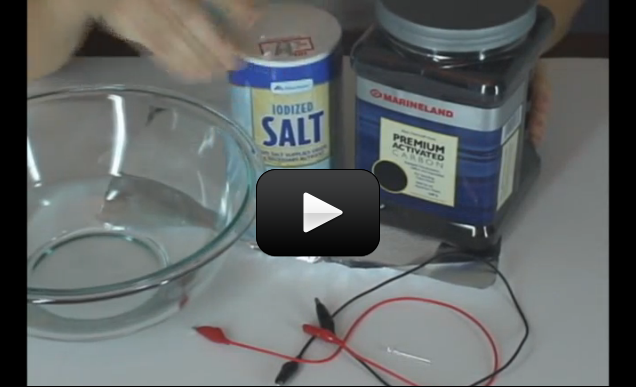
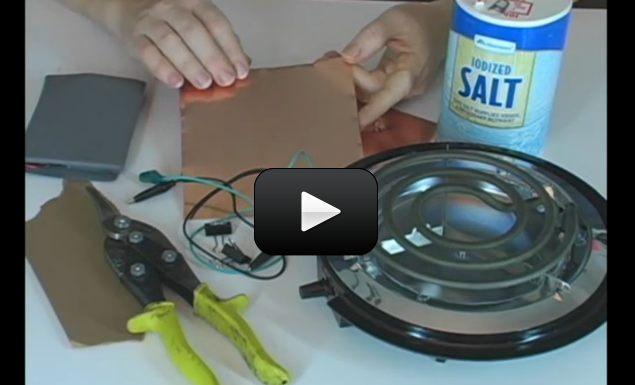
 It’s easy to use chemistry to generate electricity, once you understand the basics. With this experiment, you’ll use aluminum foil, salt, air, and a chemical from an aquarium to create an air battery. This experiment is for advanced students.
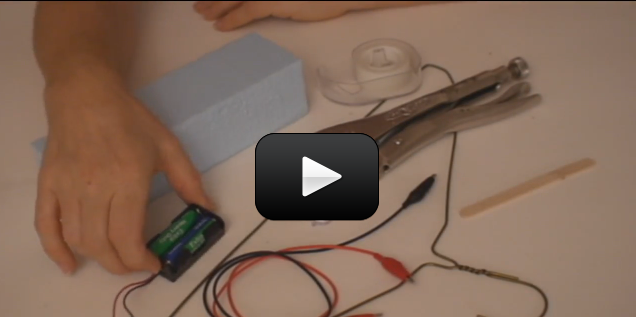
 Electrical circuits are used for all kinds of applications, from blenders to hair dryers to cars. And games! Here’s a quick and easy game using the principles of conductivity.
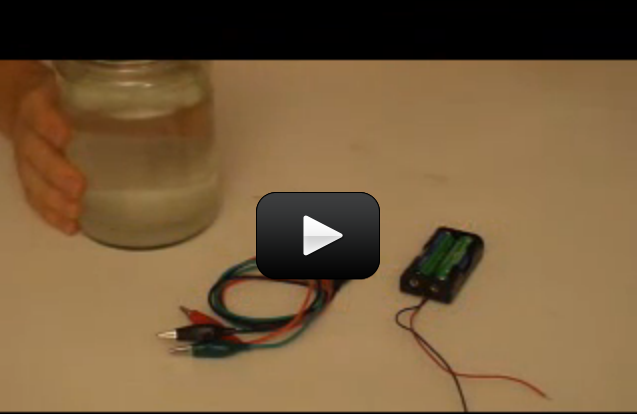
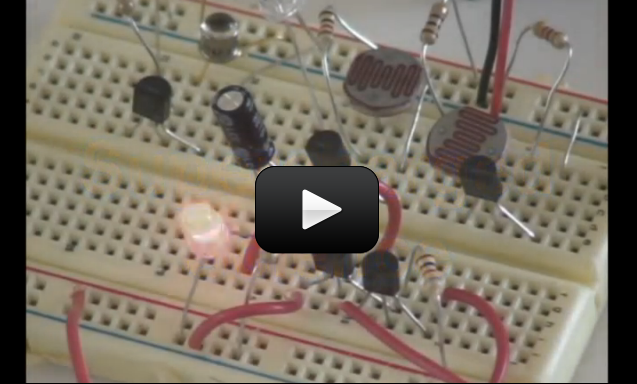
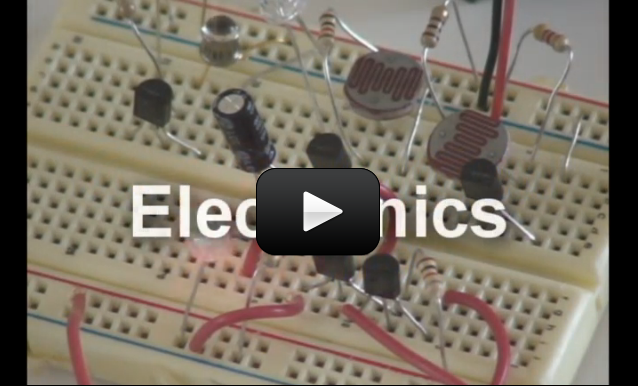
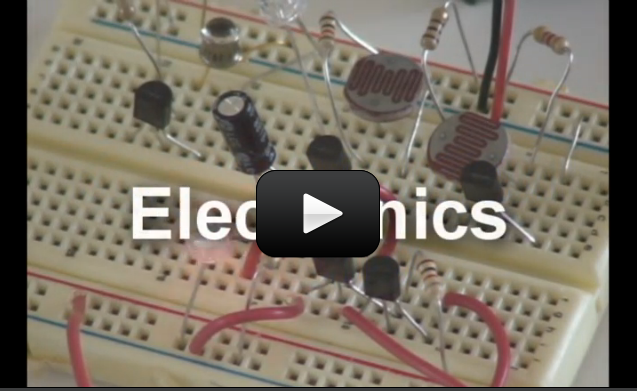
 This simple FET circuit is really an electronic version of the
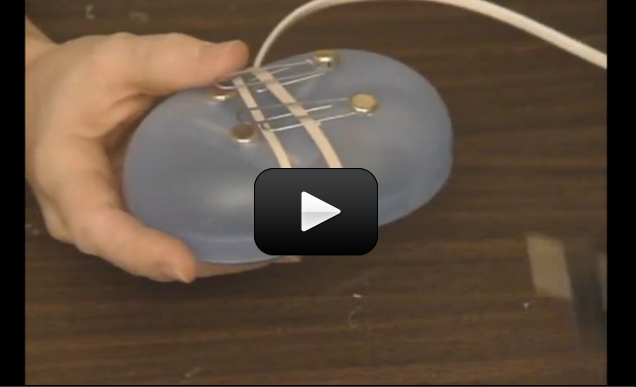
 Radio control (RC) is a 100 year-old technology. RC requires both a transmitter and a receiver. The control box sends commands to the robot the same way you change channels on the TV with the remote.


