If you've made the waterbot, you can use this wired remove to make the motor turn both forward and reverse. All you need is an extra set of wires (telephone cable with two wires in it work great, or else twist two long wires together... they can be as long as you want.) Enclose the whole thing in a plastic box (I like to use tupperware or a soap box) and drill three holes in the top for the brass fasteners and one in the side for the wire and you're all set!
Materials:
Materials:
- your robot that you want to control (use any from this section)
- index card
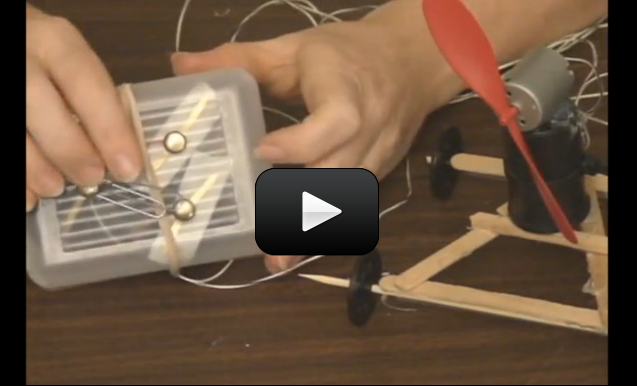
- 3 brass fasteners
- 1 paper clip
- 4 additional alligator clip lead wires
- optional: plastic soap container
- optional: drill with drill bits
I used a really small cardboard box instead of a soap box to make my jigglebot turn on and off!
Find Part 1 here: https://www.sciencelearningspace2.com/2010/03/remote-controls-i/
Hi I can’t find the video for Remote Controls 1
The wires each have their own spot, and for the motor, if you find you want it to go in the opposite direction, simply switch the wires around.
All wires are the same, right? I mean like there is no such thing as a “negative wire” it just to do with where you hook it up to your power source, correct?
What browser are you using? Can you send me a screen shot to explain what you mean by “appearing different on the screen and not loading?” We are trying out a new video player, which is supposed to work on all devices, so please explain everything very carefully so we can figure out what’s going on for you.
When I try the videos in Unit 10 Lesson2: Robotics, they appear to be working. What happens if you try a different computer?
We can’t seem to get this video to work. We’ve watched it in the past & are attempting to make it.
Some robotics videos are working and some appear different on the screen & aren’t loading.
Any suggestions?
Sure – anything that conducts electricity can work. What do you have around the house that you can use?
Is it possible to use anything other than brass fasteners for this project?
Hi Susan,
The ROV is an advanced project that reserved for older students. Most kids take 12-20 hours to build the entire project, as it involves drilling, soldering, and pouring hot wax into molds, so it makes a great parent-kid project for the weekend. The eScience K-12 access includes the advanced projects that are more involved like the ROV, include soldering, dangerous chemicals, and require fire and flames. If you feel your son is old enough to handle it, you can upgrade your account to include access to these advanced projects.
Here’s an image of the ROV that we build:
If you’d rather have your son figure out the steps in stages, then you can start by adding more motors to the waterbot so it moves in the three directions (up-down, left-right, forward-back) and wire up each motor to a separate switch – that’s a great place to start. The foam will need to be replaced by a heavier frame, as it’s too buoyant. Eventually, you’ll end up with something that has a PVC frame, three motors that are waterproofed, a remote-control switch-box, and good props. Kids spend half their time on construction, the other half on weight & balance issues, as it needs to have slightly positive buoyancy so it will rise to the surface if there’s trouble with the motors. Hope this helps get you started!
Aurora
Thanks for all your previous responses to my comments. They have been very helpful.
My son would like to make the Underwater ROV that he sees pictured above the Waterbot experiment. The robot made out of PVC pipe that has a yellow ball thing on the top. So far he has watched the Waterbot and Remote Control 2 videos, but he needs more direction to move from the styrofoam waterbot to something more akin to the PVC one pictured. Are there other videos or instructions included in the ecamp that could help him? We want to explore that option before purchasing a separate set of instructions.
Thanks!
Sue and Westley