A battery is a device that produces electrical energy from a chemical reaction. Another name for a battery is voltaic cell. Voltaic means to make electricity.
Most batteries contain two or more different chemical substances. The different chemical substances are usually separated from each other by a barrier. One side of the barrier is the positive terminal of the battery and the other side of the barrier is the negative terminal. When the positive and negative terminals of a battery are connected to a circuit, a chemical reaction takes place between the two different chemical substances that produces a flow of electrons (electricity).
When a battery is producing electricity, one of the chemical substances in the battery loses electrons. These electrons are then gained by the other chemical substance.
A battery is designed so that the electrons lost by one chemical substance are made to flow through a circuit, such as a flashlight lamp, before being gained by the other chemical substance. A battery will produce a flow of electrons until all of the chemical substances involved in the chemical reaction are completely used.
[am4show have='p8;p9;p22;p49;p75;p84;p58;' guest_error='Guest error message' user_error='User error message' ]
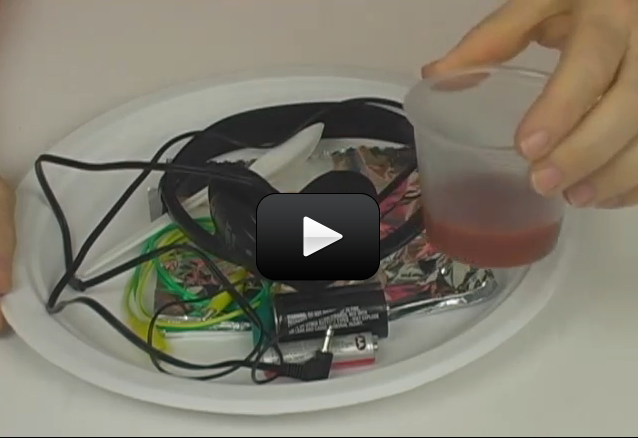
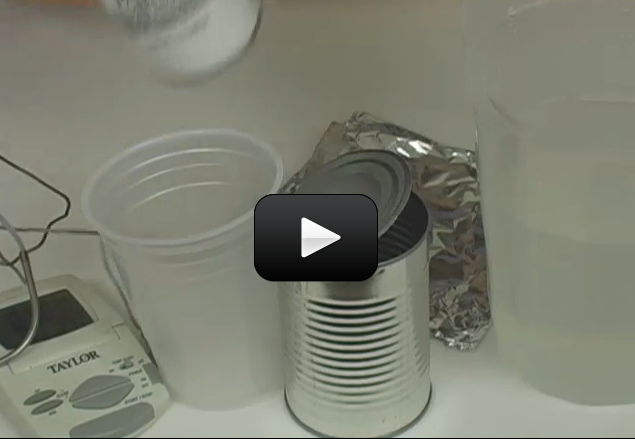
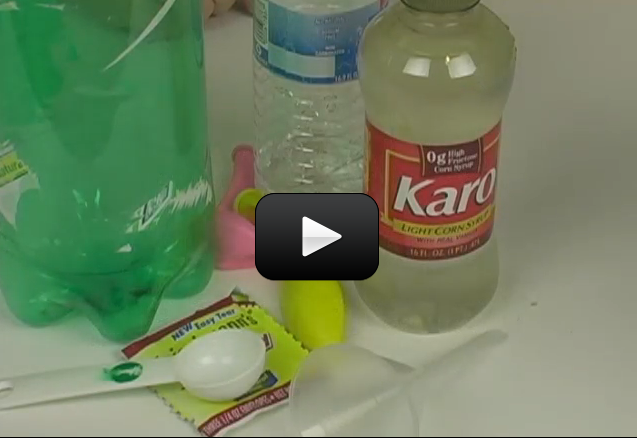
Materials
- Earphone or headset for a portable radio
- Small piece of aluminum foil
- Tomato paste or tomato ketchup
- New, shiny penny
- Two wires with alligator clips on each end of the wires
- Plate
- AA-size battery
- Spoon
Download Student Worksheet & Exercises
Procedure
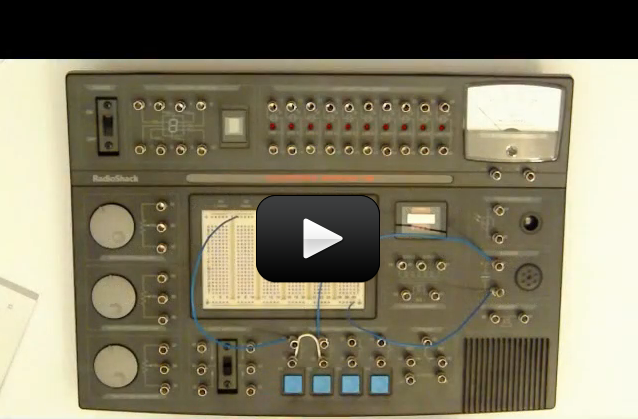
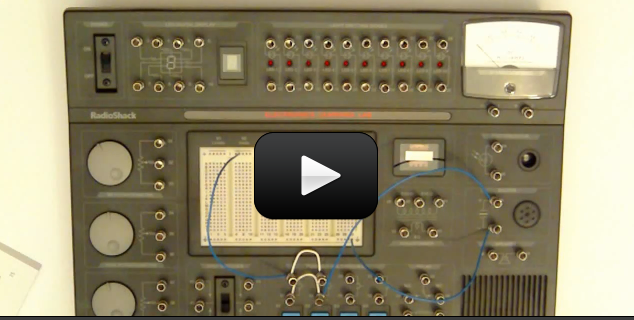
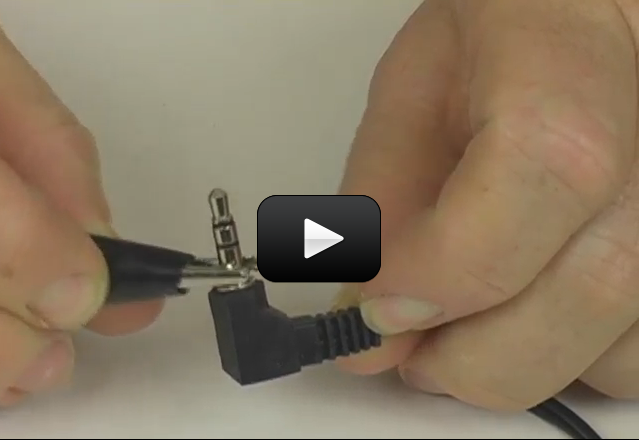
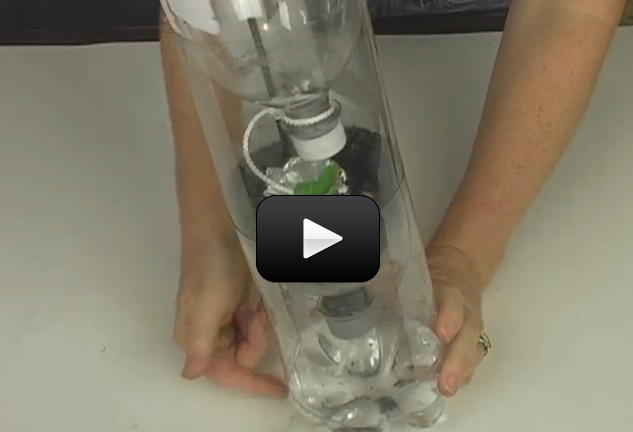
Examine the metal shaft of the part of the earphone or headset that is inserted into a portable radio. You will notice that just below the tip of the shaft there is a plastic spacer. Clip on one of the wires below this spacer. Then clip on the other wire above this spacer.
To test that the wires are properly connected to the earphone or headset, take the unconnected ends of the two wires and touch them to an AA-size battery. One wire should touch the positive end of the battery, while the other is touching the negative end of the battery. Place the earphone or headset to your ear. If your connections are made correctly, you should hear a crackling sound in the earphone or headset. If you do not hear a crackling sound, check your connections carefully.
Place a small piece of aluminum foil, about five inches (13 centimeters) square, on a small plate. Using a spoon, make a puddle of tomato juice on the aluminum foil. The puddle of tomato juice should be slightly larger than a penny. Next, place a new, shiny penny face down in the puddle of tomato juice.
Using the alligator clip, attach one of the wires connected to the earphone to one of the edges of the aluminum foil. Take the end of the other wire and touch the alligator clip to the penny. Move the alligator clip over the penny.
Observations
Do you hear a crackling sound when you touch the alligator clips to the penny in the puddle of tomato juice? What do you hear when you move the alligator clip over the penny? What do you hear when you stop touching the penny with the alligator clip?
Discussion
In this experiment you made a simple battery with a penny, aluminum foil, and tomato juice. You completed a circuit with your battery by touching one of the wires attached to the earphone or headset to the penny, while touching the other wire to the aluminum foil. When you completed the circuit, a flow of electrons was produced by your battery. The crackling sound you heard was caused by the earphone or headset converting electrical energy from your battery into sound energy.
In your battery, the aluminum in the aluminum foil loses electrons. The other part of the reaction is more complex. Either the acid in the tomato juice or copper ions (that form when the copper metal in the penny reacts with the acid in the tomato juice) gain the electrons lost by the aluminum.
The main types of batteries are known as primary and secondary batteries. Dry cell batteries, like the ones used in flashlights and portable radios, are primary batteries. Another important primary battery is the mercury battery. Mercury batteries are typically small and flat. They are used to power cameras, watches, hearing aids, and calculators.
An advantage of primary batteries is that they are generally inexpensive. One disadvantage is that they cannot be recharged. When the chemical substances in the primary batteries are used up, the battery is dead.
Lead storage batteries and nickel-cadmium (NiCad) batteries are examples of secondary batteries. Car batteries are lead storage batteries. Flashlight batteries that are rechargeable are NiCad batteries. Secondary batteries are more expensive than primary batteries. However, unlike primary batteries, lead storage batteries and NiCad batteries can be recharged repeatedly.
Other Things to Try
Repeat this experiment using other coins such as a dime, nickel, or quarter. Do any of these coins cause a louder crackling sound in the earphone or headset?
Repeat this experiment using a nail instead of a coin. Can you make a battery with other juices? To find out, repeat this experiment with other juices such as lemon and orange juice. What do you observe?
Exercises
- Fill in the blank: A battery produces ___________________ energy from _________________________ energy.
- Another name for a battery is:
- Solar array
- Voltaic cell
- Nuclear reactor
- Fusion cell
- As one chemical loses electrons, what happens to the other chemical?
- It loses electrons
- It gains electrons
- Nothing
- It decomposes
- When will a battery run out?
- When its batteries run out
- When its chemicals are used up
- When all the electrons are gone
- When the bunny stops drumming
[/am4show]


 Fossil fuels, which include petroleum, natural gas, and coal, supply nearly 90 percent of the energy needs of the United States and other industrialized nations. Because of their high demand, these nonrenewable energy resources are rapidly being consumed. Coal supplies are expected to last about a thousand years.


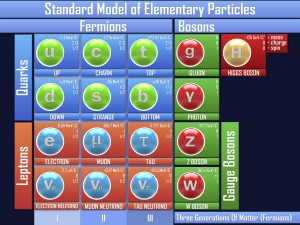 If you think about it, the nucleus of an atom (proton and neutron) really have no reason to stick together. The neutron doesn’t have a charge, and the proton has a positive charge. And most nuclei have more than one proton, and positive-positive charges repel (think of trying to force two North sides of a magnet together). So what keeps the core together?


 When birds and animals drink from lakes, rivers, and ponds, how pure it is? Are they really getting the water they need, or are they getting something else with the water?