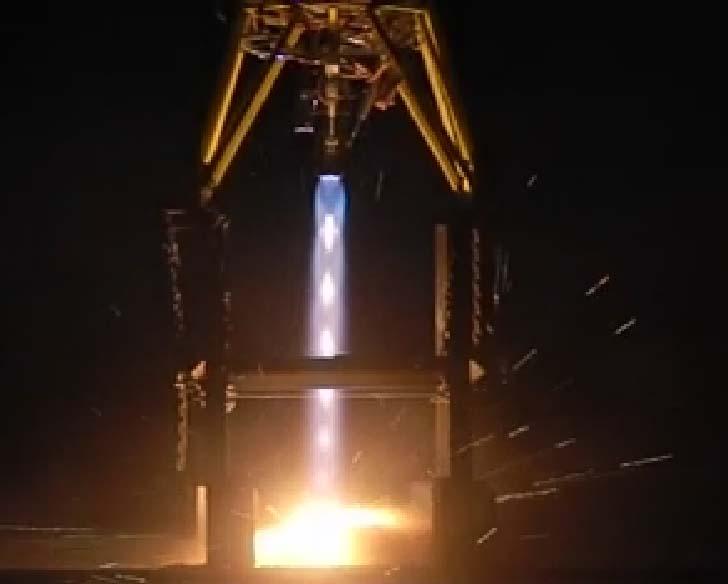
Rockets shoot skyward with massive amounts of thrust, produced by chemical reaction or air pressure. Scientists create the thrust force by shoving a lot of gas (either air itself, or the gas left over from the combustion of a propellant) out small exit nozzles.
According to the universal laws of motion, for every action, there is equal and opposite reaction. If flames shoot out of the rocket downwards, the rocket itself will soar upwards. It’s the same thing if you blow up a balloon and let it go—the air inside the balloon goes to the left, and the balloon zips off to the right (at least, initially, until the balloon neck turns into a thrust-vectored nozzle, but don’t be concerned about that just now).
A rocket has a few parts different from an airplane. One of the main differences is the absence of wings. Rockets utilize fins, which help steer the rocket, while airplanes use wings to generate lift. Rocket fins are more like the rudder of an airplane than the wings.
Another difference is the how rockets get their speed. Airplanes generate thrust from a rotating blade, whereas rockets get their movement by squeezing down a high-energy gaseous flow and squeezing it out a tiny exit hole.
If you’ve ever used a garden hose, you already know how to make the water stream out faster by placing your thumb over the end of the hose. You’re decreasing the amount of area the water has to exit the hose, but there’s still the same amount of water flowing out, so the water compensates by increasing its velocity. This is the secret to converging rocket nozzles—squeeze the flow down and out a small exit hole to increase velocity.
There comes a point, however, when you can’t get any more speed out of the gas, no matter how much you squeeze it down. This is called “choking” the flow. When you get to this point, the gas is traveling at the speed of sound (around 700 mph, or Mach 1). Scientists found that if they gradually un-squeeze the flow in this choked state, the flow speed actually continues to increase. This is how we get rockets to move at supersonic speeds or above Mach 1.
 The image shown here is a real picture of an aircraft as it breaks the sound barrier. This aircraft is passing the speed at which sounds travel. The white cloud you see in the photo is related to the shock waves that are forming around the craft as it moves into supersonic speeds. Because the aircraft is moving through air, which is a gas, the gas can compress and results in a shock wave.
You can think of a shock wave as big pressure front. In this photo, the pressure is condensing water vapor in the air, hence the cloud. There are lots of things on earth that break the sound barrier – bullets and bullwhips, for example. The loud crack from a whip is the tip zipping faster than the speed of sound.
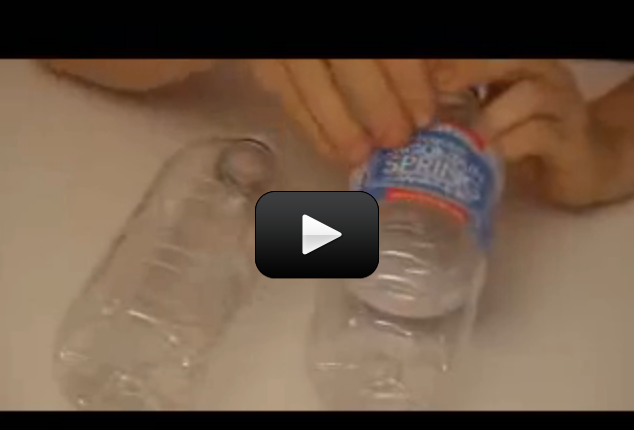
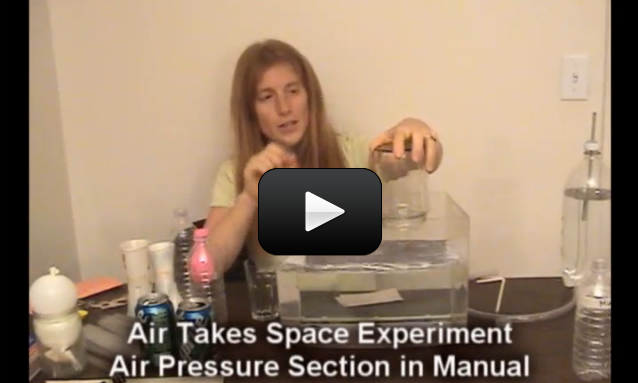
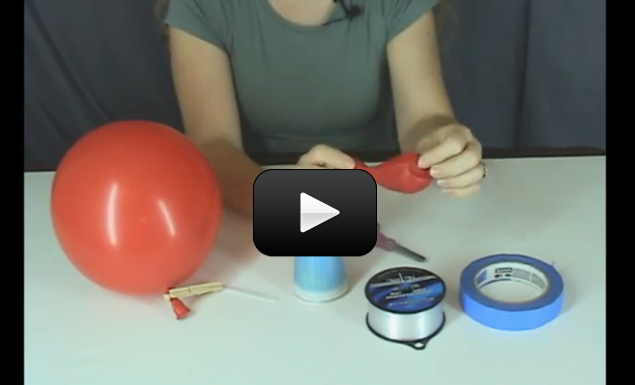
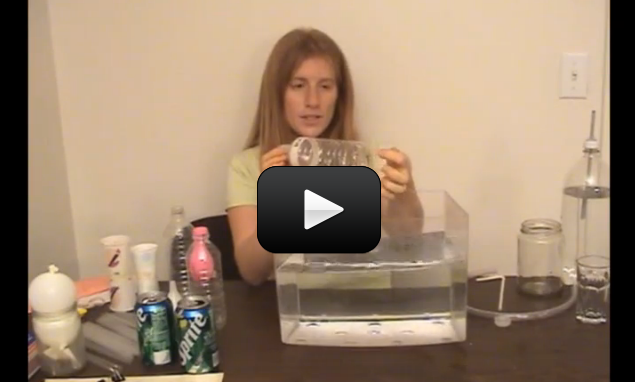
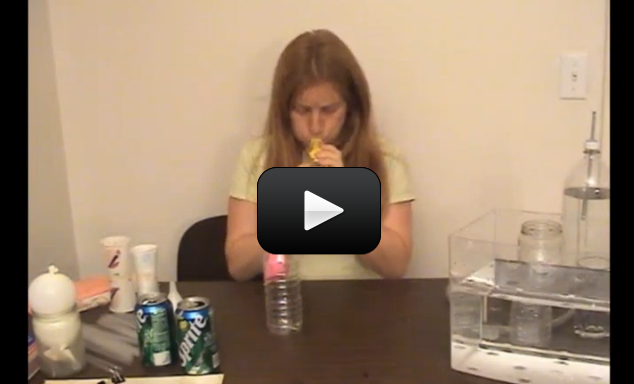
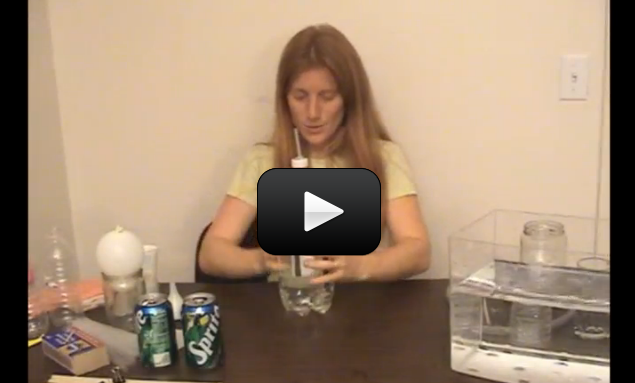
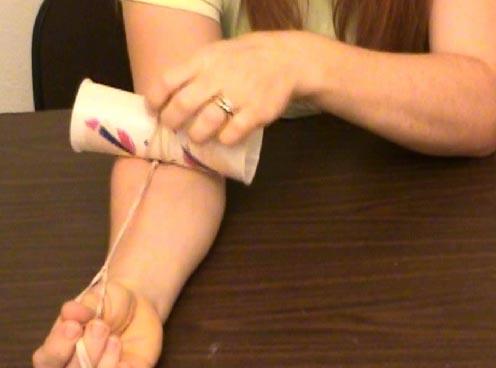
The rockets we're about to build get their thrust by generating enough pressure and releasing that pressure very quickly. You will generate pressure both by pumping and by chemical reaction, which generates gaseous products. Let's get started!
For this experiment, you will need:
[am4show have='p8;p9;p10;p37;p109;p95;' guest_error='Guest error message' user_error='User error message' ]
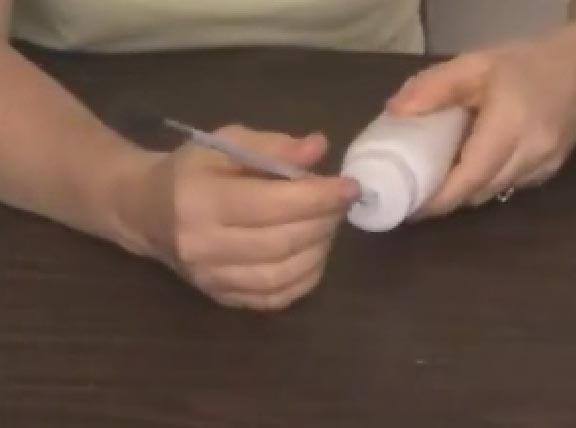
- film canister or other plastic container with a tight-fitting lid (like a mini-M&M container)
- alka-seltzer or generic effervescent tablets
- water
- outside area for launching
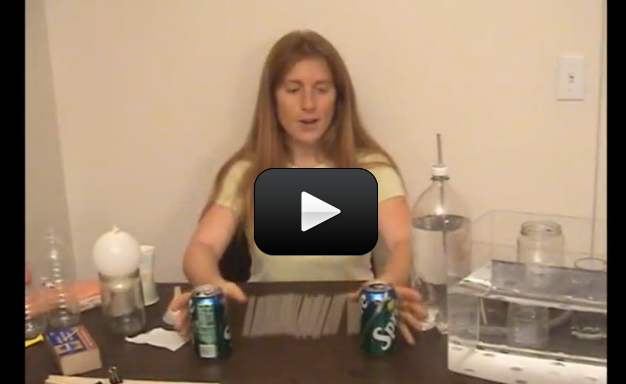
The record for these rockets is 28' high. What do you think about that? Note - you can use anything that uses a chemical reaction... what about baking soda and vinegar? Baking powder? Lemon juice?
Important question: Does more water, tablets, or air space give you a higher flight?
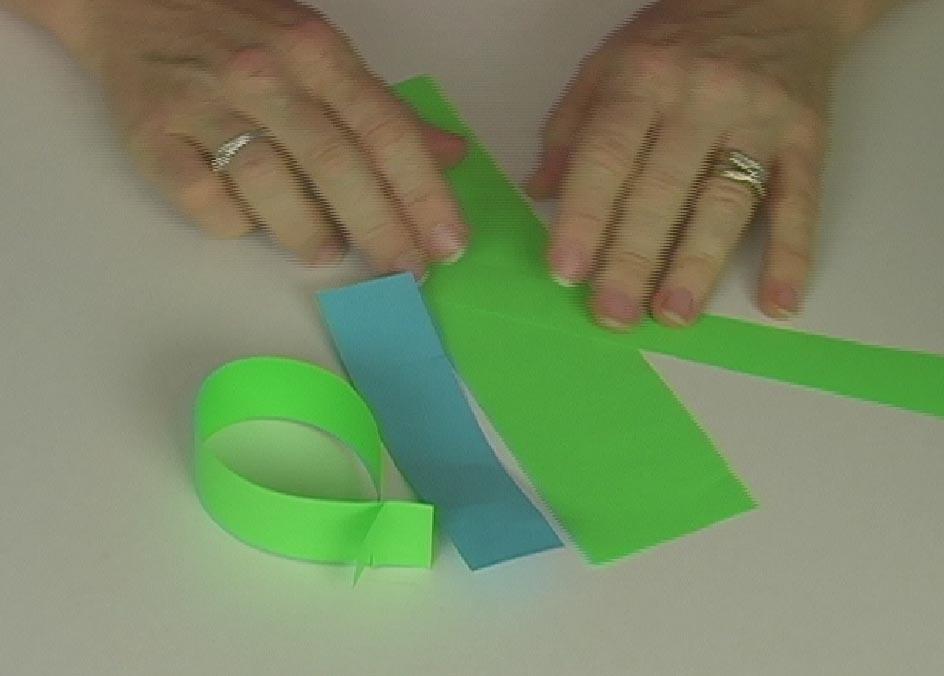
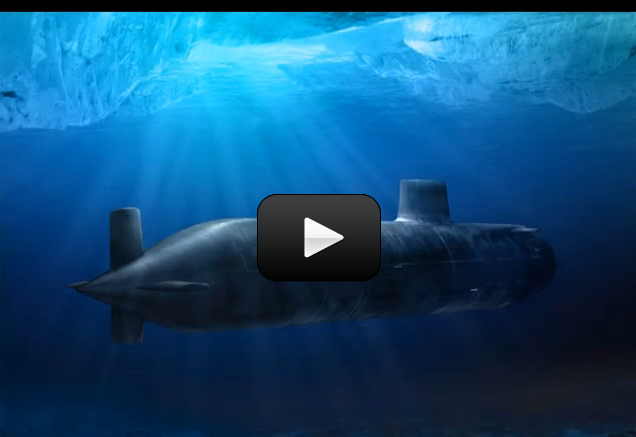
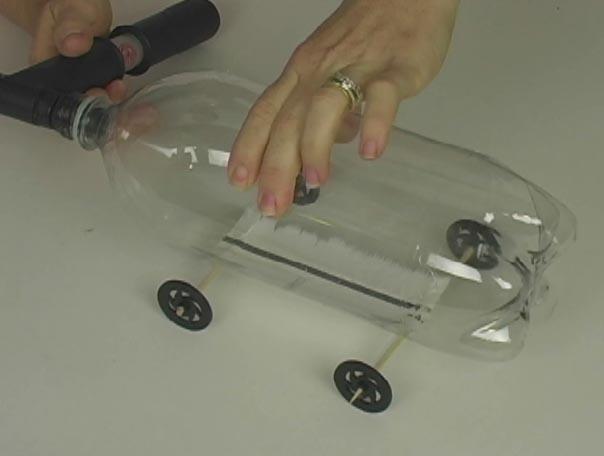
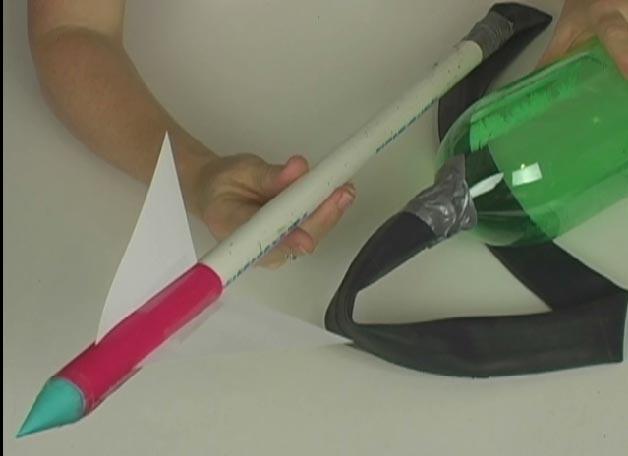
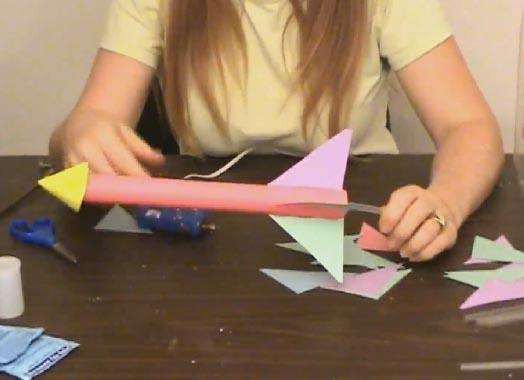
Variations: Add foam fins and a foam nose (try a hobby or craft shop), hot glued into place. Foam doesn’t mind getting wet, but paper does. Put the fins on at an angle and watch the seltzer rocket spin as it flies skyward. You can also tip the rocket on its side and add wheels for a rocket car, stack rockets, for a multi-staging project, or strap three rockets together with tape and launch them at the same time! You can also try different containers using corks instead of lids.
More Variations: What other chemicals do you have around that also produces a gas during the chemical reaction? Chalk and vinegar, baking soda, baking powder, hydrogen peroxide, isopropyl alcohol, lemon juice, orange juice, and so on.
[/am4show]
[am4show have='p9;p39;' guest_error='Guest error message' user_error='User error message' ]
Advanced students: Download your Pop Rockets Lab here.
[/am4show]


 We didn't include this particular experiment in our shopping list, as the tube's kind of expensive and can only be used for one particular experiment, BUT it's an incredible blast to do in the summer.


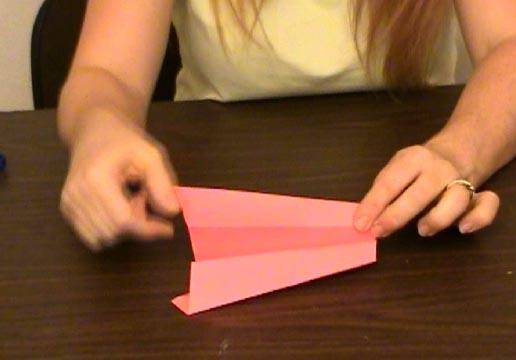

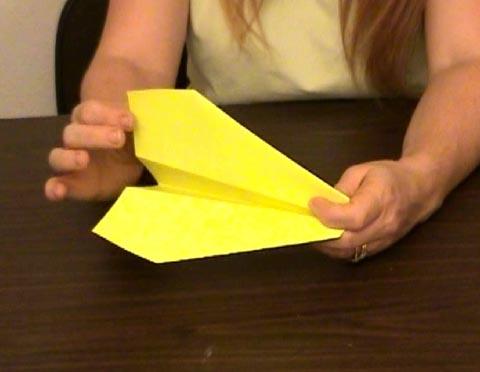

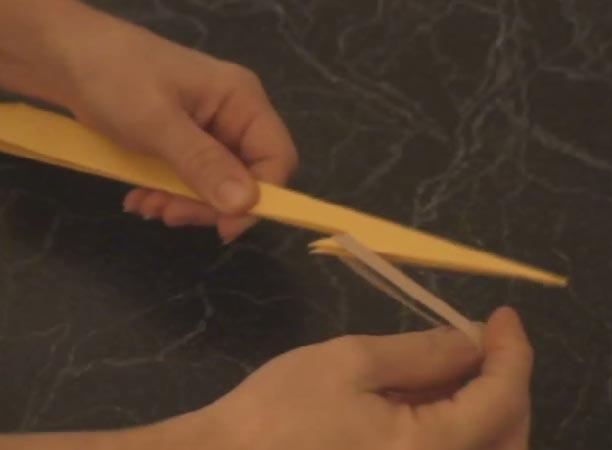
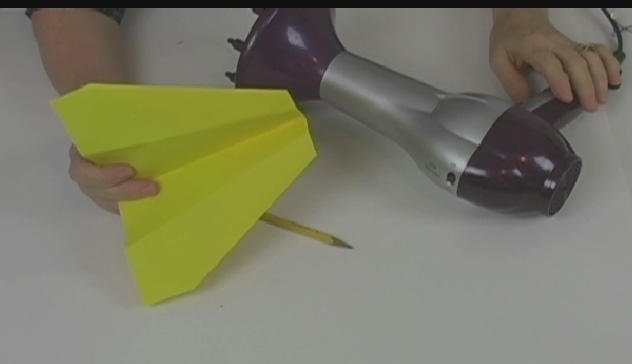
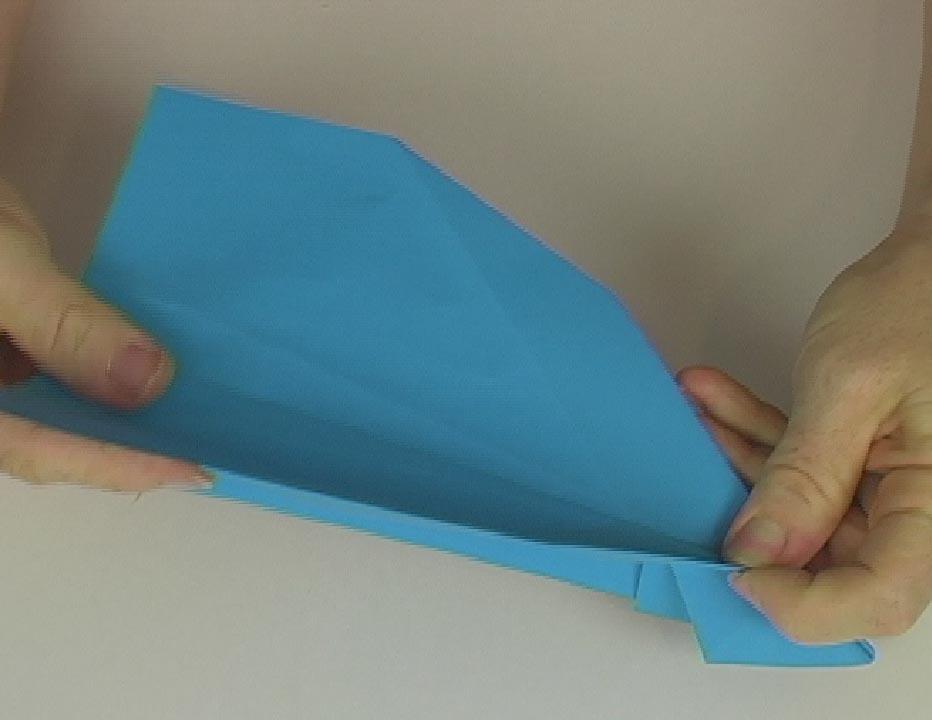
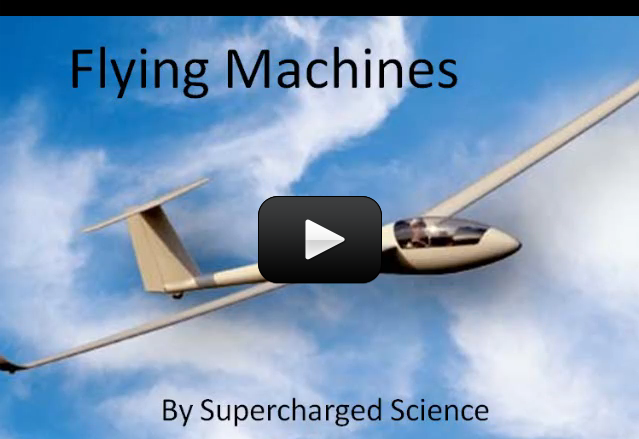
 We’ve included several flying designs for you to test, including: