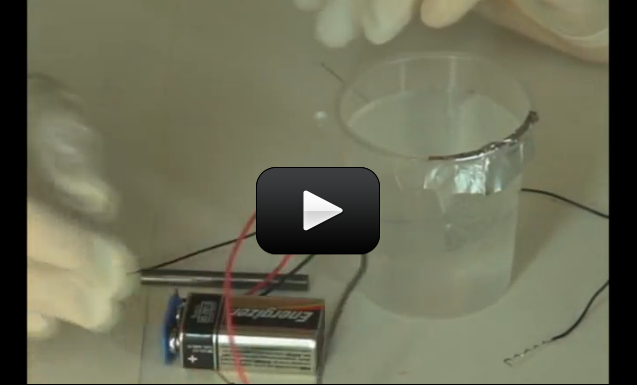
You can go your whole life without paying any attention to the chemistry behind acids and bases. But you use acids and bases all the time! They are all around you. We identify acids and bases by measuring their pH.
Every liquid has a pH. If you pay particular attention to this lab, you will even be able to identify most acids and bases and understand why they do what they do. Acids range from very strong to very weak. The strongest acids will dissolve steel. The weakest acids are in your drink box. The strongest bases behave similarly. They can burn your skin or you can wash your hands with them.
Acid rain is one aspect of low pH that you can see every day if you look for it. This is a strange name, isn’t it? We get rained on all the time. If people were dissolving, if the rain made their skin smoke and burn, you’d think it would make headlines, wouldn’t you? The truth is acid rain is too weak to harm us except in very rare and localized conditions. But it’s hard on limestone buildings.
[am4show have=’p8;p9;p25;p52;p68;p80;’ guest_error=’Guest error message’ user_error=’User error message’ ]
Acids are liquids with a pH less than seven. A pH of seven is considered neutral. Bases are liquids with a pH greater than seven.
The combustion of fossil fuels such as oil, gasoline, and coal, create acid rain. Rain, normally at a pH of about 5.6, is always at least slightly acidic. Carbon dioxide is released into the air reacts with moisture in the air to form carbonic acid (HCO3). Sulfur dioxide and nitrogen oxides are released into the air by fossil fuel combustion. They react with the slightly acidic rain and form sulfuric acid (H2SO4) and nitric acid (HNO3).
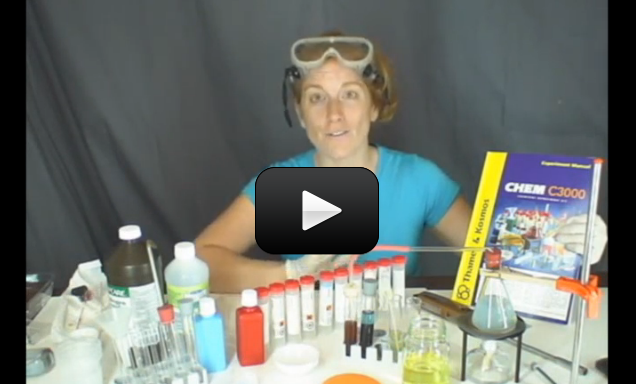
We’re going to have fun with color changes in this experiment. We will make magic paper that changes color to tell us important things about liquids. It’s called litmus paper.
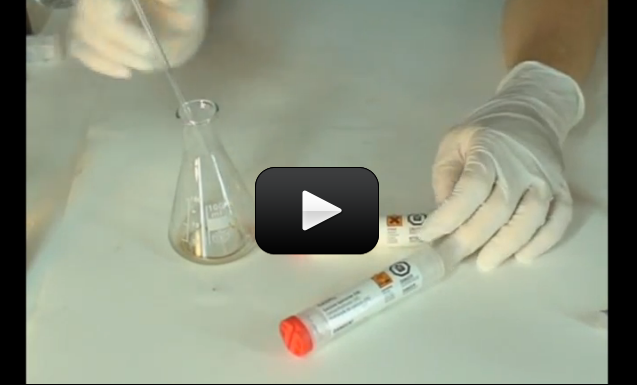
Litmus is harvested from a plant called a lichen, and bottled up as a powder. We’ll take the powder and make an acid-base indicator with it. Then we will use what we make to test solutions. And if you exercise your mind a bit, you will discover ways to use your litmus paper to discover things about the house and the world around you.
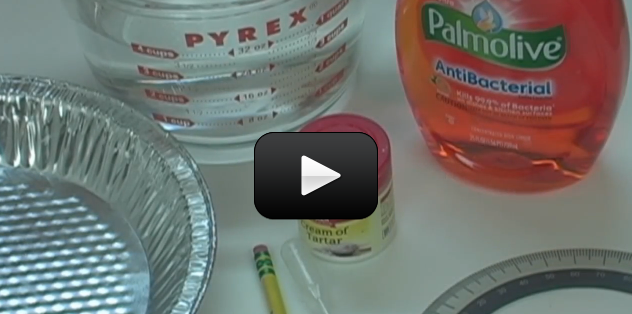
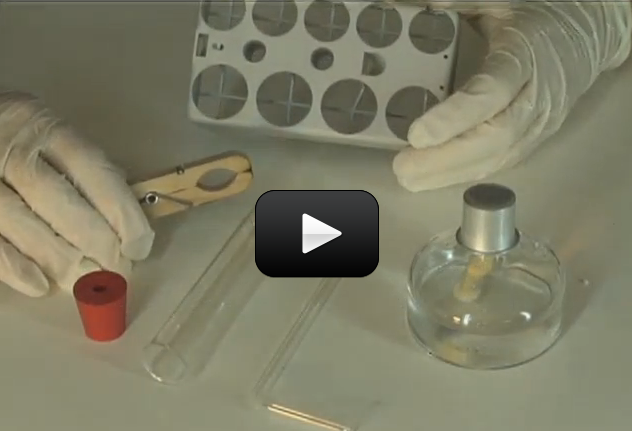
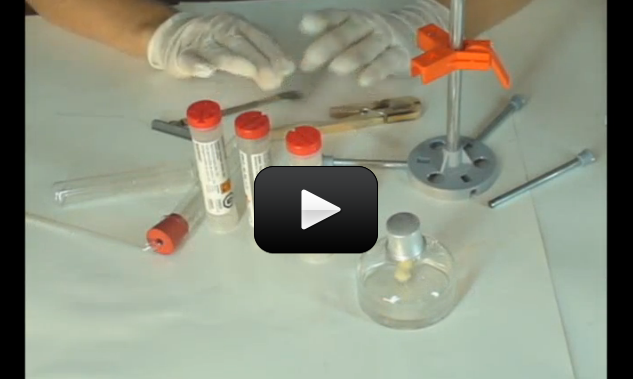
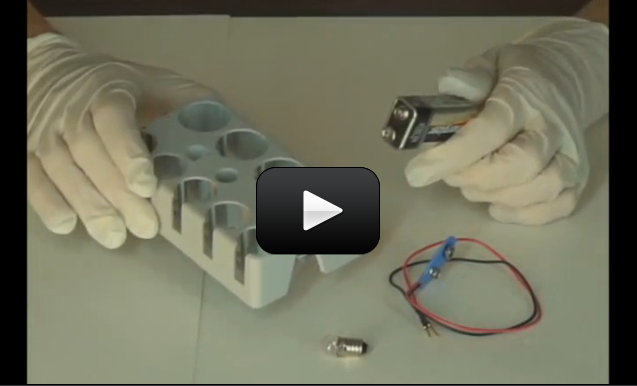
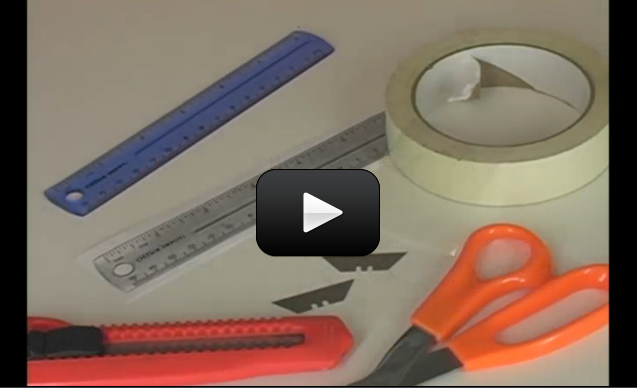
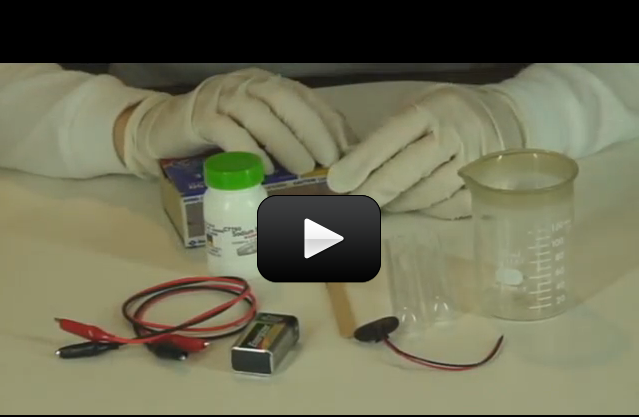
Materials:
- Test tube rack
- 2 Test tubes
- Test tube stopper
- Distilled water
- Ruler
- Litmus powder (MSDS)
- Measuring spoon
- Denatured alcohol (MSDS)
- Pipette
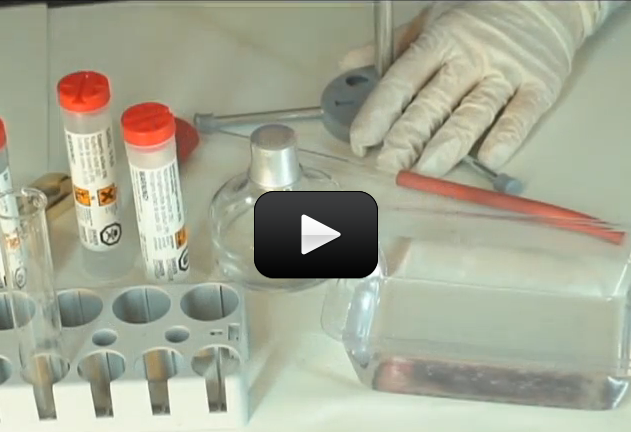
- Sodium carbonate (Na2CO3) (MSDS)
- Sodium hydrogen sulfate (NaHSO4) (MSDS) Sodium hydrogen sulfate is very toxic. Respect it, handle it carefully and responsibly. Do not take it for granted.
- Scissors
- Filter paper (or paper towel or coffee filter)
- Impervious surface
NOTE: Be very careful when handling the sodium hydrogen sulfate – it’s highly corrosive and dangerous when wet. Handle this chemical only with gloves, and be sure to read over the MSDS before using.
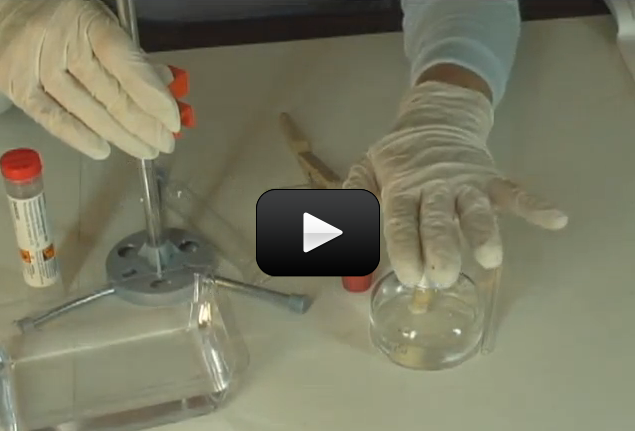
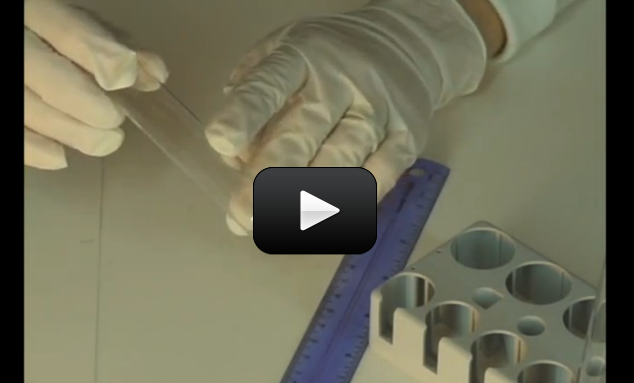
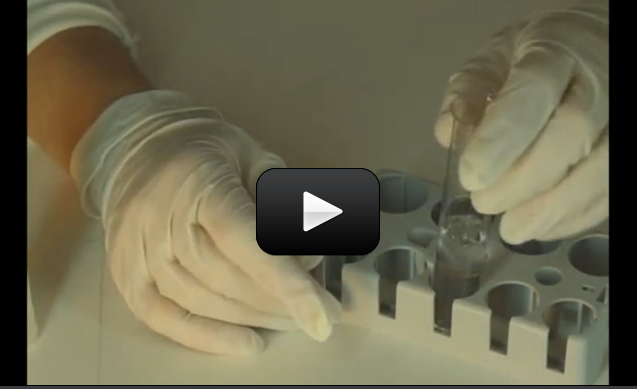
We will be using a ruler to measure the amount of water in a test tube. Ordinarily, chemists use more accurate measurement tools than a ruler. For the first part of this lab, making litmus solution, all we need is an approximate volume of water.
We will also be shaking a liquid in a test tube. Ever leave the top of a blender off when the “on” button is depressed? If not, just believe that it’s not a good idea. There is a certain technique t use when shaking up a liquid. We’ll place a stopper on a test tube and shake vigorously. Remember to do that as a chemist would do.
In a laboratory, whenever a chemist stoppers a solution and shakes it, it will be done the same way no matter if it is a toxic substance or just salt and water. That way, they are in the habit of doing it one way, the right way, so a mistake is not made at any time. A mistake at the wrong time could even be fatal.
Stopper the test tube firmly. Seat it well, but don’t grind down on the stopper. A test tube is thin-walled glassware, and as we grip harder it could collapse in our hand and now we have open cuts, blood, and toxic chemical is now entering your bloodstream. Stoppered firmly, we hold the test tube in our hand and place our thumb over the stopper for added security. To top off our safety measures, point the test tube, with a thumb firmly on top, away from us or anyone else and shake to our heart’s content.
We need to be careful with our chemicals. After using a chemical, cap the container to prevent spillage and contamination. Clean everything thoroughly after you are finished with the lab, or if you are going to reuse a tool. To dip a measuring spoon into one chemical after another, contaminates the chemicals and will affect your results.
C1000: Experiments 1-10
C3000: Experiments 5-18
Download Student Worksheet & Exercises
Clean everything thoroughly after you are finished with the lab. After cleaning with soap and water, rinse thoroughly. Chemists use the rule of “three” in cleaning glassware and tools. After washing, chemists rinse out all visible soap and then rinse three times more.
Place all chemicals, cleaned tools, and glassware in their respective storage places.
Dispose of all solid waste in the garbage. Liquids can be washed down the drain with running water. Let the water run awhile to ensure that they have been diluted and sent downstream.
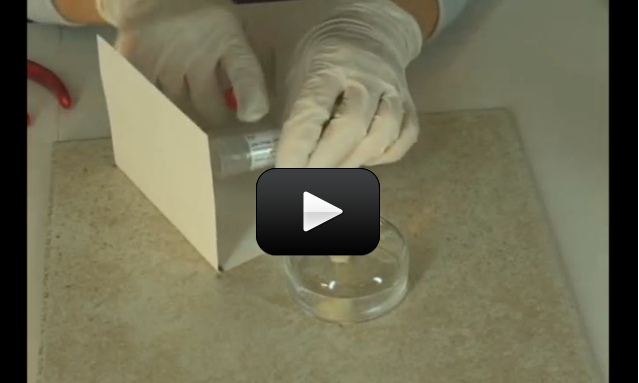
You can test how acidic different substances are with an acid-base indicator like litmus paper.
Using the litmus powder in the chemistry set, we will make litmus paper. Our litmus paper is going to start out blue, and will turn red when an acid is placed on it. You can turn it back to blue by placing a few drops of a basic solution on it.
Let’s look a little further into the chemistry behind acids and bases. An acid produces hydronium ions (example: H3O+) when dissolved in water. The + or – notation on a molecule tells us that after a chemical reaction creates it, the molecule is left with a net positive (electrons have been lost) or net negative charge (electrons have been added). Now, the ion could have more than just a +1 or -1 charge. Often, we will discover molecules with positive or negative charges of 2, 3, or 4.
Every liquid has a pH, and some of them may surprise you. Fruits contain citric acid, malic acid, and ascorbic acids, and the distilled white vinegar in your kitchen is a weak form of acetic acid. You’ll find carbonic acids in sodas, and lactic acid in buttermilk. And remember that acids taste sour and bases taste bitter? Don’t taste your chemicals, but the sour taste of vinegar and lemons and the bitter taste of club soda water and baking soda are familiar to people.
Generally, acids are sour in taste, change litmus paper from blue to red, react with metals to produce a metal salt and hydrogen, react with bases to produce a salt and water, and conduct electricity. Strong acids often produce a stinging feeling on mucus membranes (don’t ever taste an acid, or any chemical for that matter!).
Acids are proton donors (they produce H+ ions). Strong acids and bases all have one thing in common: they break apart (completely dissociate) into ions when placed in water. This means that once you dunk the acid molecule in water, it splits apart and does not exist as a whole molecule in water. Strong acids form H+ and an anion, such as sulfuric acid:
H2SO4 –> H++ HSO4
There are six strong acids:
- hydrochloric acid (HCl)
- nitric acid (HNO3) used in fireworks and explosives
- sulfuric acid (H2SO4) which is the acid in your car battery
- hydrobromic acid (HBr)
- hydroiodic acid (HI)
- perchloric acid (HClO4)
The record-holder for the world’s strongest acid are the carborane superacids (over a million times stronger than concentrated sulfuric acid). Carborane acids are not highly corrosive even though are super-strong. Here’s the difference between acid strength and corrosiveness: the carborane acid is quick to donate protons, making it a super-strong acid. However, it not as reactive (negatively charged) as hydrofluoric (HF) acid, which is so corrosive that it will dissolve glass, many metals, and most plastics.
What makes the HF so corrosive is the highly reactive Fl– ion. Even though HF is super-corrosive, it’s not a strong acid because it does not completely dissociate (break apart into H+ and Fl–) in water. Do you see the difference? Weak acids only partly dissociate in water, such as acetic acid (CH3COOH).
On the other hand, bases taste bitter (again, don’t even think about putting these in your mouth!), feel slippery (don’t touch bases with your bare hands!), don’t change the color of litmus paper, but can turn red litmus back to blue, conduct electricity when in a solution, and react with acids to form salts and water. Soaps and detergents are usually bases, along with house cleaning products like ammonia.
Bases are also electron pair donors (they produce OH– ions). Strong bases also completely dissociate into the OH– (hydroxide ion) and a cation. LiOH (lithium hydroxide), NaOH (sodium hydroxide), KOH (potassium hydroxide), RbOH (rubidium hydroxide), CsOH (cesium hydroxide), Ca(OH)2 (calcium hydroxide), Sr(OH)2 (strontium hydroxide), and Ba(OH)2 (barium hydroxide). Weak bases only partly dissociate in water, such as ammonia (NH3)
pH stands for “power of hydrogen” and is a measure of how acidic a substance is. We can make homemade indicators to test how acidic (or basic) something is by squeezing out a special kind of juice (dye) called anthocyanin. Certain flowers have anthocyanin in their petals, which can change color depending on how acidic the soil is (hibiscus, hydrangeas, and marigolds for example). The more acidic a substance, the more red the indicator will become.
Going Further
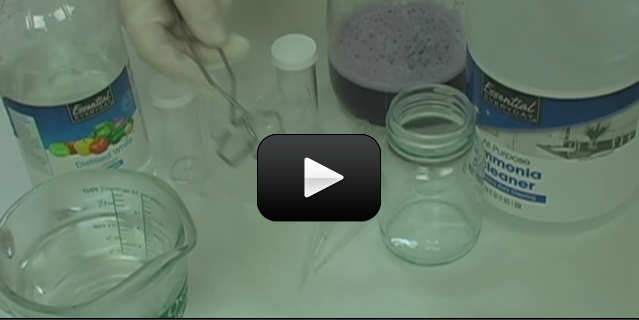
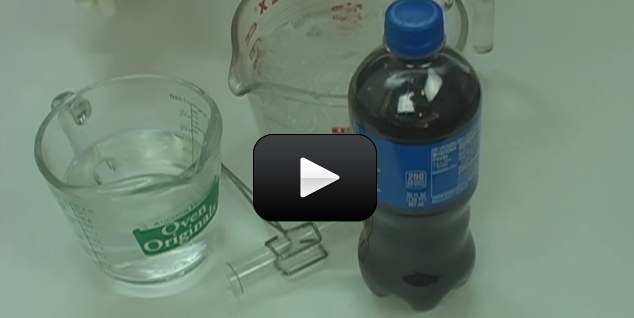
Experiment: What household items are acidic or basic? Test various liquids to see. You may be surprised. Liquids you should be sure to test are vinegar, lemon or orange juice, baking soda, and cola. Use a dropper to place drops onto the paper instead of dunking the strip into your entire carton of orange juice. Litmus flavored orange juice is not my first choice in the morning.
Experiment: Collect soil samples from various places. Not the types of plants growing in the immediate area you are sampling from. Place about an inch of dirt in the bottom of a test tube. Fill the test tube near the top with water. Use distilled water if you have it for more accuracy. Stopper the tube and shake vigorously. Use your pipette to place drops of the water on your litmus paper and see if the soil is acidic or basic. Is there a correlation between the acidity of the soil and the plants that grow there?
Note: Litmus paper will not be able to indicate how acidic the rain in your area is, because the acid content in the water droplet is not high enough to register on the indicator. The effects of acid rain take time to develop and require more sensitive equipment to detect. [/am4show]