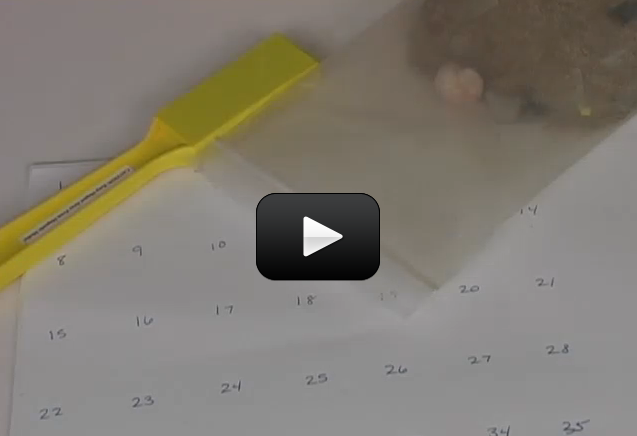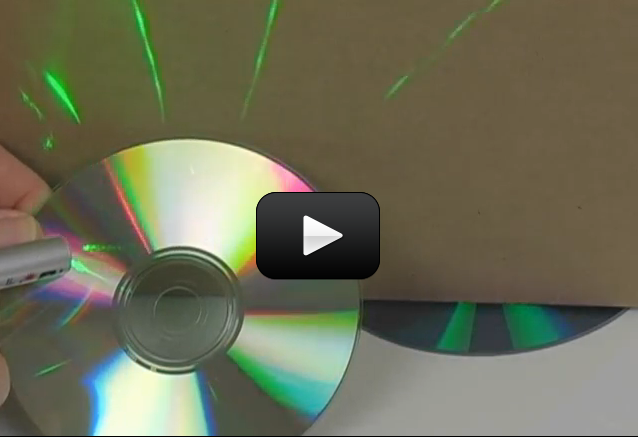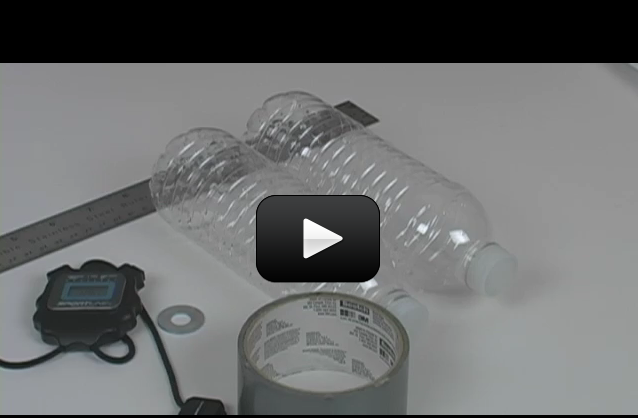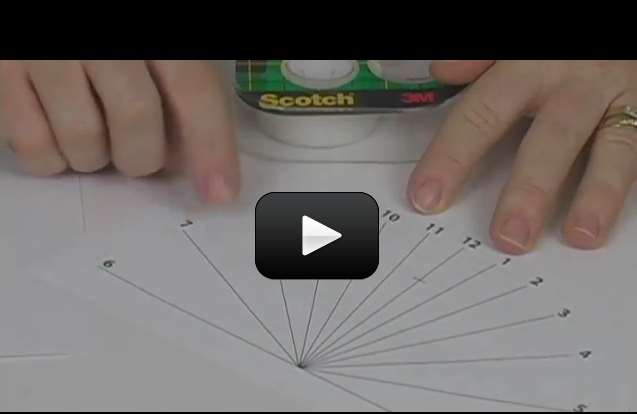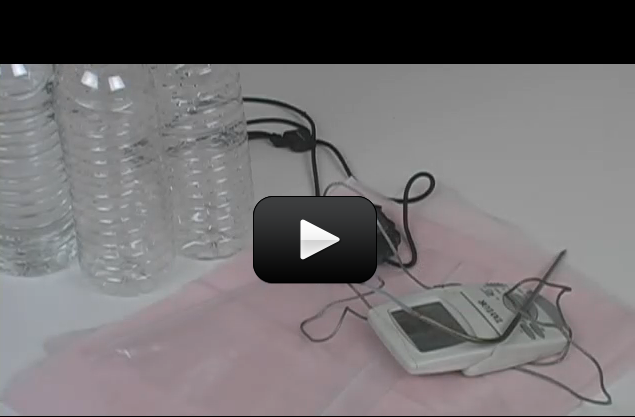
If you’re scratching your head during math class, wondering what you’ll ever use this stuff for, here’s a cool experiment that shows you how scientists use math to figure out the optical density of objects, called the “index of refraction”.


How much light bends as it goes through one medium to another depends on the index of refraction (refractive index) of the substances. There are lots of examples of devices that use the index of refraction, including fiber optics. Fiber optic cables are made out of a transparent material that has a higher index of refraction than the material around it (like air), so the waves stay trapped inside the cable and travel along it, bouncing internally along its length.  Eyeglasses use lenses that bend and distort the light to make images appear closer than they really are.
[am4show have=’p8;p9;p19;p46;p89;p99;’ guest_error=’Guest error message’ user_error=’User error message’ ]


Materials:

  • Paper
  • Laser
  • Pencil
  • Protractor
  • Ruler
  • Gelatin (1 box)
  • 1/2 cup sugar
  • 2 containers
  • Hot (boiling) water with adult help
  • Knife with adult help


Download Student Worksheet & Exercises


 Experiment:


  1. Mix two packets of gelatin with one cup of boiling water and stir well.
  2. To one of the containers, add 1/2 cup sugar. Label this one as “sugar” and put the lid on and store it in the fridge.
  3. Label the other as “plain” and also store it in the fridge. It takes about 2 hours to solidify. Wait, and then:
  4. Cut out a 3”x3” piece of gelatin from the plain container.
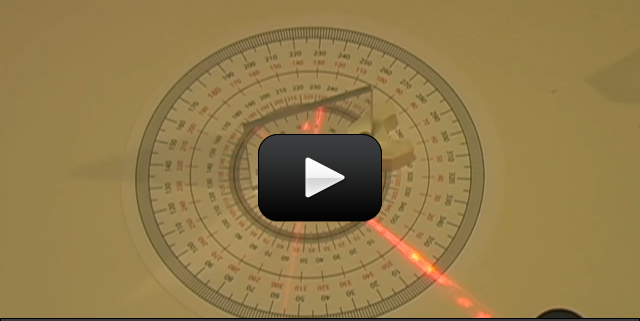
  5. On your sheet of paper, mark a long line across the horizontal, and then another line across the vertical (the “normal” line) as shown in the video.
  6. Mark the angle of incidence of 40o. This is the path your laser is going to travel on.
  7. Lay down the gelatin so the bottom part is aligned with the horizontal line.
  8. Shine your laser along the 40o angle of incidence. Make sure it intersects the origin.
  9. Measure the angle of refraction as the angle between the bent light in the gelatin and the normal line. (It’s 32o in the video.)
  10. Use Snell’s Law to determine the index of refraction of the gelatin: n1 sin θ1 = n2 sin θ2
  11. Repeat steps 4-10 with the sugar gelatin. Did you expect the index of refraction to be greater or less than the plain version, and why?

 Questions to Ask:


  1. Does reflection or refraction occur when light bounces off an object?
  2. Does reflection or refraction occur when light is bent?
  3. What type of material is used in a lens?
  4. What would happen if light goes from air to clear oil?

[/am4show]


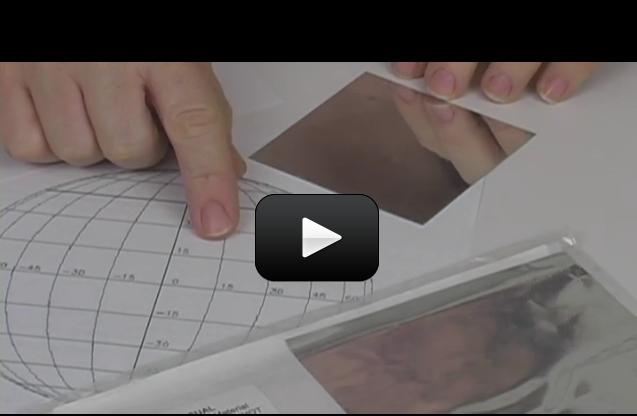
The angle that the reflected light makes with a line perpendicular to to the mirror is always equal to the angle of the incident ray for a plane (2-dimensional) surface.


We’re going to play with how light reflects off surfaces. At what angle does the light get reflected? This experiment will show you how to measure it.


[am4show have=’p8;p9;p19;p46;p89;p99;’ guest_error=’Guest error message’ user_error=’User error message’ ]


Materials:


  • laser
  • mirror
  • protractor
  • pencil
  • paper


These downloads are provided by Laser Classroom. Check out their website for more free downloads and really cool lasers!


Click here for the chapter in optics for advanced students.


Did you notice a pattern? When the laser beam hits the mirror at a 30o angle, it comes off the mirror at 60o, which means that the angle on both sides of a line perpendicular to the mirror are equal. That’s the law of reflection on a plane surface.


[/am4show]


This simple activity has surprising results! We’re going to bend light using plain water. Light bends when it travels from one medium to another, like going from air to a window, or from a window to water. Each time it travels to a new medium, it bends, or refracts. When light refracts, it changes speed and wavelength, which means it also changes direction.


[am4show have=’p8;p9;p19;p46;p89;p99;’ guest_error=’Guest error message’ user_error=’User error message’ ]


Materials:


  • Red and green laser
  • Paperclip
  • Index card
  • Tape
  • Rubber band
  • Water glass


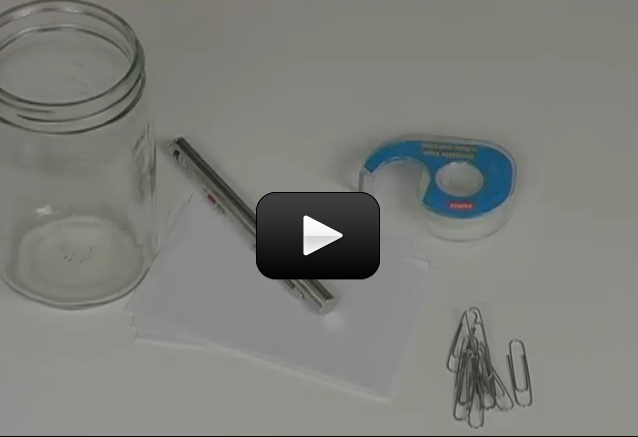
  1. Open the paperclip into an “L” shape, and tape it to an index card so the card stands up. This is your projection screen.
  2. Use the rubber band to attach the laser pointers together. You’ll want them very close and parallel to each other. Place the rubber band close to the ON button so the laser will stay on when you put the rubber band over it.
  3. Place the laser pointers on a stack of books and put switch them on with the rubber band.
  4. Shine the lasers through the middle of an empty glass jar and onto the screen.
  5. Put a mark where the red and green laser dots are on the screen.
  6. With the lasers still on, slowly fill the container with water. What happened to the dots?
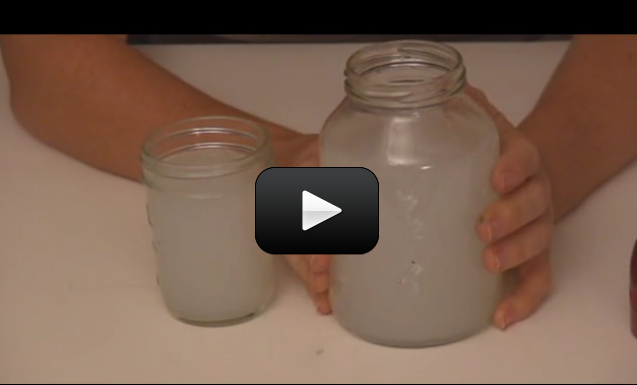
  7. You can add a couple of drops of milk or a tiny sprinkling of cornstarch to the water to see the beams in the water.

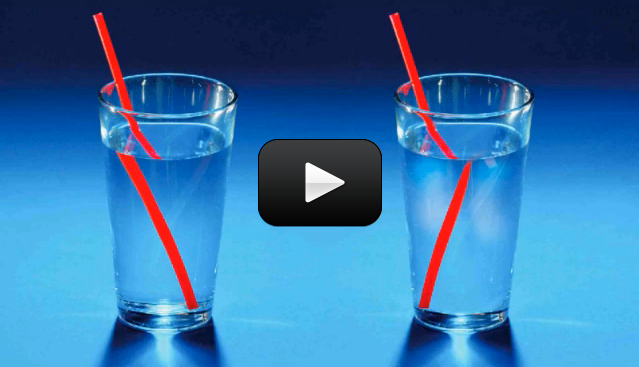
Here’s a quick activity you can do if the idea of refraction is new to you… Take a perfectly healthy pencil and place it in a clear glass of water.  Did you notice how your pencil is suddenly broken? What happened? Is it defective? Optical illusion?  Can you move your head around the glass in all directions and find the spot where the pencil gets fixed? Where do you need to look to see it broken?


When light travels from water to air, it bends. The amount it bends is measured by scientists and called the index of refraction, and it depends on the optical density of the material. The more dense the water, the slower the light moves, and the greater the light gets bent. What do you think will happen if you use cooking oil instead of water?


So the idea is that light can change speeds, and  depending on if the light is going from a lighter to an optically denser material (or vice versa), it will bend different amounts.  Glass is optically denser than water, which is denser than air. Here’s a couple of values for you to think about:


Vacuum 1.0000
Air 1.0003
Ice 1.3100
Water 1.3333
Pyrex 1.4740
Cooking Oil 1.4740
Diamond 2.4170


This means if you place a Pyrex container inside a beaker of vegetable oil, it will disappear, because it’s got the same index of refraction! This also works for some mineral oils and Karo syrup. Note however that the optical densities of liquids vary with temperature and concentration, and manufacturers are not perfectly consistent when they whip up a batch of this stuff, so some adjustments are needed.


Questions to Ask


1. Is there a viewing angle that makes the pencil whole?


2. Can we see light waves?


3. Why did the green and red laser dots move?


4. What happens if you use an optically denser material, like oil?
[/am4show]


Most people know not to shine lasers into sensitive places like eyeballs, but very few people can tell one laser from another. The truth is that not ALL lasers are dangerous, and there are different classifications of lasers. The most important information you need about laser safety is printed right on the laser itself.


Basic Laser Guidelines for Safety:
1. Never look directly at the beam source, or aperture
2. Never point the beam at another person
3. Always be mindful of where a “bouncing beam” will land due to reflection


[am4show have=’p8;p9;p19;p46;p89;p99;’ guest_error=’Guest error message’ user_error=’User error message’ ]


Download your student worksheet here! This download is provided by Laser Classroom. Check out their website for more free downloads and really cool lasers!


How do you enforce safety? After kids are familiar with laser classification (below), let them know that if you spot any dangerous activity around using a laser, the laser is yours (the adult) to keep forever. Period.


Are green lasers more dangerous than red lasers?


Laser Classification


Class 1 or Class I lasers do not emit hazardous levels of optical radiation. You’ll find theses types of lasers in the scanners of grocery stores at the check out counter. The beam paths and reflections are all enclosed.


Class 2 or Class II lasers are low-power visible lasers around 1 mW (milliwatt), and you’d really have to try hard to get injured by one of these types of lasers. Officially, it’s stated that this type of laser can have possible eye damage if you stare at the beam directly without blinking for at least 15 minutes.


Class 3 has two different levels of lasers, one being much more dangerous than the other.


Class 3a or IIIa lasers are 1 to 5 mW power and can’t injure you normally, but if you stare at the beam through something with lenses, like binoculars, then your eyes are toast.


Class 3b or IIIb lasers are lasers from 5mW to 500 mW, and these are the ones that cause eye injury with you look at them without any eye protection. These are NOT the ones you want kids playing with, as eye protection is always required when around these lasers.


Class 4 or IV are above 500 mW and these require not only eye protection to be around, but also skin protection. These lasers cause damage by the beam and the reflections of the beam, and are also a fire hazard.


[/am4show]


This set of experiments will show you the properties of light, including optics, diffraction, transmission, reflection, wavelength, intensity, and so much more. You’ll discover how light travels in a straight line, how light can turn a corner, split into several beams, and why objects can appear dark even when light is shining right on them.


[am4show have=’p8;p9;p19;p46;p89;p99;’ guest_error=’Guest error message’ user_error=’User error message’ ]


Materials: You can order all these parts in one kit called the Tech Light Lab!


  • three flashlights
  • fingernail polish (red, blue, and green)
  • clear tape
  • small mirror
  • paperclip
  • old CD or diffraction grating
  • clear pieces to shine your light through
  • protractor
  • pencil
  • ruler
  • index cards (3)
  • paper
  • three objects: one red, one blue, and one green
  • aluminum foil
  • tack
  • water glass
  • binder clip (optional)

This is a longer video that has several experiments on it. I left them all together in one long video, as the experiments build on each other, and this set is best done all together. You should be able to complete all of the experiments in about 35-45 minutes. Here are the experiments in the video:


  1. Diffraction Gratings
  2. Does Light Travel in a Straight Line?
  3. Exploring Shadows
  4. Reflecting Light
  5. Bouncing Light
  6. Adding Light
  7. Bending Light
  8. Refraction


Download your student worksheet here!


[/am4show]


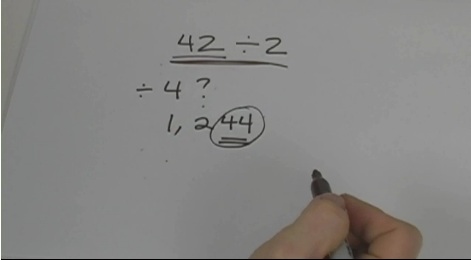
When it’s too hard to count ’em up and too much time to calculate, it’s time to guesstimate the answer. I use this technique all the time to “ball park” my answer so I know if I’ve made a mistake with my final answer.


[am4show have=’p8;p9;p11;p38;p92;’ guest_error=’Guest error message’ user_error=’User error message’ ]


Download the student worksheet that goes with this lesson.


This lesson is useful when you don’t need an exact answer, or if the numbers are way too long to remember. It’s really pretty simple to do: you round up or down, and the closer to the ones digit you can handle, the more exact your answer will be.
[/am4show]


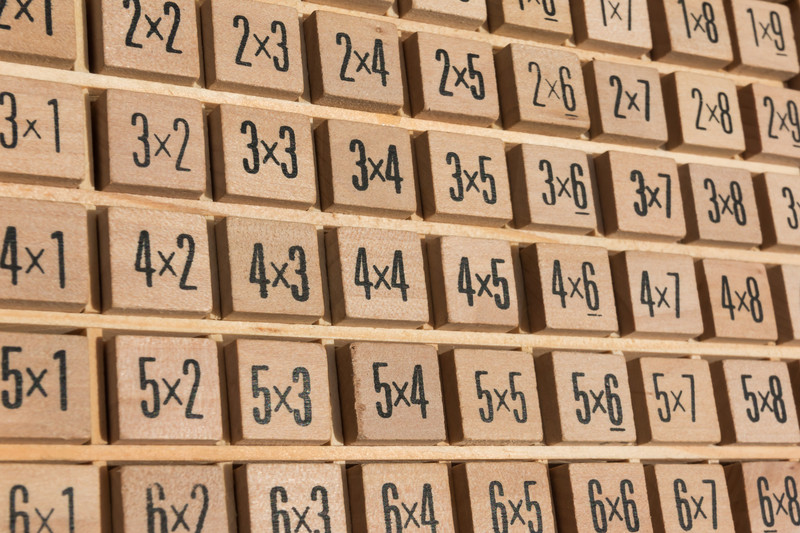
If you hate long division like I do, then this lesson will be very useful in showing you how to make the most out of your division tasks without losing sleep over it. It's easy, quick, and a whole lot of fun! If you haven’t already mastered your multiplication tables, make sure you have one handy to refer to as you go along.

[am4show have='p8;p9;p11;p38;p92;' guest_error='Guest error message' user_error='User error message' ]

Download the student worksheet that goes with this lesson.

Many, many thanks go to Arthur Benjamin, a mathematics professor extraordinaire and professional magician who inspired much of this content we covered today.
[/am4show]


If you don’t have the patience to do multiplication on paper for every single math problem that comes your way, then you’ll really enjoy this math lesson! You’ll be able to multiply one and two digit numbers in your head, which you’ll be able to use when checking your answers on a math test, or just whenever you need to multiply something quickly when paper’s not around.
[am4show have='p8;p9;p11;p38;p92;' guest_error='Guest error message' user_error='User error message' ]

Download the student worksheet that goes with this lesson.

If you haven’t already mastered your multiplication tables, make sure you have one handy to refer to as you go along.
[/am4show]


In school, you are trained to solve math problems on paper, at a desk. The problem with that is, for most people, math problems don’t usually come with a desk or a pencil. They pop up in the checkout line when paying for groceries, figuring out your gas mileage at the pump, or when counting calories at a restaurant. Learning how to solve math problems in your head is an essential everyday life skill, especially if you don’t want to be ripped off in money transactions.

[am4show have='p8;p9;p11;p38;p92;' guest_error='Guest error message' user_error='User error message' ]

Download the student worksheet that goes with this lesson.

Learning how to calculate in your head doesn’t have to be hard or scary, but it does require a little rewiring of the current math solving conditioning that you’ve already got in your brain. Specifically, we’re going to train your mind that when you solve math problems without paper, you must do it from left to right. It’s so much easier to think about math problems from left to right, so that’s how we’re going to do them.
[/am4show]


If you haven’t memorized your multiplication table yet, I am going to show you how to you need to memorize only three of the 400 numbers on a 20 times table in order to know your table.

[am4show have='p8;p9;p11;p38;p92;' guest_error='Guest error message' user_error='User error message' ]

Download the student worksheet that goes with this lesson.

Math isn’t about solving problems on any one particular way, but rather it’s about puzzling the solution out multiple ways! The times table is essential to doing math in your head, but you don’t need to know every cell on the table by heart. With a couple of quick tips and tricks, you’ll be able to know your table up to 20 without a lot of memorization simply by being clever about the way you go about it.
[/am4show]


This math lesson is so easy that one night, I wound up showing it to everyone in the pizza restaurant. Well, everyone who would listen, anyway. We were scribbling down the answers right on the pizza boxes with such excitement that I couldn’t help it – I started laughing right out loud about how excited everyone was about math - especially on a Saturday night.

[am4show have='p8;p9;p11;p38;p92;' guest_error='Guest error message' user_error='User error message' ]

Download the student worksheet that goes with this lesson.

When you do this calculation in front of friends or family, it’s more impressive if you hand a calculator out first and let them know that you are ‘testing to see if the calculator is working right’. Ask for a two digit number and have them check the calculator’s answer against yours.
[/am4show]


Here is the list of materials for doing ALL the experiments in the entire Unit 20 section on atmosphere and geology.


How many of these items do you already have? We’ve tried to keep it simple for you by making the majority of the items things most people have within reach (both physically and budget-wise), so you can pick and choose the experiments that fit with what you’d like to do. Since the lessons for Earth Science require very different materials, we’ve keep them in two separate itemized lists for you.


Here’s how to use this shopping list: First, look over the list and circle the items you already have on hand. Browse the experiments and note which ones use the materials you already have. Those are the experiments you can start with. After working through the experiments, your child might want to expand and do more activities. Make a note of the materials and put them on your next shopping trip OR order them online using the links provided below.


We’ve tried to keep it simple for you by making the majority of the items things most people have within reach (both physically and budget-wise). Are you ready?


Shopping List for Unit 20: Earth Science Click here for Shopping List for Unit 20.


NOTE: Radio Shack part numbers have been replaced. Click here for full chart.


Lesson 1: Atmosphere


  • activated carbon (found in a fish store)
  • alcohol burner or votive candle
  • alum (found in the grocery or drug store)
  • balloons (5)
  • black paint or spray (flat, not glossy)
  • black piece of paper
  • bowl
  • business card or index card
  • Celsius/Fahrenheit thermometer
  • cheese cloth
  • chemistry stand (optional)
  • clay
  • cotton balls (2)
  • Diaper Genie refill, or large plastic bags.
  • disposable cups (4)
  • disposable pie tin (2)
  • drill bits and drill with adult help
  • duct tape, masking tape
  • electric fan
  • film canister or soup can
  • food dye (red and blue)
  • funnel
  • garbage bag (lightweight, plastic)
  • glass jars (3)
  • glasses (2, identical)
  • gloves
  • goggles
  • hair dryer (hand held)
  • hair, single
  • highlighter (silver, or some aluminum foil)
  • hole punch
  • ice cubes
  • ketchup packet
  • lighter (with adult help)
  • lime (calcium hydroxide, found in gardening store)
  • marker
  • measuring cups
  • measuring spoons (1/4 and 1/2)
  • medicine dropper or syringe dropper
  • newspaper
  • paintbrush
  • paper
  • paper clips
  • pencil with eraser on top
  • pepper
  • ping pong ball
  • pinwheel (can be purchased or made from construction paper)
  • popsicle sticks (2)
  • right-angle glass tube inserted into a single-hole stopper (optional)
  • rubber tubing (optional)
  • rubbing alcohol
  • ruler
  • salt
  • saltwater
  • sand (clean sand)
  • scissors
  • shoe box  (small child’s size)
  • soda bottle (two liter)
  • soda cans (3, empty)
  • sodium acetate
  • stopwatch
  • stove or burner (with adult help)
  • straws (25)
  • string  (about 4 feet long)
  • Sun print paper or other paper sensitive to light
  • tacks or pins
  • tape
  • test tube (or medicine dropper)
  • test tube clamp
  • water bottles
  • wire screen

Lesson 2: Geology


Mineral & Rock Samples (These are the ones we used in the videos, but if you have your own collection, use those!)


Supplies:


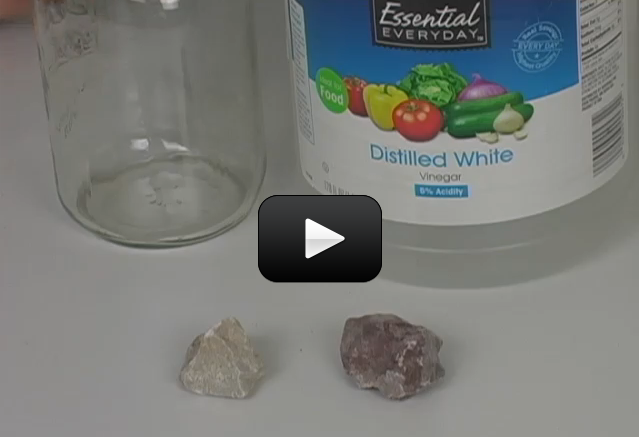
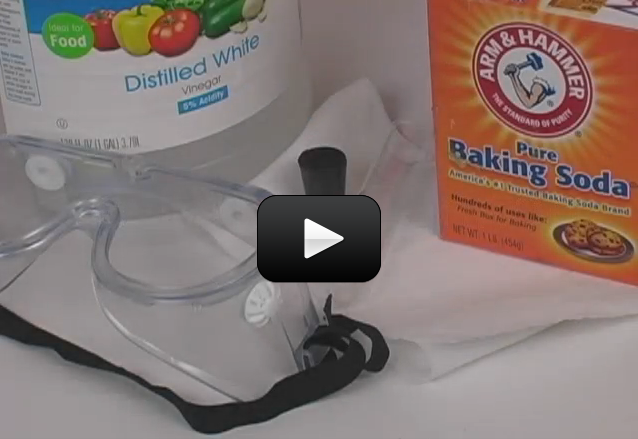
  • acetic acid (plain distilled white vinegar)
  • ammonia (adult supervision required!)
  • baking soda powder
  • borax (sodium tetraborate)
  • calcium hydroxide (also known as “lime”)
  • calculator
  • copper sulfate crystals
  • dirt
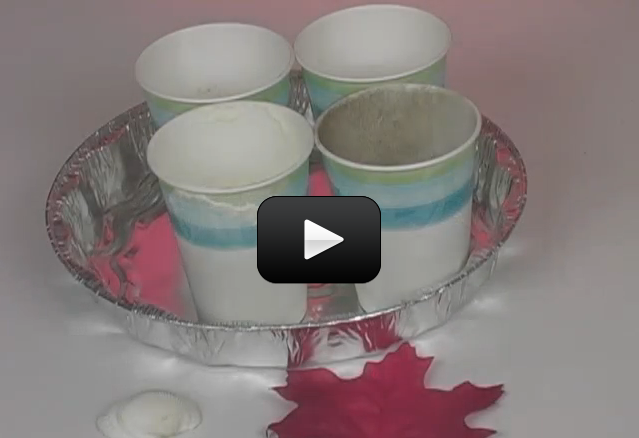
  • disposable paper cups (6)
  • eggshell halves (4), cleaned
  • empty egg carton
  • Epsom salts
  • flour
  • food coloring
  • funnel
  • glass (plate)
  • glass jar
  • goggles
  • hammer
  • kitchen sponge (2)
  • laundry bluing
  • longwave UV  light (included in the fluorescent minerals kit above)
  • magnet
  • magnifying lens (handheld)
  • measuring cup (milliliters (mL))
  • measuring tape
  • medicine dropper
  • mixing bowl
  • oil
  • paper clip
  • paper towels
  • paperclip
  • pennies (50)
  • penny
  • pie tins (6)
  • pipe cleaners (or string or skewer)
  • Plaster of Paris
  • plastic spoon
  • pliers (to bend paperclip)
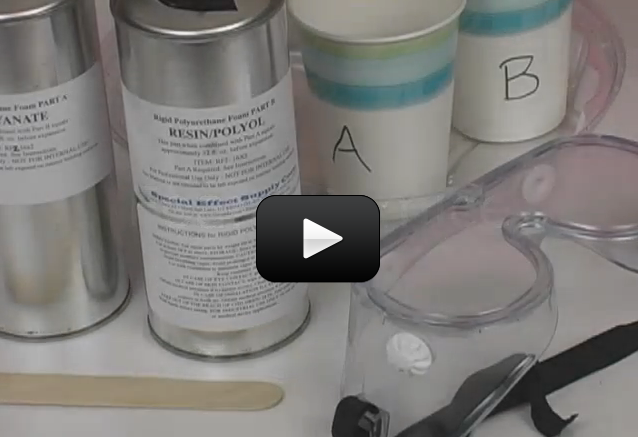
  • Polyurethane A & B
  • popsicle sticks
  • rubber stopper
  • ruler
  • salt
  • sand
  • scale (measures in grams)
  • scissors
  • shell (something to make a fossil of)
  • sodium silicate
  • steel nail
  • stove, pan, and adult help
  • straw
  • string
  • sugar
  • test tube
  • toilet paper
  • unglazed porcelain tile
  • votive candle
  • water bottles (2)
  • wooden skewer

We’re about to dive into a comprehensive course that teaches the big ideas behind rocks, minerals, and the science of geology. Soon you’ll learn how to burn coal, fluoresce minerals, chemically react rocks, streak powders, scratch glass, and play with atomic bonds as they learn how to be a real field geologist.


[am4show have=’p8;p9;p30;p57;p79;’ guest_error=’Guest error message’ user_error=’User error message’ ]


Everything is matter. Well, except for energy, but that’s everything else. Everything you can touch and feel is matter. It is made up of solid (kind of) atoms that combine and form in different ways to create light poles, swimming pools, poodles, Jell-O and even the smell coming from your pizza.


All matter is made of atoms. Shoes, air, watermelons, milk, wombats, you, everything is made of atoms. Hundreds and billions and zillions of atoms make up everything. When you fly your kite, it’s atoms moving against the kite that keep it in the air. When you float in a boat, it’s atoms under your boat holding it up.


My definition of an atom is: the smallest part of stable matter. There are things smaller than an atom, but they are unstable and can’t be around for long on their own. Atoms are very stable and can be around for long periods of time. Atoms rarely hang out on their own, though. They are outgoing and usually love to get together in groups. These groups of atoms are called molecules. A molecule can be made of anywhere from two atoms to millions of atoms. Together these atoms make absolutely everything, including the minerals, crystals, and rocks we’re about to study.


A periodic chart has a bunch of boxes. Each box represents one element. In each box is a ton of information about each element. All atoms are made from the same stuff; it’s just the amount of stuff that makes the atoms behave the way they do.


If you look at a periodic table you will notice that there will be about 112 to 118 different elements (this will vary depending on how recently the table was created). About 90 of those occur naturally in the universe. The other ones have been man-made and are very unstable. So imagine: Everything in existence, in the entire universe, is made of one or several of only about 90 different types of atoms. Everything, from pianos to pistachios are made from the same set of 90 different Legos!


Now, if you find that amazing, listen to this: Almost everything in the universe is mostly made of only twelve different kinds of atoms! But wait, there’s more.


All living things are mostly made of only five different kinds of atoms! Five! You and a hamster are made of the same stuff! All living and once-living things are made mostly of carbon, hydrogen, oxygen, nitrogen, and calcium. Ta daa! Those are the ingredients for life. Put ‘em in a bowl, stir and voila, you can make your own penguin.


Okay, obviously it’s not that easy. It takes a lot more than that to make life, but at least now you know the ingredients. An easy way to remember the main ingredients for living things is to remember the word CHONC. Each letter in CHONC is the first letter in the 5 elements carbon, hydrogen, oxygen, nitrogen and calcium.


One last interesting thing to think about here: Of all the atoms in the entire universe, 90% of them are hydrogen. Only 10% of the entire universe is made up of anything other than hydrogen.


Throughout this course, we’re going to be talking about the chemical composition (what elements rocks are made of), so you’ll really understand chemistry and geology both!


Minerals are pure chemical substances, made up entirely of one molecule through and through. Examples of minerals are everywhere. Rock salt is a mineral called halite. Fool’s gold is a mineral called pyrite. They are made of a single substance and nothing else. Rocks are composed of two or more minerals. We’re going to study rocks, minerals, crystals, and more in our unit on geology!


[/am4show]


You will be able to identify minerals by their colors and streaks, and be able to tell a sample of real gold from the fake look-alike called pyrite.


[am4show have=’p8;p9;p30;p57;p79;p70;’ guest_error=’Guest error message’ user_error=’User error message’ ]


Materials


  • 1 handheld magnifying lens
  • Unglazed porcelain tile
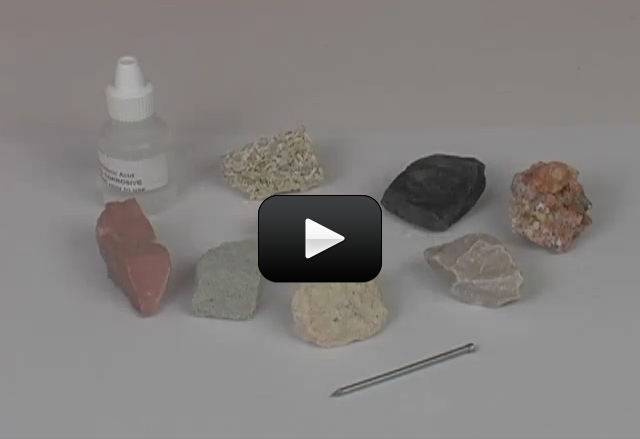
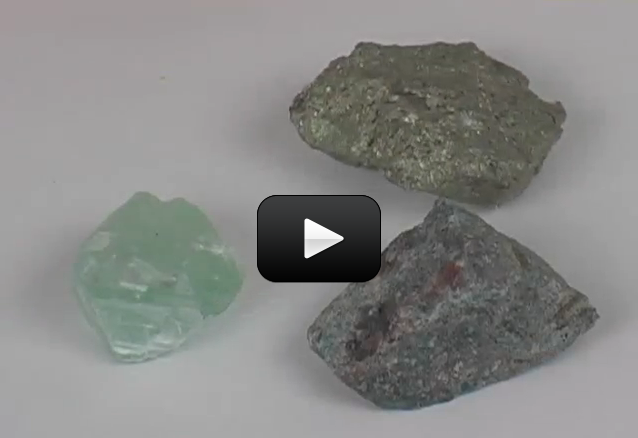
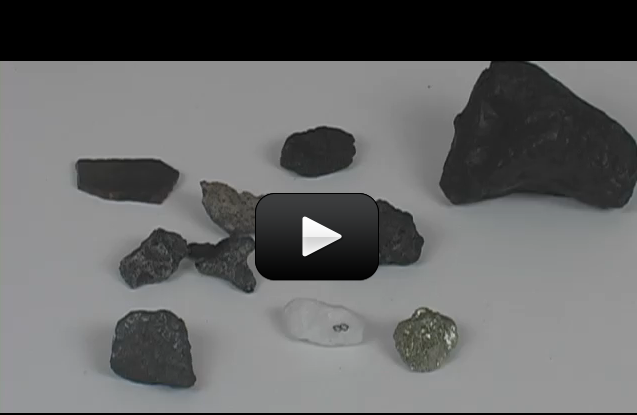
  • Rock samples (the ones in the video are: graphite, pyrite, talc, iron, and jasper)


Download worksheet and exercises


Every mineral has a set of unique characteristics that geologists use to test and identify them. Some of those tests include looking at the color of the surface, seeing if the mineral is attracted to a magnet, dripping weak acids on the rock to see if they chemically react, exposing them to different wavelengths of light to see how they respond, scratching the rocks with different kinds of materials to see which is harder, and many more. There are more than 2,000 different types of minerals and each is unique. Some are very hard like diamonds, others come in every color of the rainbow, like quartz and calcite, and others are very brittle like sulfur.


The color test is as simple as it sounds: Geologists look at the color and record it along with the identification number they’ve assigned to their mineral or rock. They also note if the color comes off in their hands (like hematite). This works well for minerals that are all one color, but it’s tricky for multi-colored minerals. For example, azurite is always blue no matter where you look. But quartz can be colorless, purple, rose, smoky, milky, and citrine (yellow).


Also, some minerals look different on the surface, but are really the same chemical composition. For example, calcite comes in many different colors, so surface color isn’t always the best way to tell which mineral is which. So geologists also use a “streak test”.


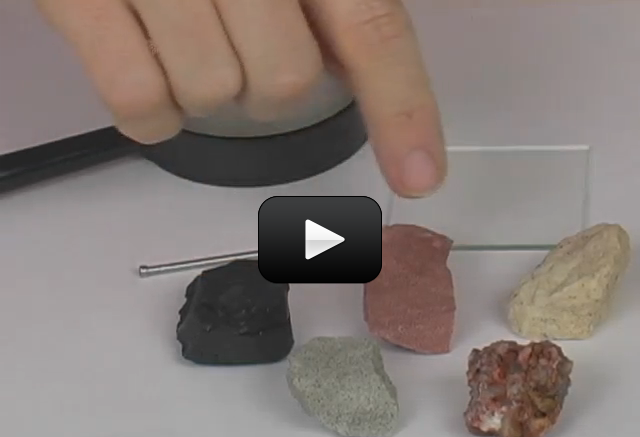
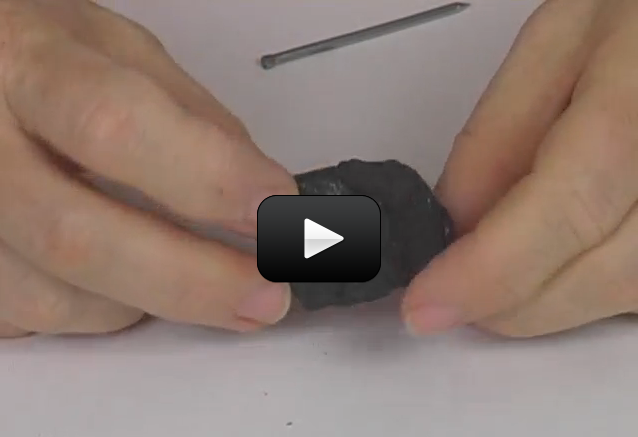
For a streak test, a mineral is used like a pencil and scratched across the surface of a ceramic tile (called a streak plate). The mineral makes a color that is unique for that mineral. For example, pink calcite and white calcite both leave the same color streak, as does hematite that comes in metallic silvery gray color and also deep red. This works because when the mineral, when scratched, is ground into a powder. All varieties of a given mineral have the same color streak, even if their surface colors vary. For example, hematite exists in two very different colors when dug up, but both varieties will leave a red streak. Pyrite, which looks a lot like real gold, leaves a black streak, while gold will leave a golden streak.


The tile is rough, hard, and white so it shows colors well. However, some minerals are harder than the mineral plate, like quartz and topaz, and you’ll just get a scratch on the plate, not a streak.


  1. Number your rock samples by placing them on your data table.
  2. Using your data table, record the color of each sample.
  3. Now use your streak plate. Take a rock and draw a short line across your streak plate (unglazed porcelain tile).
  4. Record the color of the streak in your data table. Are there any surprises?

Exercises


  1. What does it mean if there’s no streak left?
  2. Give an example of a kind of rock that leaves a streak a different color than its surface color.
  3. What is a mineral that appears in two different colors, yet leaves the same color streak?

[/am4show]


By the end of this lab, you will be able to line up rocks according to how hard they are by using a specific scale. The scale goes from 1 to 10, with 10 being the hardest minerals.
[am4show have=’p8;p9;p30;p57;p70;p79;’ guest_error=’Guest error message’ user_error=’User error message’ ]
Materials


  • Steel nail
  • Penny
  • Small plate of glass (optional)
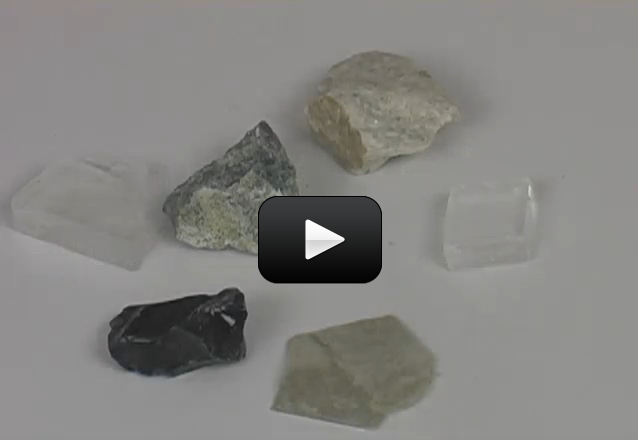
  • Rock samples (minerals in the video: talc, selenite, calcite, fluorite, apatite, feldspar, quartz)


Download worksheet and exercises


The sample’s hardness is determined by trying to scratch and be scratched by known materials, like pennies, steel, glass, and so forth. If the material leaves a mark on the mineral, then we know that the material is harder than the mineral is. We first start with a fingernail since it’s easy to use and very accessible. If it leaves a mark, that means that your fingernail is harder than the mineral and you know it’s pretty soft. Talc is one of the softest minerals, making it easy to scratch with your fingernail.


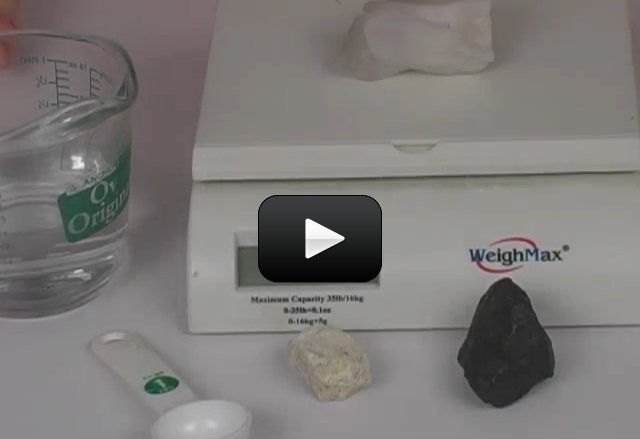
However, most minerals can’t be scratched with a fingernail, so we can try other objects, like copper pennies (which have a hardness of 2.5-3.5), steel nail (3.5-5.5), steel knife (5.5), and even quartz (7). The most difficult part of this experiment is keeping track of everything, so it’s a great opportunity to practice going slowly and recording your observations for each sample as you go along.


  1. Number your samples on the data table and place each rock on the table. If you have the same samples listed above, you can scratch each rock with every other rock to find where they are on the Mohs’ Hardness Scale, where 1 is the softest and 10 is the hardest:
    Mohs’ Scale of Hardness Talc


    1. Selenite
    2. Calcite
    3. Fluorite
    4. Apatite
    5. Feldspar
    6. Quartz
    7. Topaz
    8. Corundum
    9. Diamond
  2. If you don’t have one of each from the following scale (at least up to quartz), then you’ll need to do this experiment a different way – the way most geologists do it in the field. Here’s how:
  3. Scratch one of the rocks with your fingernail. If you can leave a mark, then write “Y” in the second column of the data table. Now skip over to the last column and estimate the hardness to be less than 2.5.
  4. If you can’t scratch it with your fingernail, try using the mineral to scratch a copper penny. If it doesn’t leave a mark on the penny, skip over to the last column and estimate the hardness to be between 2.5-3.5.
  5. If it does leave a scratch on the penny, then try scratching the mineral with a steel nail. If the nail leaves a scratch, skip over to the last column and estimate the hardness between 3.5-5.5.
  6. If you can’t scratch the sample with the nail, see if the mineral can make a scratch on the plate glass. Glass has a hardness of 6-7. If it doesn’t make a scratch on the glass, then it’s between 5.5-6.5. If it does, it’s higher than 6.5. For example quartz will make a scratch on the plate, and its hardness has been recorded at 7.

Exercises


  1. If a mineral scratches a penny but doesn’t get scratched by a nail, can you approximate its hardness?
  2. Give examples of the hardest and softest minerals on the Mohs’ Scale.
  3. Is feldspar harder or softer than quartz?

[/am4show]


Today, you’ll learn what to look for in a broken mineral. There are different names for the types of breaks that a mineral can experience. You’ll need to ask a few important questions during your investigation, like, “What is the difference between mineral cleavage and fracture?”


[am4show have=’p8;p9;p30;p57;p79;’ guest_error=’Guest error message’ user_error=’User error message’ ]
Materials


  • Mineral samples
  • Hand lens
  • Good lighting


Download worksheet and exercises


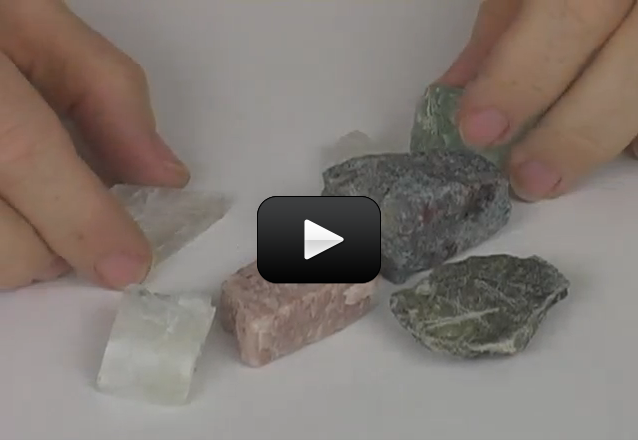
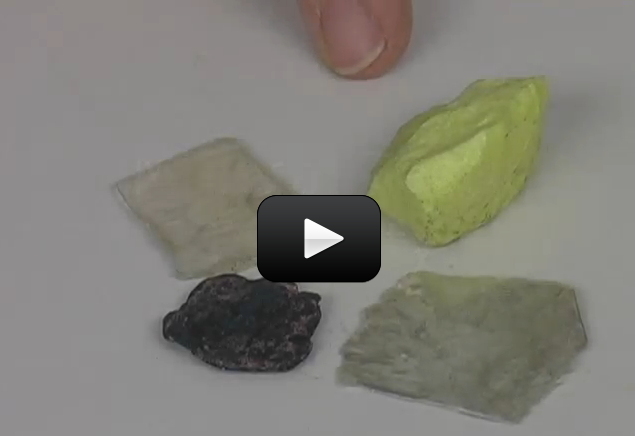
Cleavage and fractures are two properties that geologists test at the same time, both by observations. Using a hammer, geologists will break a mineral by studying how the mineral broke. They describe the way the surfaces look. Sometimes minerals break apart like they were stacked together in thin sheets. Other times they break off in large chunks, and the sides of each chunk are always at right angles. The way that they break into planes is called “cleavage.” Minerals can have cleavage in one direction, like mica, or two or three directions (like halite). The type of cleavage is also described using geometric terms. Halite has cubic cleavage because when it breaks, it looks like it’s made up of tiny cubes, while calcite has rhombic cleavage because it never breaks into right angles, but always in a rhombus, or diamond shape.


Fracture describes the surfaces that are broken but don’t break along plane lines. A mineral can have both cleavage and fracture, and some have either one or the other. Quartz has no cleavage, only fracture. Calcite has no fracture, only cleavage. Feldspar has both.


Geologist look for smooth surfaces, which can be (when viewed up close) cubes, triangles, or simple, flat plane surfaces. Always look for cleavage first, then fracture when making your data observations.


An easy way to look for cleavage is to hold the sample in sunlight and look for surfaces that reflect light and describe the surface in one of three ways for cleavage:


  • Perfect – the mineral breaks to reflect a clear, glass, or mirror-smooth surface.
  • Good – the mineral breaks to reveal a surface that reflects light, but may be dull in places.
  • Poor – the mineral breaks along clear planes and flat spaces are visible, but these are dull and could be ragged, and not very reflective.

Remember, a mineral can have more than one cleavage plane. For example, feldspar has two cleavages, one which is perfect and one which ranges from poor to good, depending on the sample. At first glance, you might not be able to tell feldspar from quartz, but if you look for cleavage, you’ll find feldspar has two planes of cleavage whereas quartz has none. Quartz will look like lots of broken surfaces that are not flat planes.


The way a mineral breaks depends on what the crystalline structure looks like. Here are some forms of cleavage:


  • Basal cleavage is cleavage on the horizontal plane, like mica. Basal cleavage samples can sometimes have their layers peeled away.
  • Cubic cleavage is found in mineral that have crystals that look like cubes., like with galena or halite.
  • Octahedral cleavage is found on crystals that have eight-sided crystals, like two pyramids with their bases stuck together. Look for flat, triangular wedges that peel off an octahedron, like in the mineral fluorite.
  • Prismatic cleavage is found in minerals that have four or more sides and are long in one direction, like aegirine, where the crystal cleaves on the vertical plane.
  • Rhombohedral cleavage is really my favorite, because it shows up in calcite so well due to its internal crystal structure, which is made up of hexagonal crystals. No matter where you look, there are no right angles to this cleavage – everything is at an angle.

Fracture can be described like this:


  • Conchoidal (like a shell, for example: obsidian)
  • Earthy (looks like freshly broken soil, like limonite)
  • Hackly or jagged (when a mineral is torn, like with naturally occurring silver or copper)
  • Splintery (looks like sharp, long fibrous points, like chrysolite)
  • Uneven (rough surface with random irregularities, like pyrite and magnetite)
  • Even or smooth (the fracture forms a smooth surface)
  1. You will begin by labeling each of the mineral samples, starting with 1. Make sure to keep track of these samples throughout the entire lab.
  2. Take the mineral samples and note which number it is on your observation data sheet.
  3. Using your hand lens, look carefully for little sparkles of surfaces that reflect light. These are the cleavage surfaces.
  4. In the space marked cleavage on your worksheet, label the cleavage as perfect, good, or poor. If there are no flat surfaces that are broken, write “none.” Some of your samples may have more than one cleavage. Make a note if this is the case.
  5. Now look for broken surfaces that are not flat. Place a check below the best category of fracture that the mineral shows. If there are no surfaces like this, mark “none.” If you are uncertain about either category, leave the section blank. It is better to record no information than to mark something that can mess up your data.

Exercises


  1. Which properties do geologists look for when they try to categorize a mineral? Circle all that apply.
    1. Color
    2. Shine
    3. Smell
    4. How it breaks
  2. If you break a sample of quartz and find that it has no clean surfaces of separation, what kind of cleavage does it show?
  3. True or false: A mineral can show more than one type of cleavage or fracture.
  4. What is a fracture called that is similar to glass?

[/am4show]