Without the sun, there would be no life on Earth. The sun warms the earth, generates wind, and carries water into the air to produce rain and snow. The energy of the sun provides sunlight for all the plant life on our planet, and through plants provides energy for all animals.
The sun is like a giant furnace in which hydrogen nuclei (atoms without electrons) are constantly smashed together to form helium nuclei. This process is called nuclear fusion. In this process, 3.6 billion kilograms (8 billion pounds) of matter are converted to pure energy every second. The temperature in the sun exceeds 15 million degrees.
Nuclear fusion is one kind of energy. Other forms of energy include: mechanical energy, heat, electrical energy, chemical energy, and light. Mechanical energy is the energy of organized motion, such as a turning wheel. Heat is the energy of random motion, such as a cup of hot water. Electrical energy is the energy of moving charged particles or electrons, such as a current in a wire. Chemical energy is the energy stored in bonds that hold atoms together. Light is any form of electromagnetic waves, such as X rays, microwaves, radio waves, ultraviolet light, or visible light.
Energy can be converted from one from to another. For example, the nuclear energy of the sun is converted to light, which goes through space to the earth. Solar collectors of mirrors can be used to focus some of that light to heat water to steam. This steam can be used to turn a turbine, which can power a generator to produce electricity.
Most of our energy needs are met by burning fossil fuels such as coal, oil, gasoline, and natural gas. The chemical energy stored in these substances is released by burning these fuels. When fossil fuels burn, they combine with oxygen in the air and produce heat and light.
Fossil fuels are not renewable. When they are used up, they are gone forever. However, renewable energy sources such as wind, sun, geothermal, biomass and water power are renewable. They can be used over and over to generate the energy to run our society.
Tremendous amounts of renewable energy are available. For example, the solar energy that falls on just the road surfaces in the United States is equal to the entire energy needs of the country. Although there are sufficient amounts of renewable energy, we must improve our methods of collecting, concentrating, and converting renewable energy into useful forms.
In the following experiments, you will learn something about the amount of energy the sun produces at the earth’s surface and how heat energy can be stored.
[am4show have=’p8;p9;p22;p49;p70;p84;p30;p57;’ guest_error=’Guest error message’ user_error=’User error message’ ]
Materials
- Water
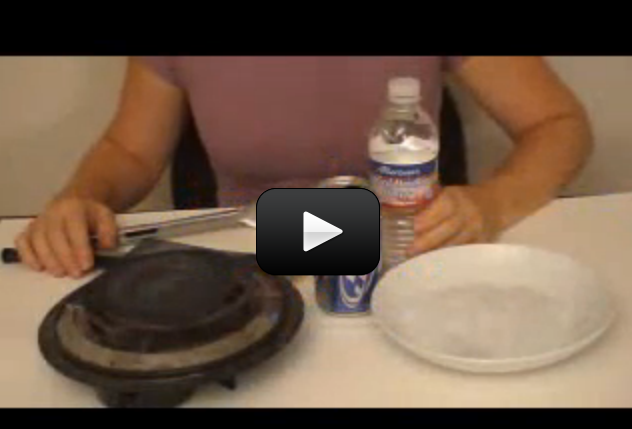
- Disposable, aluminum pie pan
- Paint brush
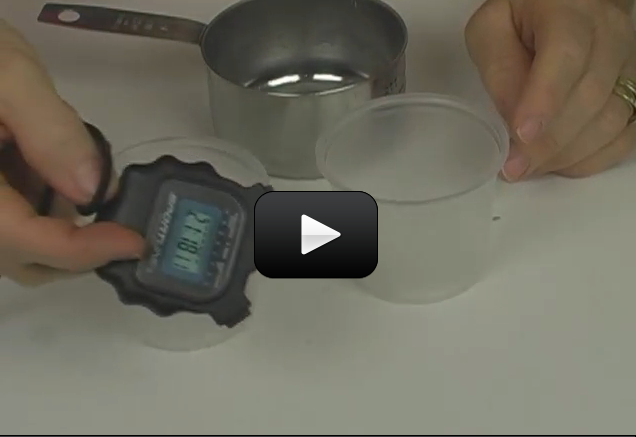
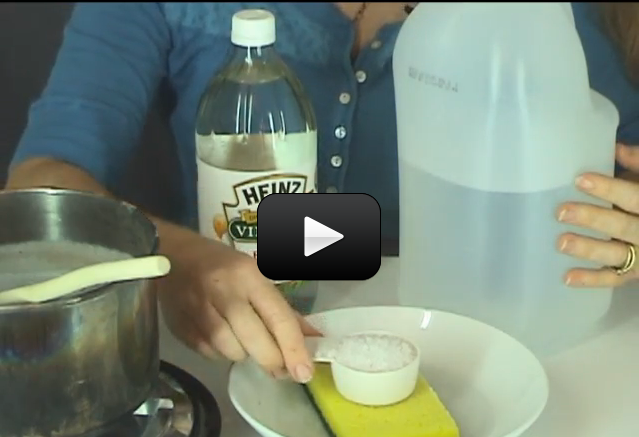
- Measuring cups
- Watch or clock
- Newspaper
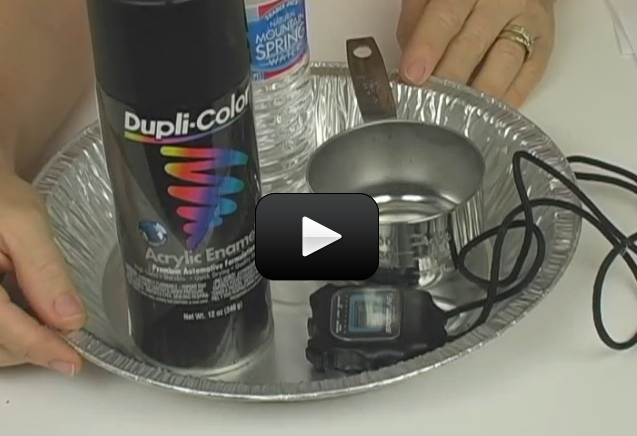
- Black paint or spray paint (flat, not shiny)
Procedure
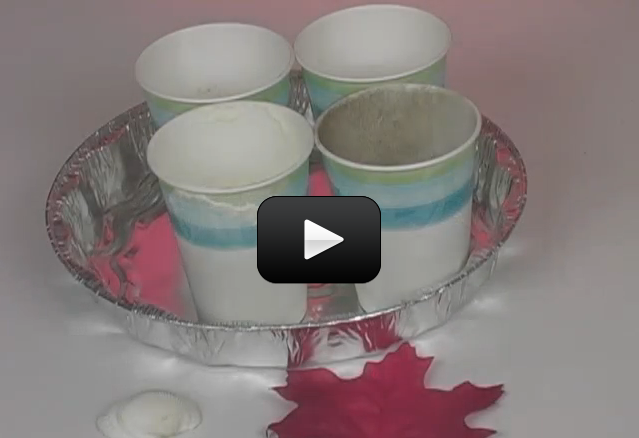
Go outside and spread out a sheet of newspaper. Place an aluminum pie pan on the newspaper. Carefully bend one spot on the edge of the pie pan to make a spout shape. This will allow you to more easily pour water out of the pan. Have an adult help you paint the inside of the aluminum pie pan. You can use a brush and a can of paint or spray paint. Be sure not to get the paint on anything except the disposable pie pan and the newspaper. After painting, set the pie pan where the paint can dry overnight.
You will need to do the rest of this experiment on a warm, sunny day. You do not want the pie pan to be in the shade. Set the aluminum pie pan in a warm, sunny spot. The sun will need to constantly shine on the pie pan. The black color of the pie pan allows it to absorb, rather than reflect, solar energy. You will need to begin the experiment about
11:00 A.M., so the solar heating will be done when the sun is high in the sky.
Add exactly one cup of water to the pie pan. Wait four hours while the sun is shining on the pan of water. After exactly four hours of sunshine, carefully pour the remaining water from the pie pan into a one-half or one-fourth measuring cup. Use these measuring cups to estimate the amount of remaining water to the nearest one-eighth of a cup.
Observations
Is the amount of water in the pie pan less than when you began the experiment? How much water is left in the pie pan after four hours of sunlight?
Discussion
You will probably observe that the amount of water in the pie pan is less after four hours of sunlight exposure. Where did the water go? As the sunlight shines on the dark surface of the painted pie pan, solar energy is absorbed and heats the pan and the water. This energy causes a portion of the water to evaporate. As water evaporates, it leaves the liquid form and goes into the air as a gas (water vapor). You will probably find that some, but not all, of the water evaporated.
Scientists use the unit of joule as a measure of energy. However, you may find it helpful to think in units of dietary calories instead of joules. One dietary calorie is equal to 4,184 joules of energy. One cup of breakfast cereal with one-half cup of milk would have about 240 dietary calories, or approximately 1,000,000 joules of energy. Although the earth receives only a tiny portion of the total energy output of the sun, the earth has a constant supply of 173 million billion (173,000,000,000,000,000) watts of solar power. A watt is a unit of power equal to a joule of energy used per second. For comparison, a typical light bulb to run a lamp in your home might require 100 watts of power. A million watts could supply the energy needs of about 500 average American homes.
Use the table below to determine the solar energy required to evaporate a certain amount of water. The amount of water remaining in the pan will allow you to determine how much energy was used, how much power was used, and the amount of power per area.
Your results will probably be in the middle range of this table. For example, if one-half of your water evaporated, then the water remaining would be one-half cup. Thus, the energy used to evaporate this water would be 289,000 joules of energy. This energy would give a power of 20 watts, and a power per area of 800 watts per square meter (watts / meter2).
|
Solar Energy Required to Evaporate Water
|
|
Water Remaining
(cup)
|
Water Evaporated (cup)
|
Energy
Used
(joules)
|
Power
Used
(watts)
|
Power per
Area
(watts / meter2)
|
|
1
|
0
|
0
|
0
|
0
|
|
7/8
|
1/8
|
72,250
|
5
|
200
|
|
3/4
|
1/4
|
144,500
|
10
|
400
|
|
5/8
|
3/8
|
216,750
|
15
|
600
|
|
1/2
|
1/2
|
289,000
|
20
|
800
|
|
3/8
|
5/8
|
361,250
|
25
|
1000
|
|
1/4
|
3/4
|
433,500
|
30
|
1200
|
|
1/8
|
7/8
|
505,750
|
35
|
1400
|
|
0
|
1
|
578,000
|
40
|
1600
|
The following procedure was used to generate the numbers in the Table. It is known that it takes 578,000 joules of energy to evaporate one cup of water. This known energy per cup is multiplied by the fraction of a cup that was evaporated. This gives the solar energy used to evaporate the water in the pie pan. The energy is divided by the number of seconds in four hours (14,400 seconds). This gives the power of the solar energy striking the pie pan, since a watt is equal to a joule per second. Finally, the power (in watts) is divided by the surface area of the pie pan (0.025 square meters) to give the power per area.
When the sun is overhead, the intensity of solar energy can be as much as 1,000 watts per square meter. If all of this energy could be converted to electricity, one square meter of sunshine would be enough to run ten 100-watt light bulbs. However, our current solar cells that convert sunlight to electricity are able to change only about 15 percent of the light to electricity.
You can see from this experiment that there is tremendous energy available from our sun. Most of this energy warms our planet or is reflected back into space. Among other things, the remaining portion of energy powers our water cycle, producing rain and snow, or provides plants with the energy they need to live.
Scientists and engineers are learning more about trapping solar energy and converting it to useful power. It has been estimated that all forms of potentially available renewable energy (wind, water, biomass, and direct solar) have an energy equivalent to 80 trillion barrels of oil. In other words, one year of renewable solar energy is 5,000 times greater than the current yearly energy needs of the United States. In comparison, it has been estimated that all the remaining coal, oil, natural gas, and other potential nonrenewable energy reserves of the United States are equal to about 8 trillion barrels of oil.
Since we do not yet know how to use a significant portion of this renewable energy, much work remains to be done. In the remainder of this book you will learn more about our current ability to use renewable energy and the promise it may hold for the future.
Other Things to Try
Repeat this experiment using different amounts of water on different days and compare the solar power you find.
Repeat this experiment in the late afternoon, when the sun is lower in the sky. How do your result compare to this experiment?
[/am4show]

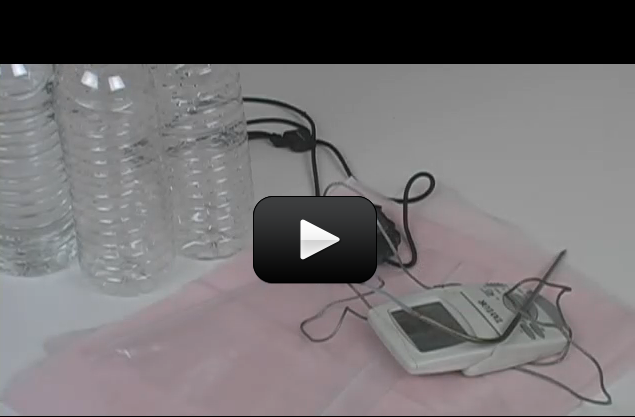


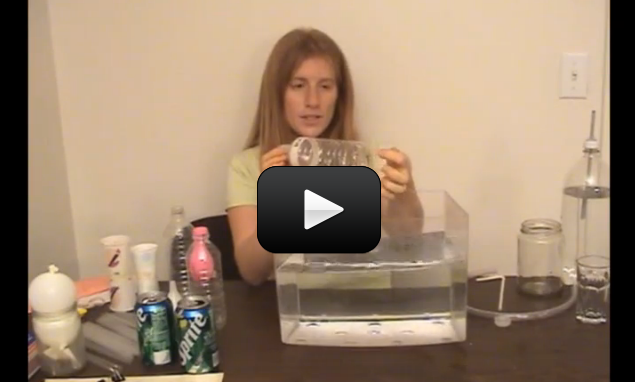


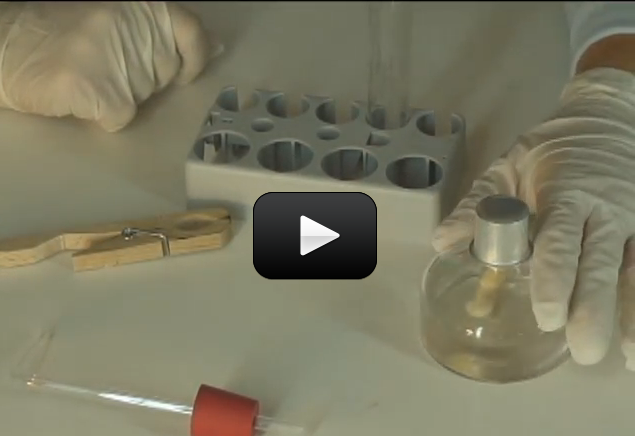
 If you’ve ever owned a fish tank, you know that you need a filter with a pump. Other than cleaning out the fish poop, why else do you need a filter? (Hint: think about a glass of water next to your bed. Does it taste different the next day?)
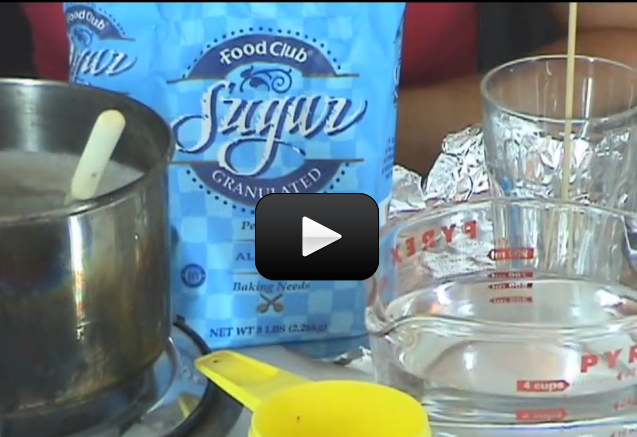
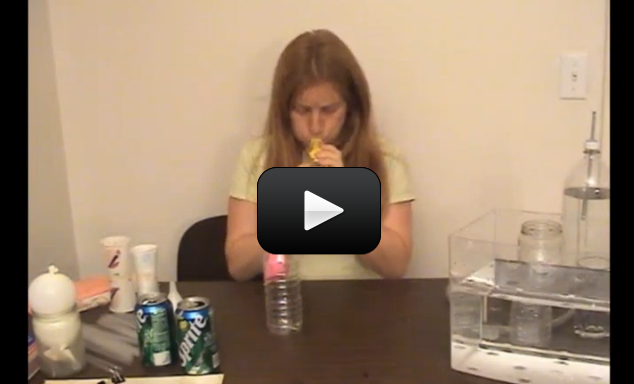
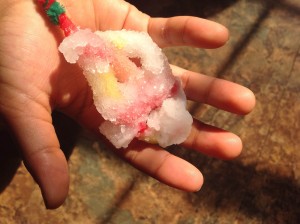
 8. Pour the sugar water into the jar. Put the whole thing aside in a quiet place for 2 days to a week. You may want to cover the jar with a paper towel to keep dust from getting in.
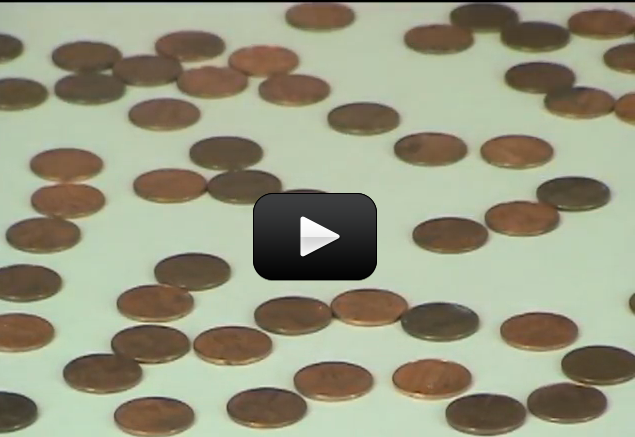
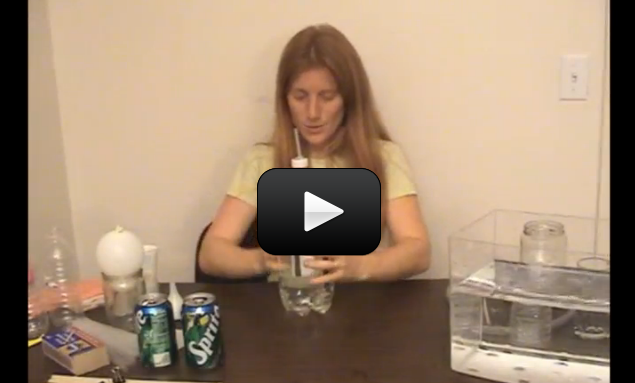
 The atoms in a solid, as we mentioned before, are usually held close to one another and tightly together. Imagine a bunch of folks all stuck to one another with glue. Each person can wiggle and jiggle but they can’t really move anywhere.
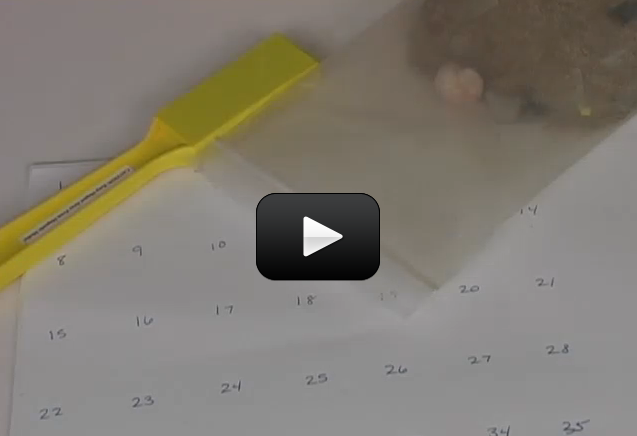
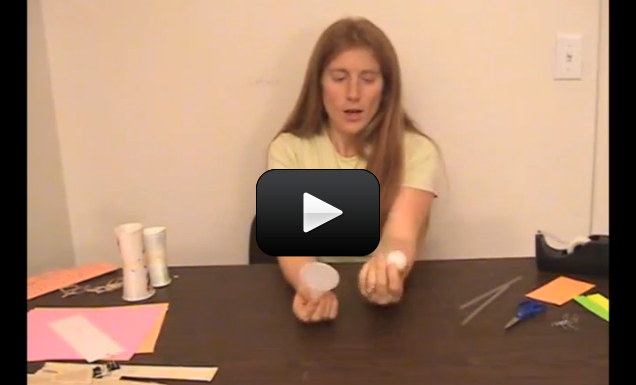
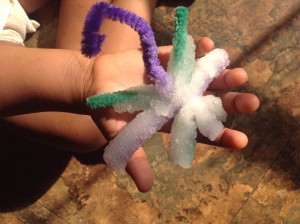
 Can we really make crystals out of soap? You bet! These crystals grow really fast, provided your solution is properly saturated. In only 12 hours, you should have sizable crystals sprouting up.
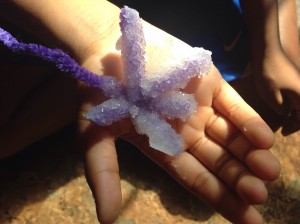

