Temperature is a way of talking about, measuring, and comparing the thermal energy of objects.
[am4show have=’p8;p9;p11;p38;p92;p23;p50;p151;p152;p71;p84;p88;p30;p57;’ guest_error=’Guest error message’ user_error=’User error message’ ]
The words “hot” , “cold”, “warm” and so forth describe what scientists call thermal energy. Thermal energy is how much the molecules are moving inside an object. The faster molecules move, the more thermal energy it has.
Objects that have molecules moving very quickly are said to have high thermal energy or high temperature. Like a cloud of steam, for example. The higher the temperature, the faster the molecules are moving inside that steam cloud.
Temperature is just a speedometer for molecules. The speed of the molecules in ice cream is way slower than it is in a hot shower.
If everything is made of molecules, and these molecules are speeding up and slowing down, what do you think happens if they change speed a lot? Do you think my kitchen table will start vibrating across the room if the table somehow gets too hot?
No, probably not, my table will not start jumping around the room, no matter how hot it gets. It would melt down into a mush first! But some interesting things do happen when molecules change speeds.
There are three common states of matter – I bet you know what they are already: solid, liquid, and gas. Water is really special because it can a solid, liquid or gas state pretty normal temperatures. You don’t need a mad scientist lab to get it to go into any of these three states.
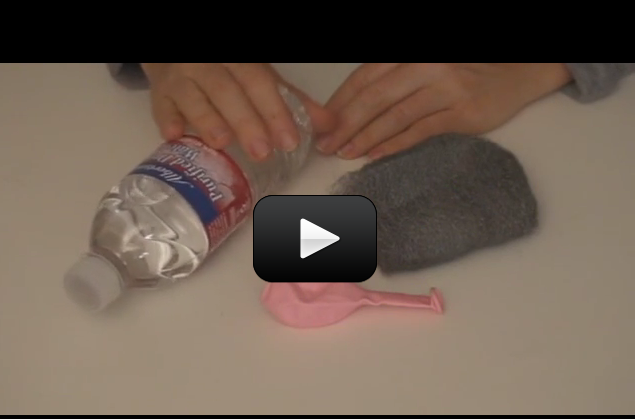
Water is one of the only substances that expands instead of shrinks when it freezes. It’s also a polar molecule, meaning that if you stick a static charge next to it, like a balloon you rubbed on your head, you can get the water to move.
Imagine an icicle. The water is in a solid state when it’s an icicle. It’s holding its shape. The molecules in the water are held together by strong, stiff bonds. These bonds hold the water molecules in a tight pattern called a matrix. This matrix holds the water molecules in a crystalline pattern.
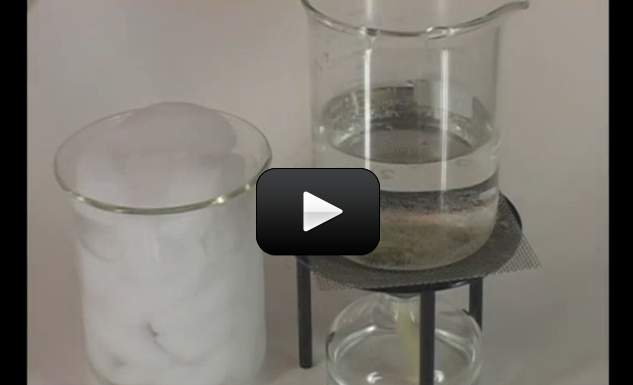
Can you imagine breaking off an icicle and sticking it in a tea kettle on the stove? Now, let’s pretend to turn on the heat. The heat is transferred from the stove to the kettle to the icicle.
What happens to our icicle?
As the icicle absorbs the heat, the molecules begin to vibrate faster (the temperature is increasing). When the molecules vibrate at a certain speed (they gain enough thermal energy) they stretch those strong, stiff matrix crystalline bonds enough that the bonds become more like rubber bands or springs and they stretch and get all loose-goosey.
That’s when the icicle becomes liquid. There are still bonds between the molecules, but they are a bit loose, allowing the molecules to move and flow around each other.
The act of changing from a solid to a liquid is called melting. The temperature at which a substance changes from a solid to a liquid is called its melting point. For water, that point is 32° F or 0° C. (Remember those numbers from the slide with all the temperature scales?)
Now if we continue heating, we see our icicle go from solid to completely liquid, and now we notice bubbling. What’s going on now?
Now the temperature is at 212° F or 100° C and the water is going from a liquid state to a gaseous state. This means that the loosey goosey bonds that connected the molecules before have been stretched as far as they go, can’t hold on any longer and “POW!” they snap.
Those water molecules no longer have any bonds and are free to roam aimlessly around the room (think toddlers). Gas molecules move at very quick speeds as they bounce, jiggle, crash and zip around any container they are in (kind of like toddles on sugar). The act of changing from a liquid to a gas is called evaporation or boiling and the temperature at which a substance changes from a liquid to a gas is called its boiling point.
Now if we turn off the stove, what do you think happens?
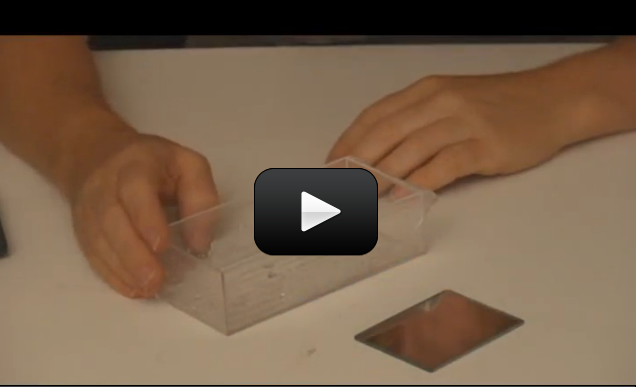
Our gaseous water molecules get close to something cool, they will combine and turn from gaseous to liquid state. This is what happens to your bathroom mirror during a shower or bath. The gaseous water molecules that are having fun bouncing and jiggling around the bathroom get close to the mirror. The mirror is colder than the air. As the gas molecules get close they slow down due to loss of temperature. If they slow enough, they form loosey goosey bonds with other gas molecules and change from gas to liquid state.
The act of changing from gas to liquid is called condensation. The temperature at which molecules change from a gas to a liquid is called the condensation point. Clouds are made of hundreds of billions of tiny little droplets of liquid water that have condensed onto particles of some sort of dust.
Now let’s turn the heat down a bit more and see what happens. Imagine we stick the tea kettle in the freezer. As the temperature drops and the molecules continue to slow, the bonds between the molecules can pull them together tighter and tighter.
Eventually the molecules will fall into a matrix, a pattern, and stick together quite tightly. This would be the solid state. The act of changing from a liquid to a solid is called freezing and the temperature at which it changes is called (say it with me now) freezing point.
Think about this for a second – is the freezing point and melting point of an object at the same temperature? Does something go from solid to liquid or from liquid to solid at the same temperature?
If you said yes, you’re right!
The freezing point of water and the melting point of water are both 32° F or 0° C. The temperature is the same. It just depends on whether it is getting hotter or colder as to whether the water is freezing or melting.
The boiling and condensation point is also the same point.
Crazy Temperatures
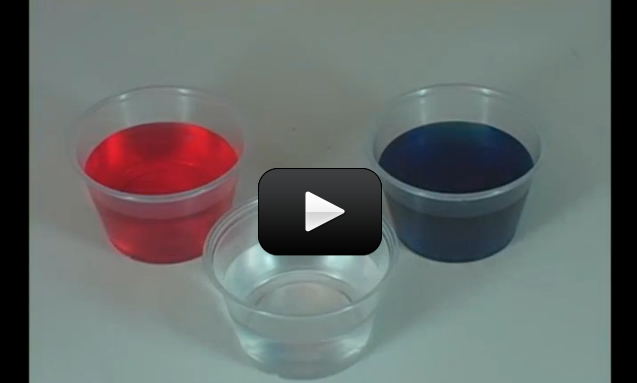
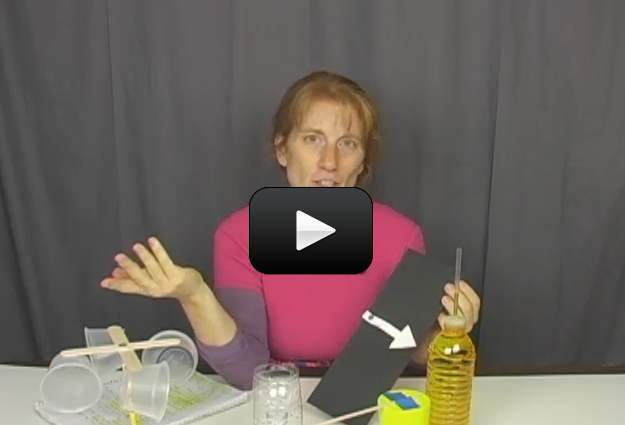
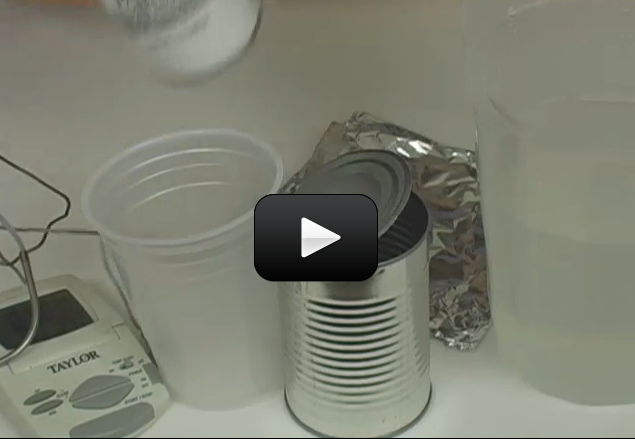
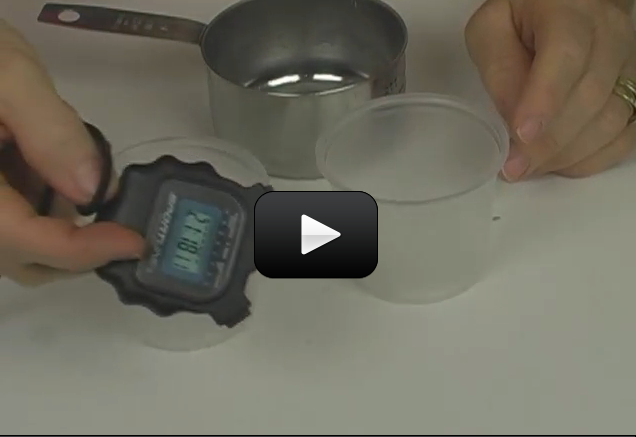
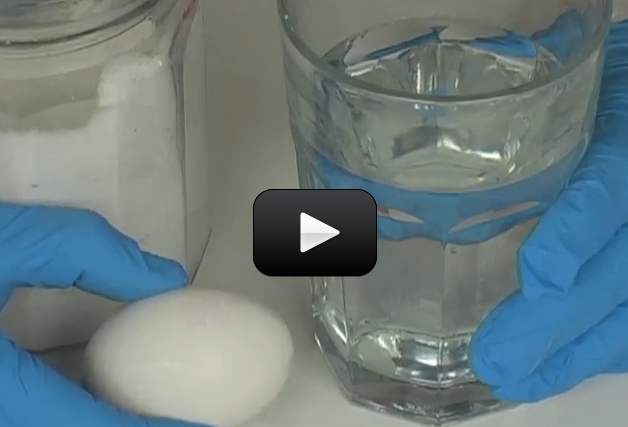
Here’s an experiment you can do to baffle your senses: Fill one glass with hot water (not boiling), another with ice water, and a third with room temperature water. Place a finger in the hot water and a finger in the ice cold water for a minute or two. Then stick both fingers in the room temperature cup.
How does that feel?
Did it seem that each finger detected a different temperature when placed in the room temperature cup? Weird! So what gives?
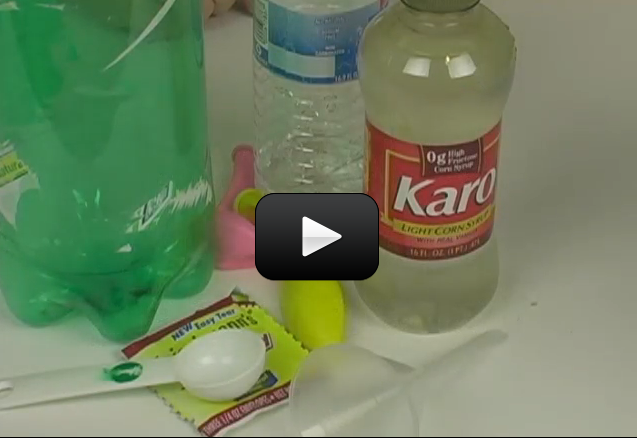
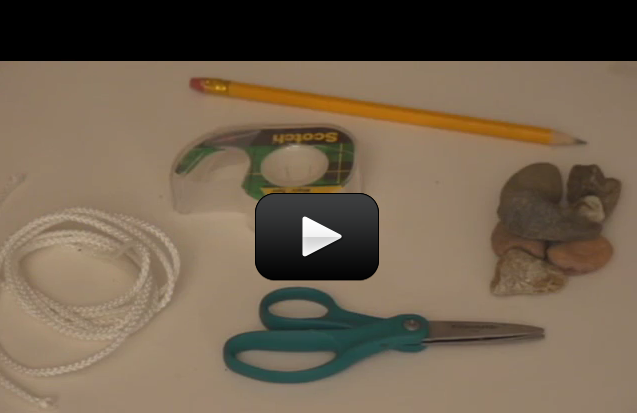
Materials:
- 3 cups of water (see video)
- your hands
Download Student Worksheet & Exercises
Your skin contains temperature sensors that work by detecting the direction heat flow (in or out of your body), not temperature directly. These sensors change temperature depending on their surroundings. So when you heated up one finger, and then placed it in cooler water, the heat flowed out of your body, telling your brain it was getting cooler. The ice water finger was detecting a heat flow into your body… and presto! You have one confused brain.
In order for heat to flow, you need to have a temperature difference. Did you notice how your fingers weren’t good thermometers with this experiment? This is why scientists had to invent the thermometer, because the human body isn’t designed to detect temperature, only heat flow.
[/am4show]

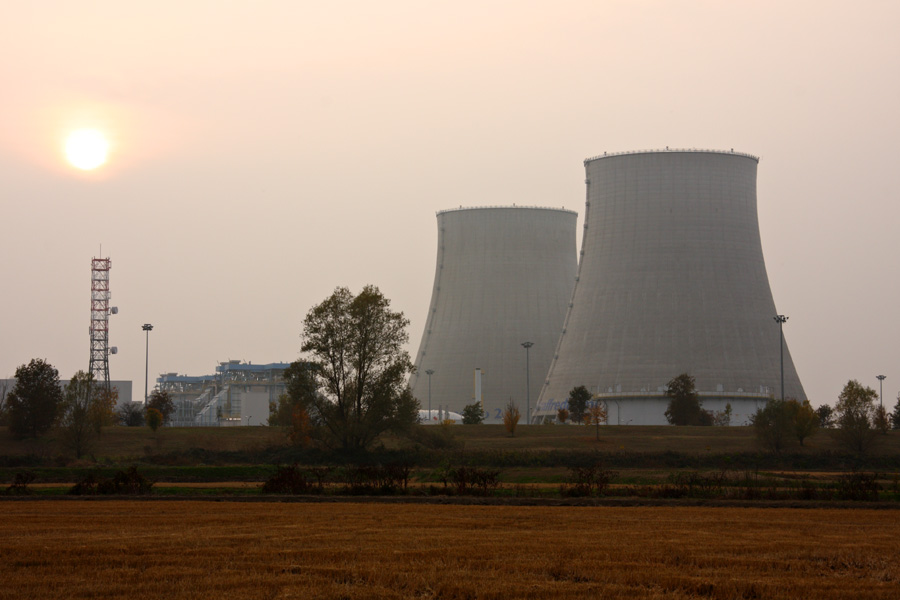
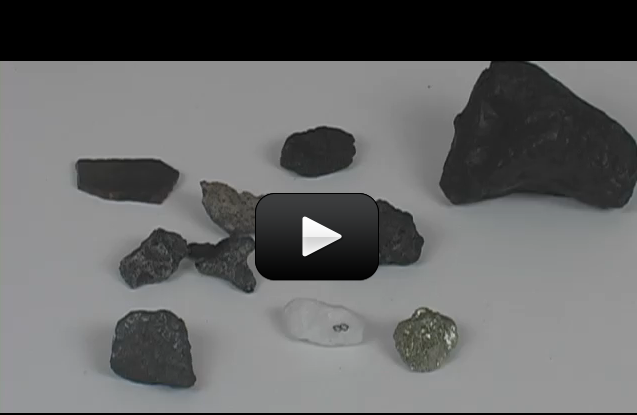
 Fossil fuels, which include petroleum, natural gas, and coal, supply nearly 90 percent of the energy needs of the United States and other industrialized nations. Because of their high demand, these nonrenewable energy resources are rapidly being consumed. Coal supplies are expected to last about a thousand years.
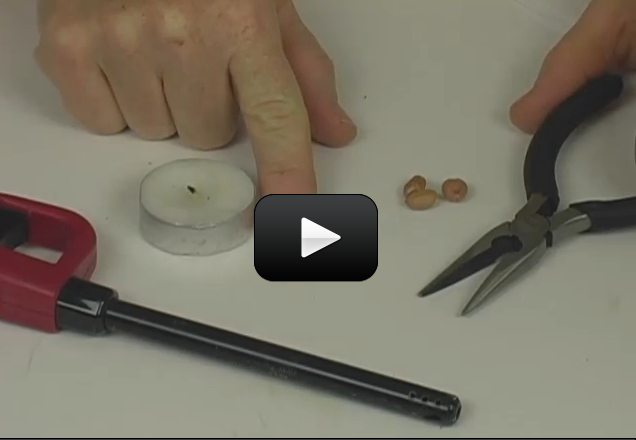
 The atoms in a solid, as we mentioned before, are usually held close to one another and tightly together. Imagine a bunch of folks all stuck to one another with glue. Each person can wiggle and jiggle but they can’t really move anywhere.
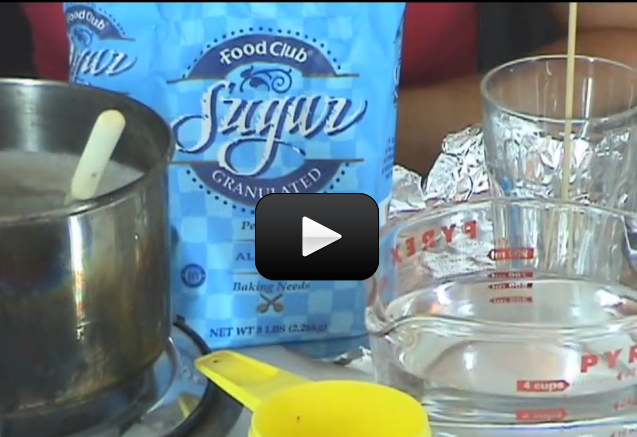
 8. Pour the sugar water into the jar. Put the whole thing aside in a quiet place for 2 days to a week. You may want to cover the jar with a paper towel to keep dust from getting in.


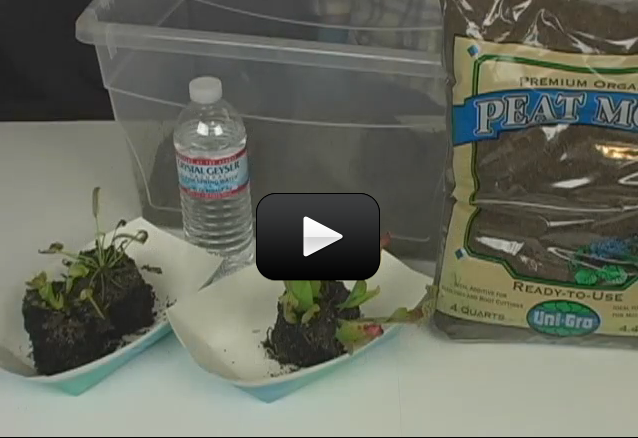
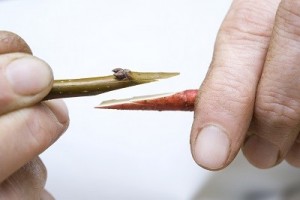 If you’ve ever eaten fruits or vegetables (and let’s hope you have), you have benefited from plants as food. Of course, the plants we eat have been highly modified by growers to produce larger and sweeter fruit, or heartier vegetables.

 Broccoli, like all plants, has chlorophyll, making it green. You can really “see” the chlorophyll when you boil broccoli. This is such a simple experiment that you can do this as you prepare dinner tonight with your kids. Make sure you have an extra head of broccoli for this experiment, unless you really like to eat overcooked broccoli.


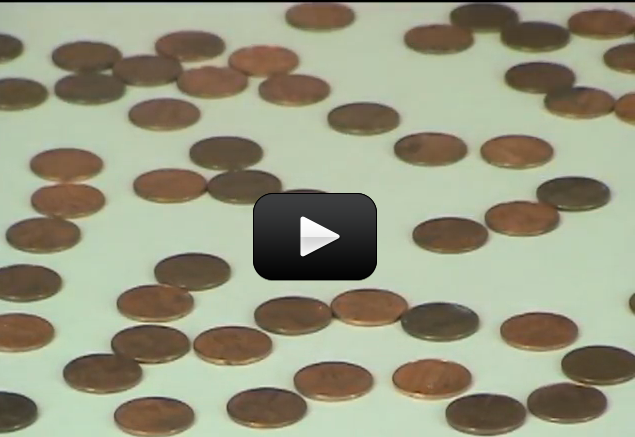
 Grab a handful of buttons. Make sure there are all different kinds and colors.
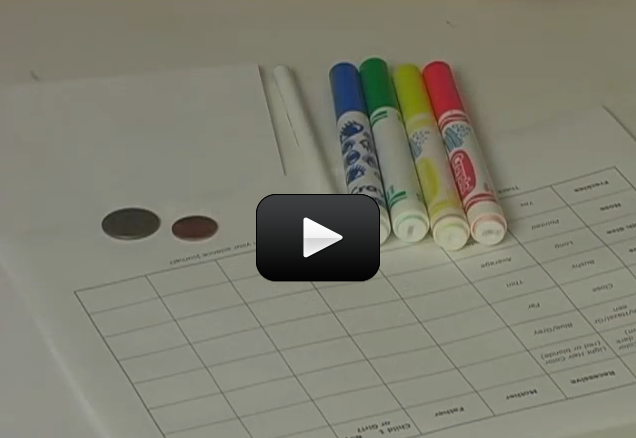


 You should see a bluish or yellowish light coming from the middle section of the grape. This is plasma! Be careful not to overcook the grape. It will smoke and stink if you let it overcook. Also, make sure the grape has time to cool before taking it out of the microwave.
 When you warm up leftovers, have you ever wondered why the microwave heats the food and not the plate? (Well, some plates, anyway.) It has to do with the way microwaves work.
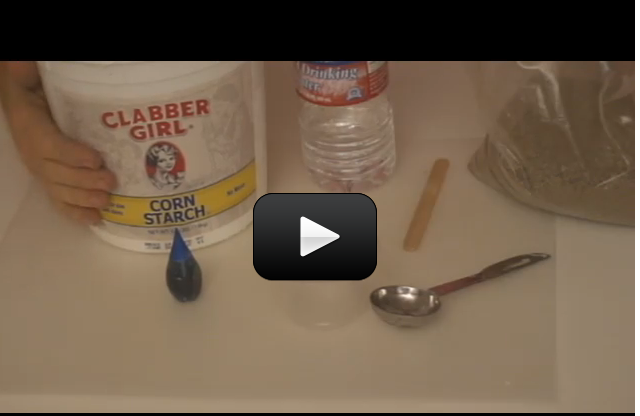
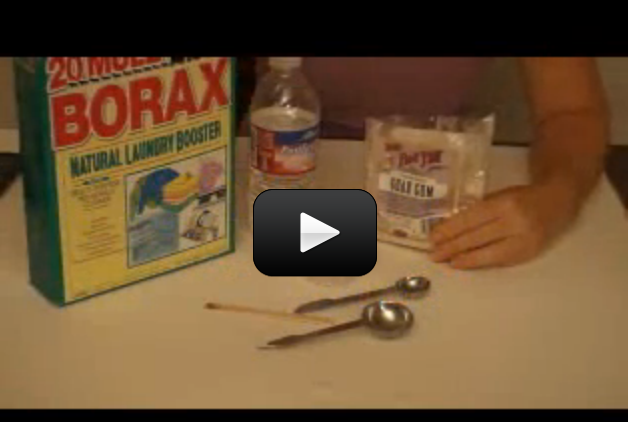
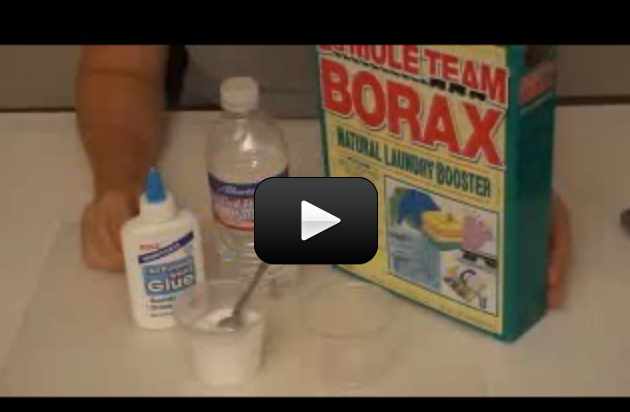
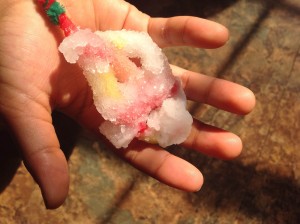
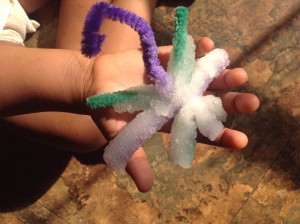
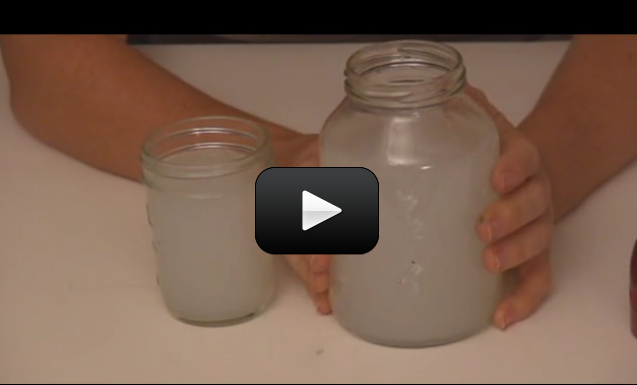
 Can we really make crystals out of soap? You bet! These crystals grow really fast, provided your solution is properly saturated. In only 12 hours, you should have sizable crystals sprouting up.
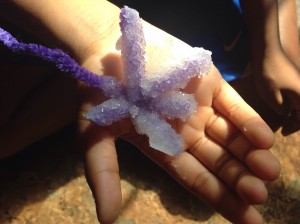

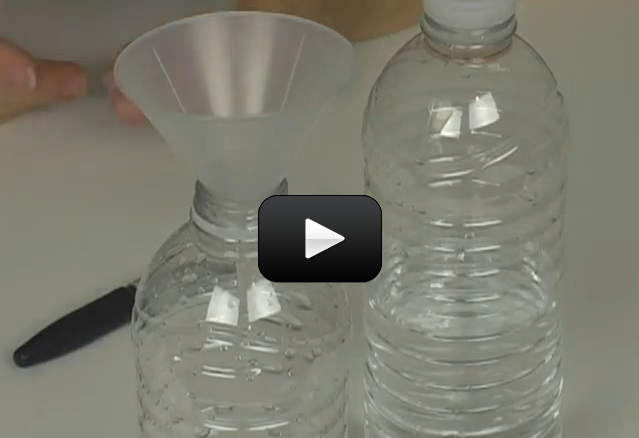
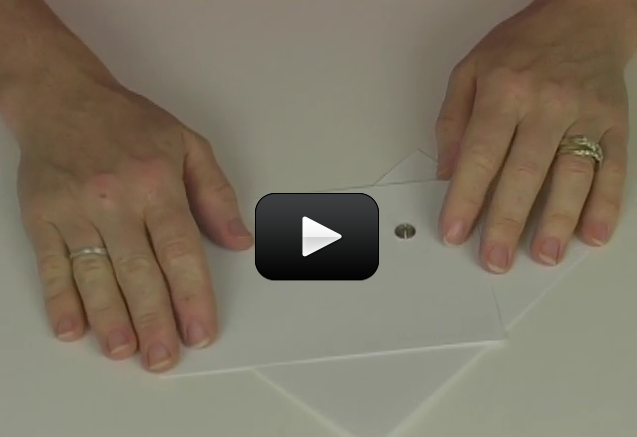
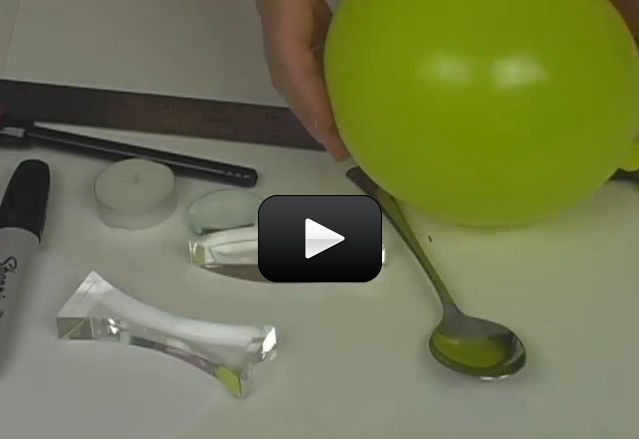
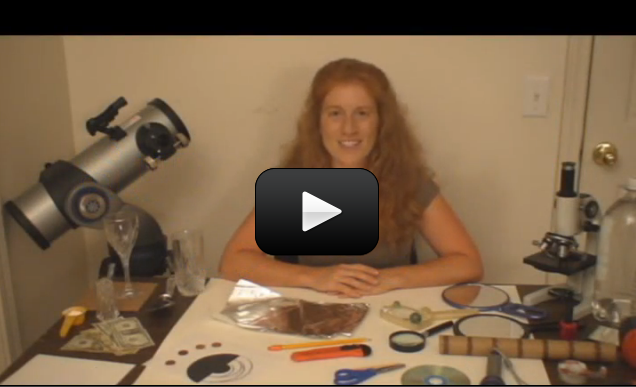
 Did you know you can create a compound microscope and a refractor telescope using the same materials? It’s all in how you use them to bend the light. These two experiments cover the fundamental basics of how two double-convex lenses can be used to make objects appear larger when right up close or farther away.
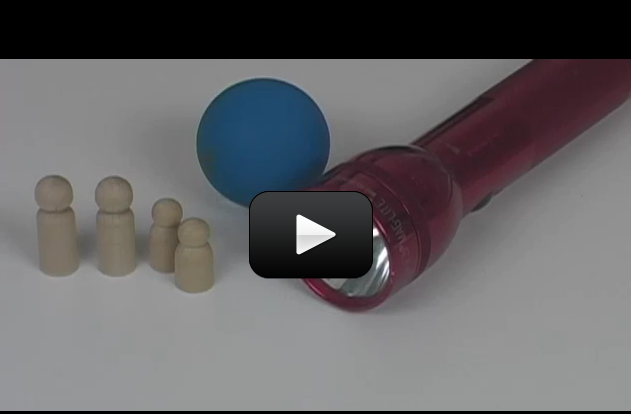
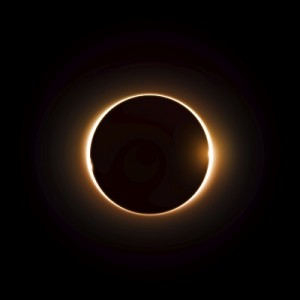 It just so happens that the Sun’s diameter is about 400 times larger than the Moon, but the Moon is 400 times closer than the Sun. This makes the Sun and Moon appear to be about the same size in the sky as viewed from Earth. This is also why the eclipse thing is such a big deal for our planet. You’re about to make your own eclipses as you learn about syzygy.


 The solar system is the place that is affected by the gravity our sun. Our solar system includes rocky terrestrial planets (Mercury, Venus, Earth, and Mars), gas giants (Jupiter and Saturn), ice giants (Uranus and Neptune), and assorted chunks of ice and dust that make up various comets and asteroids. The eight planets follow a near-circular orbit around the sun, and many have moons.
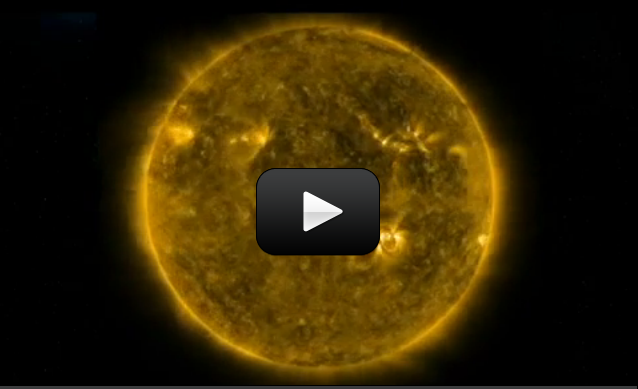
 The nuclear reactions deep in the core transforms 600 million tons per second of hydrogen into helium. This gives off huge amounts of energy which gradually works its way from the 15 million-degree Celsius temperature core to the 15,000 degree Celsius surface.
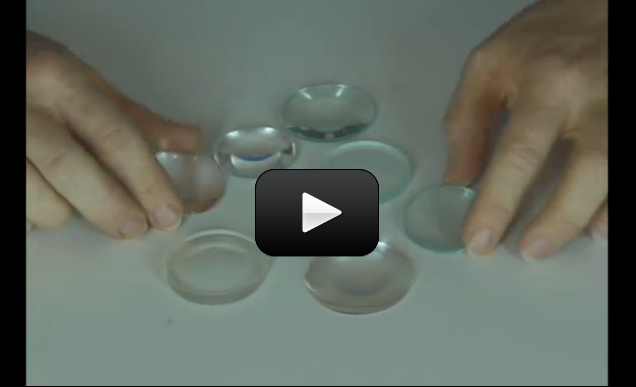
 An optical table gives you a solid surface to work on and nails down your parts so they don’t move. This is an image taken with Schlieren photography. This technique picks up the changes in air density (which is a measure of pressure and volume).
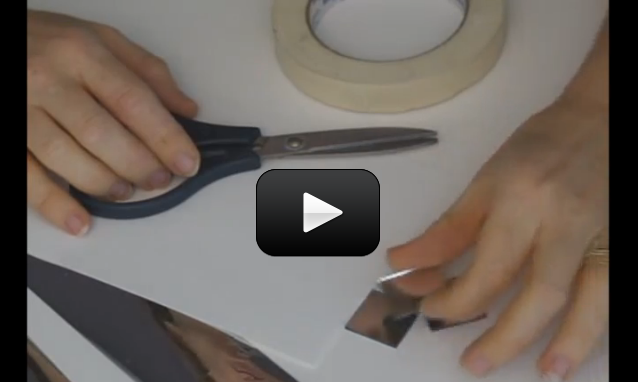
 What if you coat one side of the lens with a reflecting silver coating? You get a mirror!
 Now arch the foam. Notice how the light ways (skewers) come to a point (focal point).
 We don’t fully understand why, but every time we teach this class, kids inevitably start catching things on fire. We think it’s because they want to see if they really can do it – and sure enough, they find out that they can! Just do it in a safe spot (like a leaf on concrete) if that’s something you want to do.
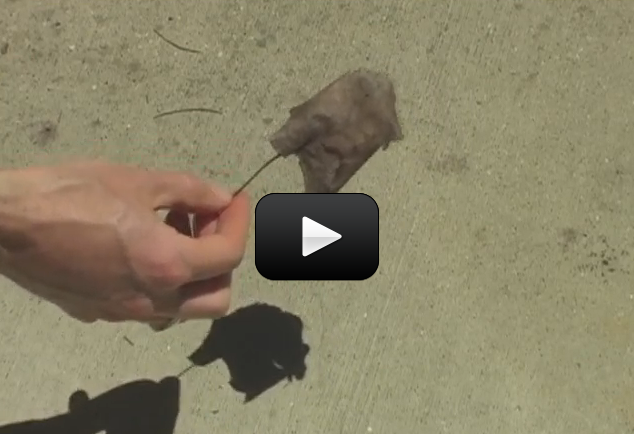

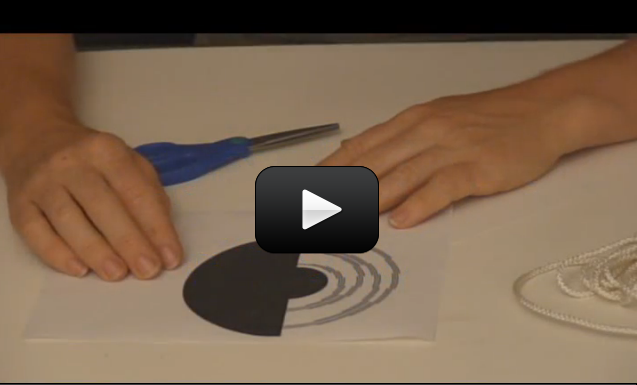
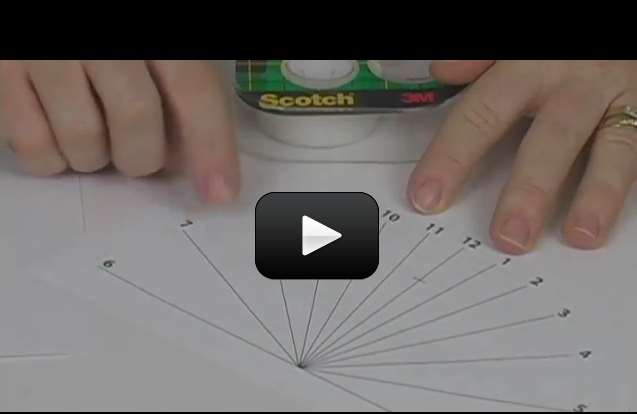
 Charles Benhamho (1895) created a toy top painted with the pattern (images on next page). When you spin the disk, arcs of color (called “pattern induced flicker colors”) show up around the disk. And different people see different colors!

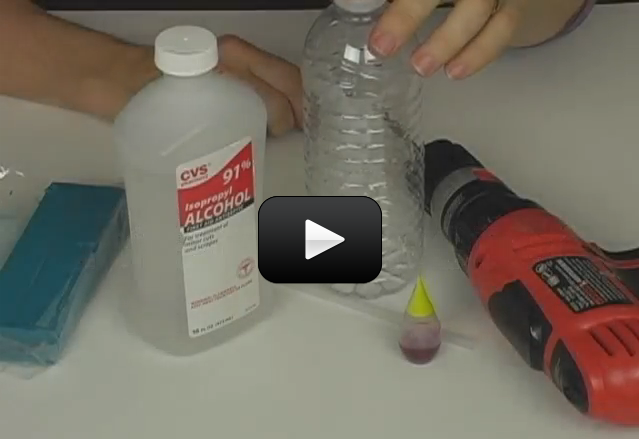
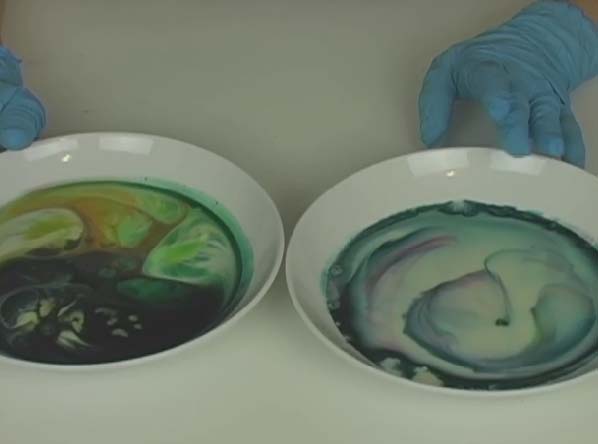
 Imagine you’re a painter. What three colors do you need to make up any color in the universe? (You should be thinking: red, yellow, and blue… and yes, you are right if you’re thinking that the real primary colors are cyan, magenta, and yellow, but some folks still prefer to think of the primary colors as red-yellow-blue… either way, it’s really not important to this experiment which primary set you choose.)