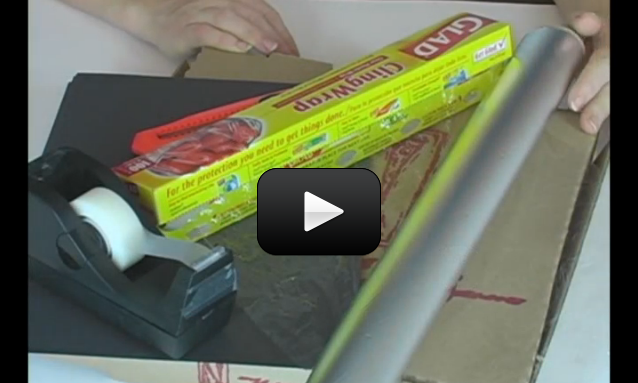
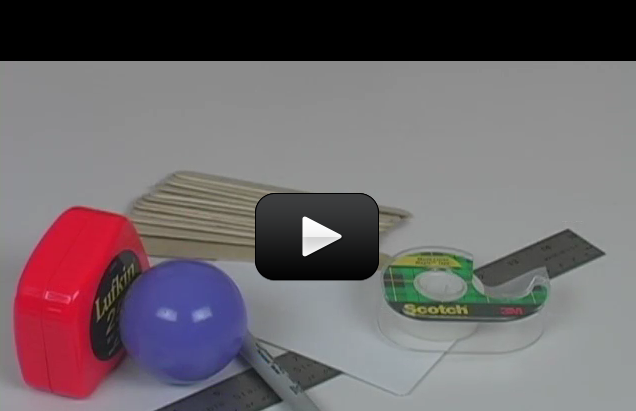
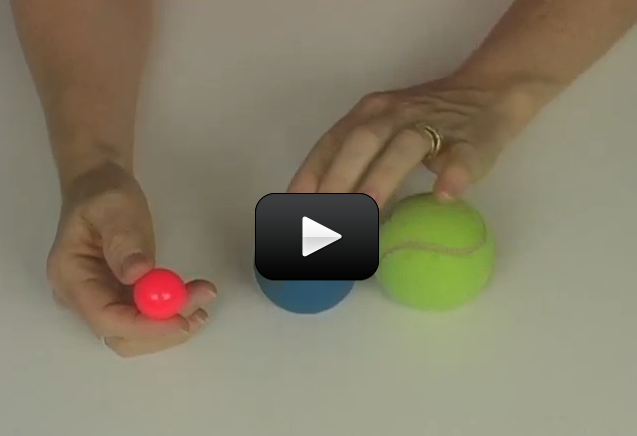
Since we can’t see soundwaves as they move through the air, we’re going to simulate one with rope and a friend. This will let you see how a vibration can create a wave. You’ll need at least 10 feet of rope (if you have 25 or 50 feet it’s more fun), a piece of tape (colored if you have it), a slinky, and a partner. Are you ready?
[am4show have=’p8;p9;p11;p38;p92;p16;p43;p64;p75;’ guest_error=’Guest error message’ user_error=’User error message’ ]
1. Give one end of the rope to your partner.
2. Stretch the rope out so that it is a bit slack.
3. Now move your hand up and down. Feel free to do it several times in a row. Your partner should keep his or her hands as still as possible.
4. Watch the waves move from your hand to the other end of the rope.
5. Now let your partner create waves.
6. If you wish, you can try to time your vibrations and create waves with specific frequencies. A frequency of one Hertz is fairly easy to do (one rope shake per second). Can you create rope waves of higher frequencies? You may find that your arm gets tired pretty quickly!
Your hand is the vibrating particle. As your hand vibrated up and down, you moved the particles of the rope up and down. As those particles of rope vibrated, they vibrated the particles next to them. As they vibrated, they vibrated the particles next to them and so on and so forth. So the wave moved from your hand across the room. Did your hands move across the room. Nope, but the wave you created with your vibrating hand did.
This is the way energy travels. Why is the rope wave energy? Because the particles moved a distance against a force. Work was done on the particles. In fact, when you shook the rope, your energy from your body moved across the room with the wave and was transferred (moved to) your partner. Your partner’s hands could feel the energy you put into the rope in the first place. The work you did on the rope was transferred by the rope wave and did work on your partners hand. You have moved energy across the room!
Now… let’s add another element to this experiment…
Transverse Waves
1. Put a piece of (colored if possible) tape in about the middle of the rope.
2. Tie your rope to something or let your friend hold on to one end of it.
3. Now pull the rope so that it is a bit slack but not quite touching the floor.
4. Vibrate your arm. Move your arm up and down once and watch what happens.
5. Now, vibrate your arm a bunch of times (not too fast) and see the results. Notice the action of the tape in the middle of the rope.
 What you’ve done is create a transverse wave. With a transverse wave, if the particle (in this case your hand) moves up and down, the wave will move to the left and/or right of the particle. The word perpendicular means that if one thing is up and down, the other thing is left and right. A transverse wave is a wave where the particle moves perpendicular to the medium. The medium is the material that’s in the wave. The medium in this case is the rope.
For example, in a water wave, the medium is the water. Your hand moved up and down, but the wave created by your hand moved across the room, not up. The wave moved perpendicular to the motion of your hand. Did you take a look at the tape? The tape represents a particle in the wave. Notice that it too, was going up and down. It was not moving along the wave. In any wave the particles vibrate, they do not move along the wave.
Longitudinal Waves
Now that you’ve seen a transverse wave, let’s take a look at a longitudinal wave. Here’s what you do:
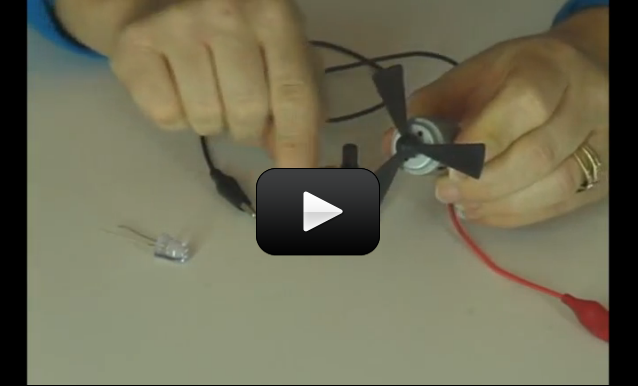
1. Put a piece of tape on one slinky wire in the middle or so of the slinky.
2. Let your friend hold on to one end of the slinky or anchor the slinky to a chair or table.
3. Now stretch the slinky out, but not too far.
4. Quickly push the slinky toward your friend, or the table, and then pull it back to its original position. Did you see the wave?
5. Now do it again, back and forth several times and watch where the slinky is bunched up and where it’s spread out.
6. Notice the tape. What is it doing?
 Here you made a longitudinal wave. A longitudinal wave is where the particle moves parallel to the medium. In other words, your hand vibrated in the same direction (parallel to the direction) the wave was moving in. Your vibrating hand created a wave that was moving in the same direction as the hand was moving in. Did you take a look at the tape? The tape was moving back and forth in the same direction the wave was going.
Do you see the difference between a transverse wave and a longitudinal wave? In a transverse waves the particles vibrate in a different direction (perpendicular) to the wave. In a longitudinal wave the particles vibrate in the same direction (parallel) to the wave.
What’s the Difference between Amplitude and Wavelength?
Here’s an easy way to get a feel for amplitude:
1. Put a piece of tape in about the middle of the rope.
2. Tie your rope to something or let your friend hold on to one end of it.
3. Now pull the rope so that it is a bit slack but not quite touching the floor.
4. Your friend should hold their hands as still as possible.
5. Vibrate your hand but only move it up and down about a foot or so. Have your partner pay attention to how that feels when the wave hits him or her.
6. Now, vibrate your hand but now move it up and down 2 or 3 feet. How does that feel to your partner?
7. Have your partner do the vibrating now and see what you feel.
You created two different amplitude waves. The first wave had a smaller amplitude than the second wave. What you and your partner should have felt was more energy the second time. The wave should have hit your hand with more energy when the wave had more amplitude.
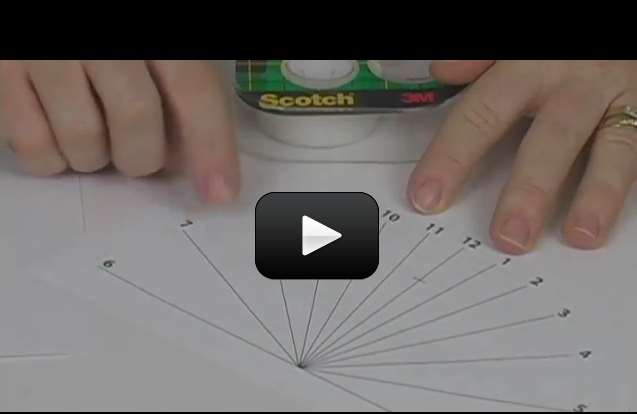
Here’s a great way to visualize wavelength:
1. Tie your rope to something or let your friend hold on to it.
2. Now pull the rope so that it is a bit slack but not quite touching the floor.
3. Your friend should hold their hands as still as possible.
4. Now begin vibrating your hand fairly slowly. In this case, it works better if you move your hand in a circle.
5. Try to make a wavelength with the rope. In other words it will look like you’re playing jump rope.
6. Now try a one and a half wavelengths.
7. Can you get two or more wavelengths? You’ve really got to get your hand moving to get it.

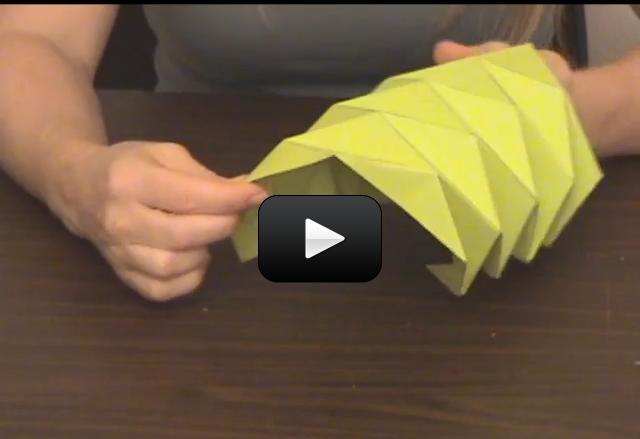
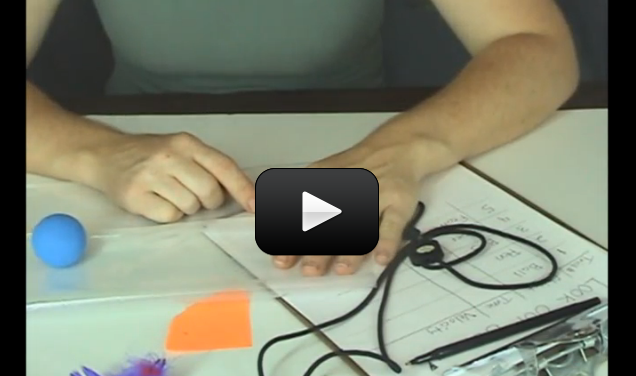
In this image, the left wave is ONE wavelength, the middle is 1.5 wavelegnths, and the right is TWO wavelengths. See the difference?
Did you notice how the frequency of your hand determined the wavelength of the rope? The faster your hand, moved the more wavelengths you could get.
[/am4show]
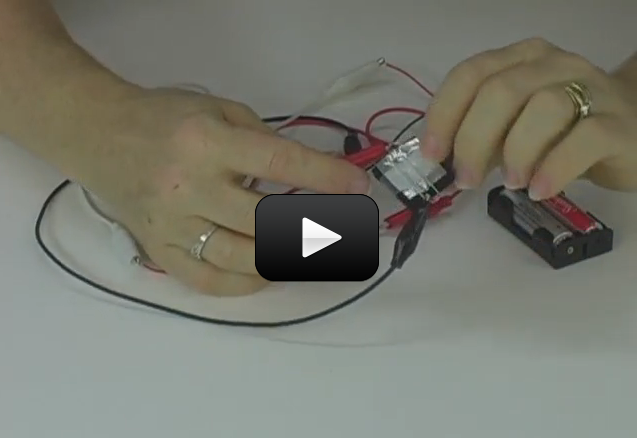
 Once you’ve made the Pressure Sensor burglar alarm, you might be wondering how to make the alarm stay on after it has been triggered, the way the Trip Wire Sensor does.

 So now you know how to hook up a
 One of the most useful tools a scientist can have! A
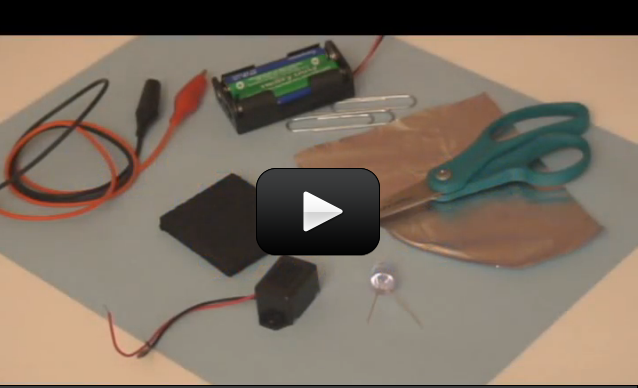
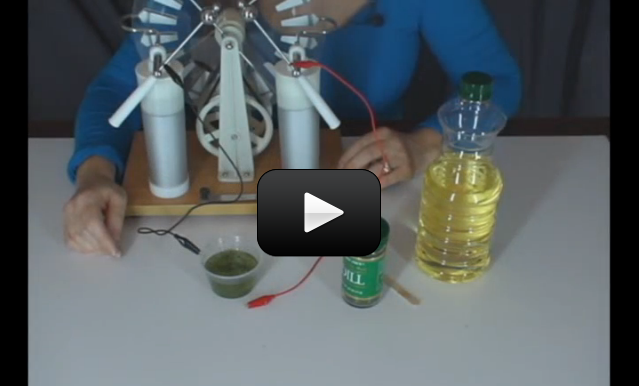
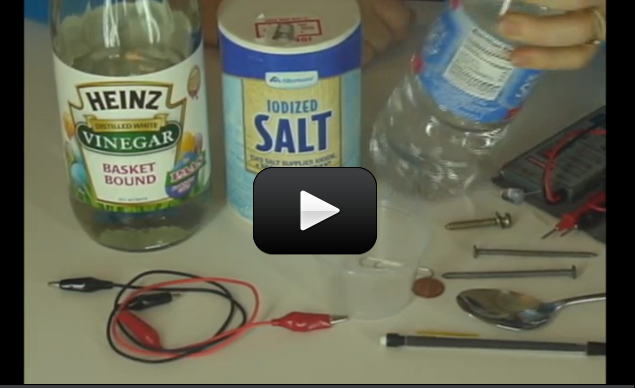
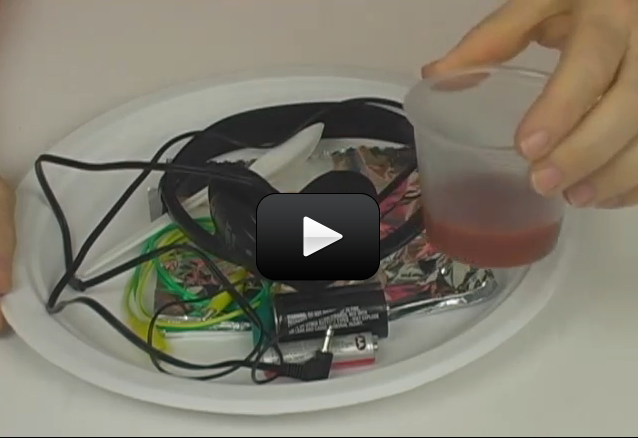
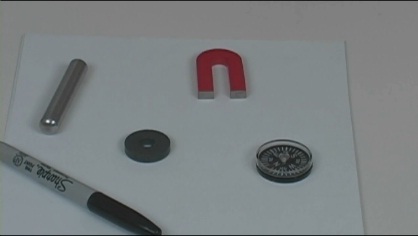
 Make yourself a grab bag of fun things to test: copper pieces (nails or pipe pieces), zinc washers, pipe cleaners, Mylar, aluminum foil, pennies, nickels, keys, film canisters, paper clips, load stones (magnetic rock), other rocks, and just about anything else in the back of your desk drawer.
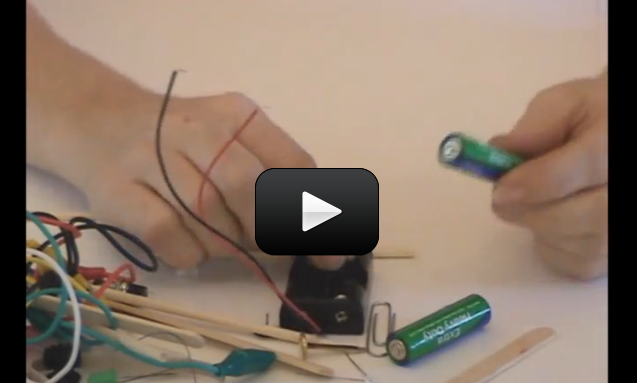
 An electrical circuit is like a NASCAR raceway. The electrons (racecars) zip around the race loop (wire circuit) superfast to make stuff happen. Although you can’t see the electrons zipping around the circuit, you can see the effects: lighting up LEDs, sounding buzzers, clicking relays, etc.
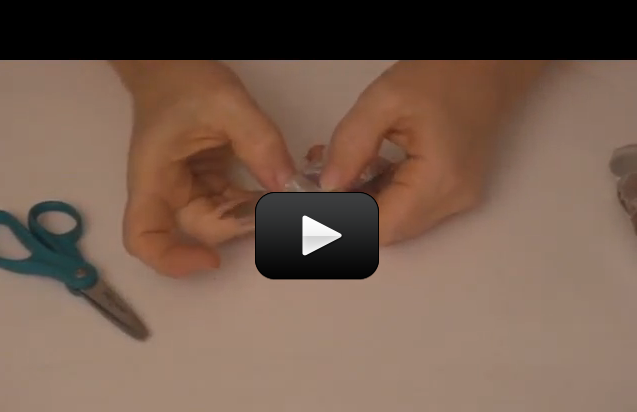
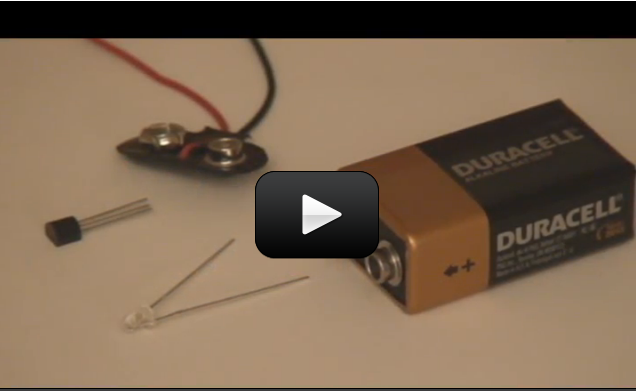
 This simple FET circuit is really an electronic version of the
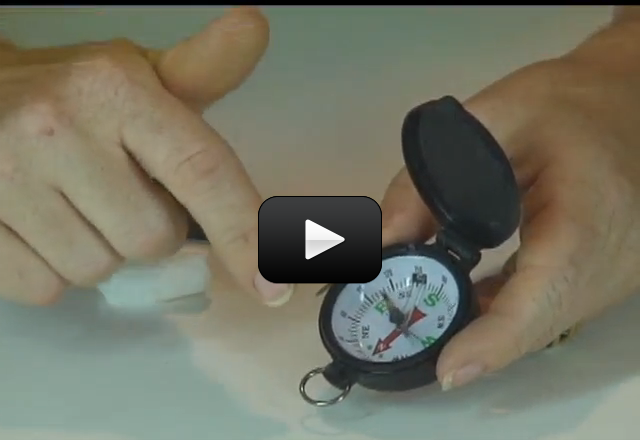
 You are actually fairly familiar with electric fields too, but you may not know it. Have you ever rubbed your feet against the floor and then shocked your brother or sister? Have you ever zipped down a plastic slide and noticed that your hair is sticking straight up when you get to the bottom? Both phenomena are caused by electric fields and they are everywhere!


 Let’s play with these different ideas right now and really “feel” the difference between hydraulics and pneumatics. Connect two syringes with a piece of flexible tubing. Cut the tubing into three equal-sized pieces and use one to experiment with. Shove the plunger on one syringe to the “empty”, and leave the other in the “filled” position before connecting the tubing. What happens when you push or lift one of the plungers? Is it quick to respond, or is there “slop” in the system?


 What’s going on? We’re utilizing the “springy-ness” in the popsicle stick to fling the ball around the room. By moving the fulcrum as far from the ball launch pad as possible (on the catapult), you get a greater distance to press down and release the projectile. (The fulcrum is the spot where a lever moves one way or the other – for example, the horizontal bar on which a seesaw “sees” and “saws”.)
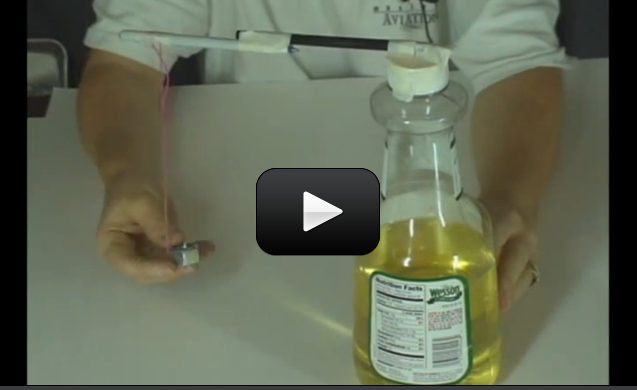
 If you’re finding that the marbles fall out before the bobsled reaches the bottom of the slide, you need to either crimp the foil more closely around the marbles or decrease your hill height.
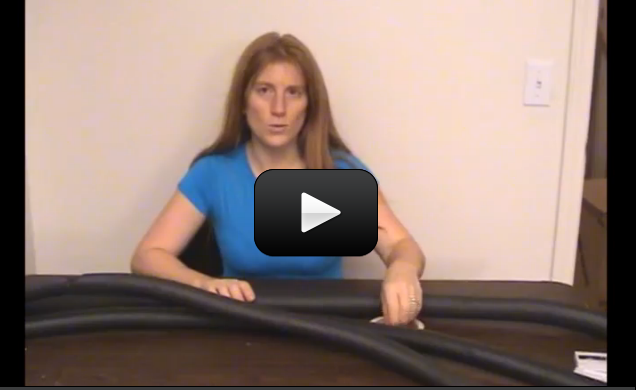
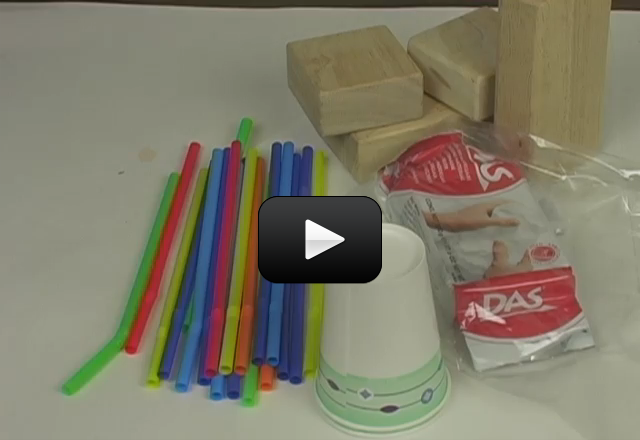
 If your mom’s worried about making a mess with water (and it’s not bath night tonight) then try this alternate experiment: you’ll need a mixing bowl, wooden spoon, and rubber bands.
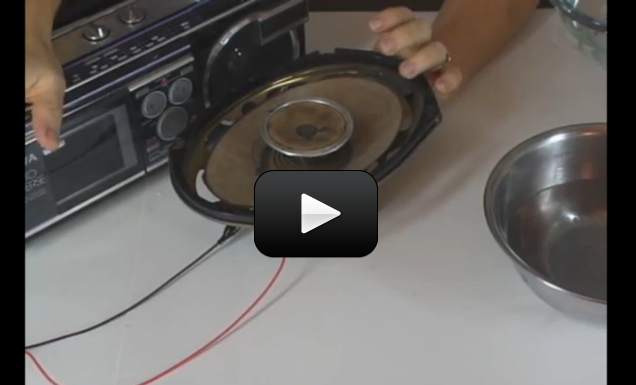
 Sound is everywhere. It can travel through solids, liquids, and gases, but it does so at different speeds. It can rustle through trees at 770 MPH (miles per hour), echo through the ocean at 3,270 MPH, and resonate through solid rock at 8,600 MPH.


 Solar energy (power) refers to collecting this energy and storing it for another use, like driving a car. The sun blasts 174 x 1015 watts (which is 174,000,000,000,000,000 watts) of energy through radiation to the earth, but only 70% of that amount actually makes it to the surface. And since the surface of the earth is mostly water, both in ocean and cloud form, only a small fraction of the total amount makes it to land.
 Does it really matter what angle the solar cell makes with the incoming sunlight? If so, does it matter much? When the sun moves across the sky, solar cells on a house receive different amounts of sunlight. You’re going to find out exactly how much this varies by building your own solar boat.
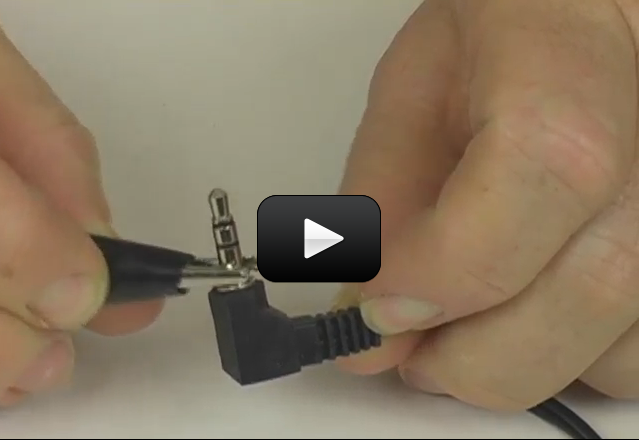


 We don’t fully understand why, but every time we teach this class, kids inevitably start catching things on fire. We think it’s because they want to see if they really can do it – and sure enough, they find out that they can! Just do it in a safe spot (like a leaf on concrete) if that’s something you want to do.
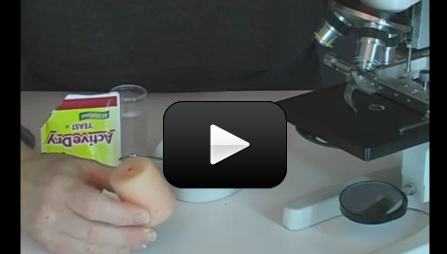
 Make sure you’ve completed the
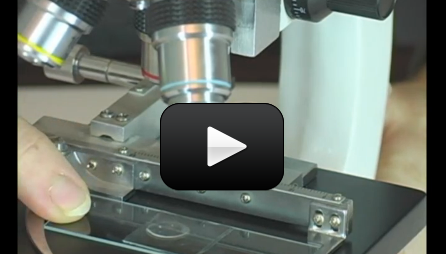
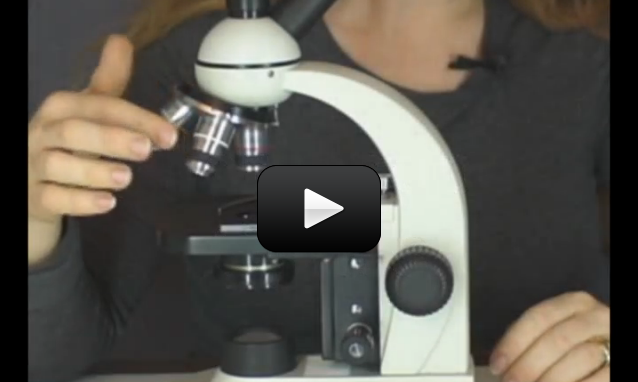


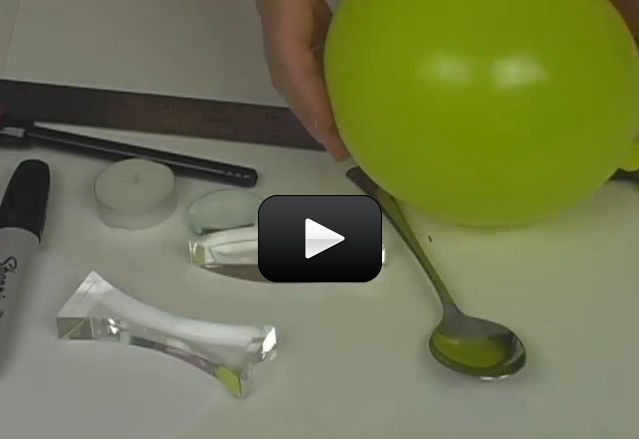
 Did you know you can create a compound microscope and a refractor telescope using the same materials? It’s all in how you use them to bend the light. These two experiments cover the fundamental basics of how two double-convex lenses can be used to make objects appear larger when right up close or farther away.


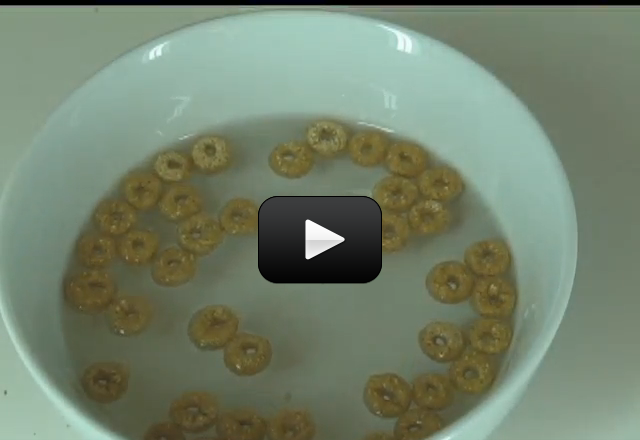
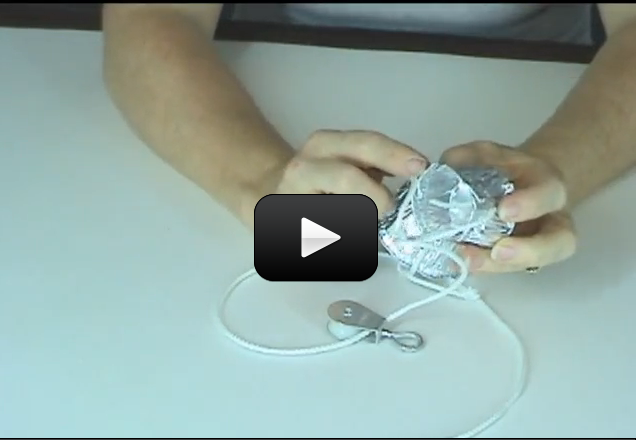
 Did you know that your cereal may be magnetic? Depending on the brand of cereal you enjoy in the morning, you’ll be able to see the magnetic effects right in your bowl. You don’t have to eat this experiment when you’re done, but you may if you want to (this is one of the ONLY times I’m going to allow you do eat what you experiment with!) For a variation, pull out all the different boxes of cereal in your cupboard and see which has the greatest magnetic attraction.


