The United States has large reserves of coal, natural gas, and crude oil which is used to make gasoline. However, the United States uses the energy of millions of barrels of crude oil every day, and it must import about half its crude oil from other countries.
Burning fossil fuels (oil, coal, gasoline, and natural gas) produces carbon dioxide gas. Carbon dioxide is one of the main greenhouse gases that may contribute to global warming. In addition, burning coal and gasoline can produce pollution molecules that contribute to smog and acid rain.
Using renewable energy-such as solar, wind, water, biomass, and geothermal-could help reduce pollution, prevent global warming, and decrease acid rain. Nuclear energy also has these advantages, but it requires storing radioactive wastes generated by nuclear power plants. Currently, renewable energy produces only a small part of the energy needs of the
United States. However, as technology improves, renewable energy should become less expensive and more common.
Hydropower (water power) is the least expensive way to produce I electricity. The sun causes water to evaporate. The evaporated water falls to the earth as rain or snow and fills lakes. Hydropower uses water stored in lakes behind dams. As water flows through a dam, the falling water turns turbines that run generators to produce electricity.
Currently, geothermal energy (heat inside the earth), biomass (energy from plants), solar energy (light from concentrated sunlight), and wind are being used to generate electricity. For example, in California there are more than sixteen thousand (16,000) wind turbines that generate enough power to supply a city the size of San Francisco with electricity.
In addition to producing more energy, we can also help meet our energy needs through conservation. Conservation means using less energy and using it more efficiently.
In the following experiments, you will use wind to do work, examine how batteries can store energy, and see how insulation can save energy.
[am4show have=’p8;p9;p11;p38;p92;p70;p22;p49;p84;p85;p30;p57;’ guest_error=’Guest error message’ user_error=’User error message’ ]
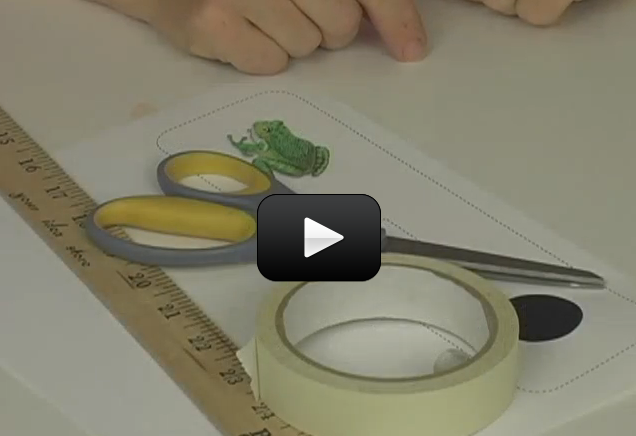
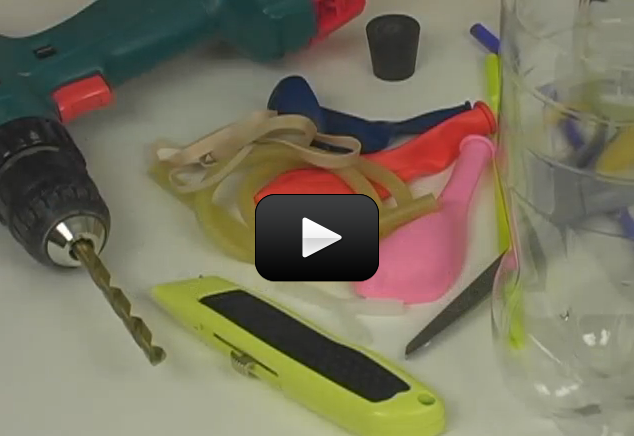
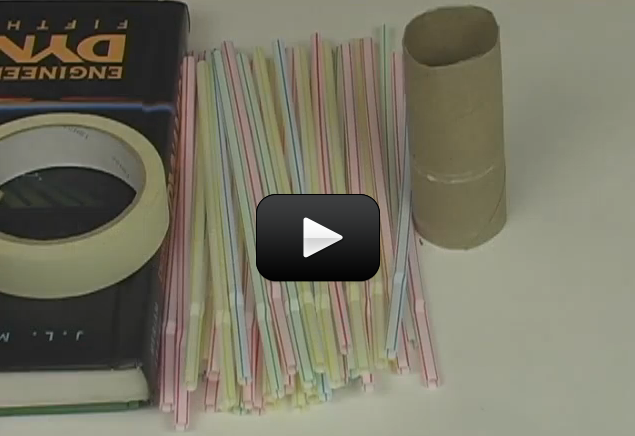
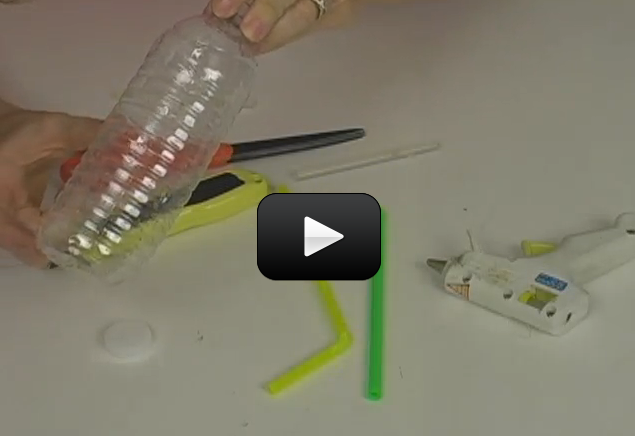
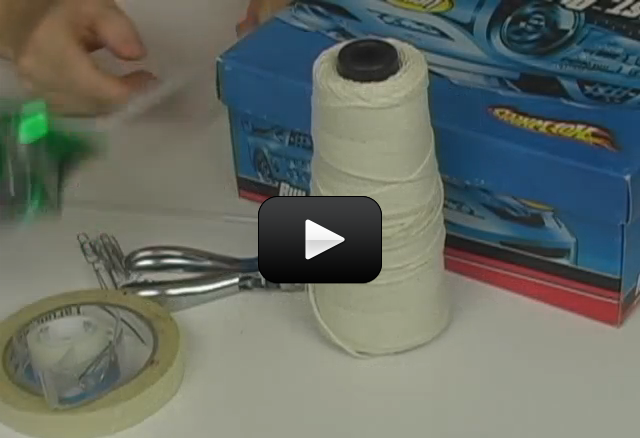
Materials
- Pinwheel (can be purchased or madefrom construction paper)
- Paper clips
- Tape
- Small shoe box (children’s size)
- Electric fan
- Lightweight string (about 4 feet long)
- Plastic straw (longer than the width of the shoe box)
- Hole punch
Download Student Worksheet & Exercises
Procedure
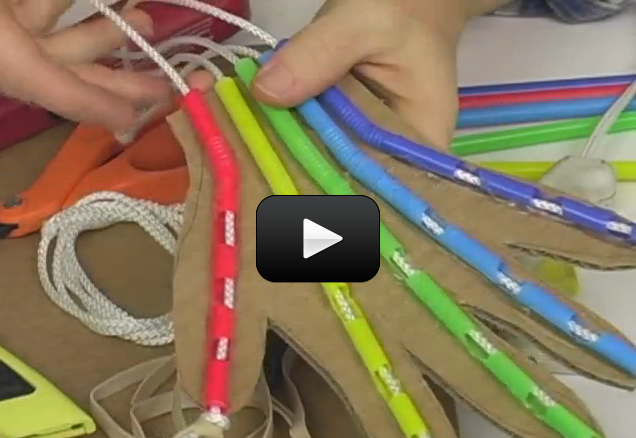
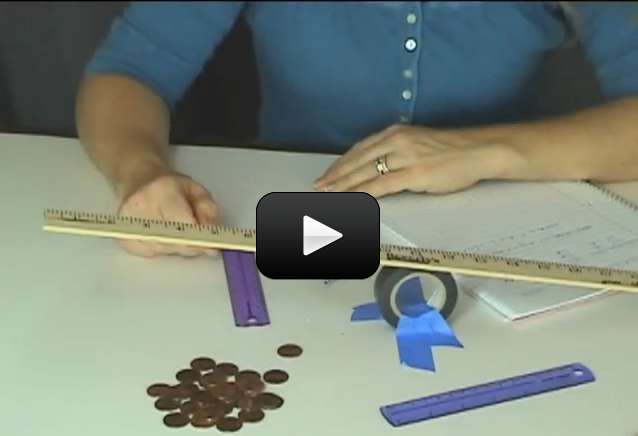
In this activity, you will try to use the energy in the wind to lift a set of six paper clips. You will first need to construct your windmill.
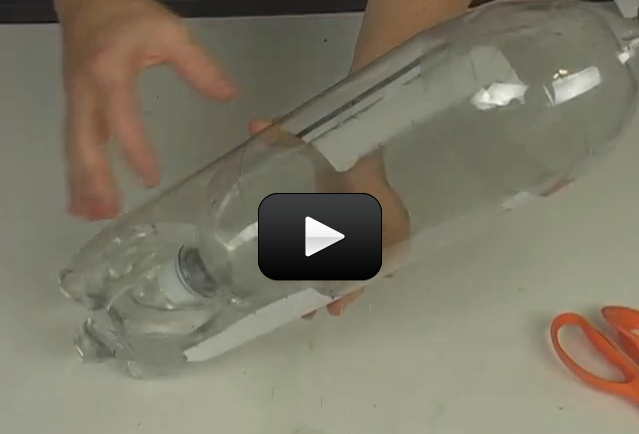
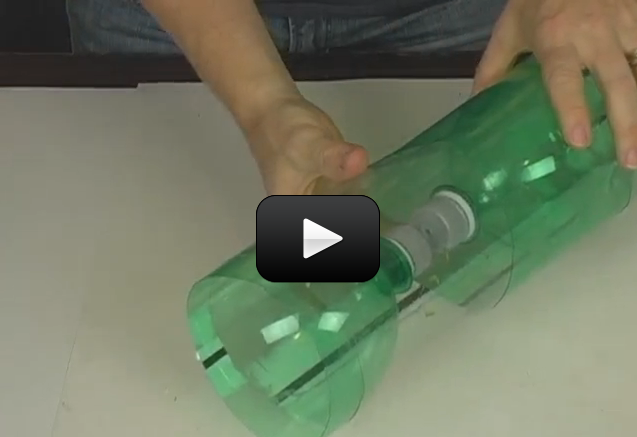
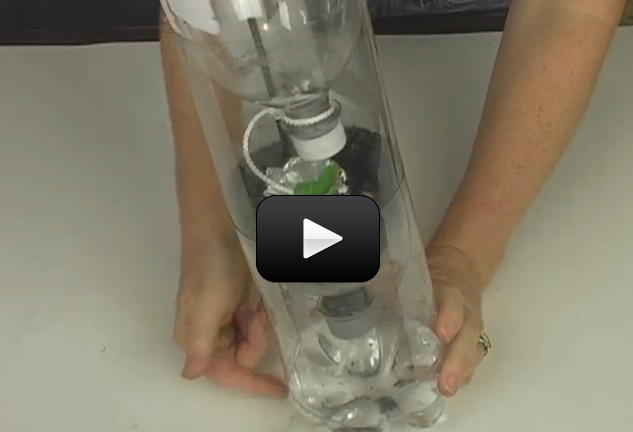
Use a hole punch to punch holes in the opposite sides across the width of a small, cardboard shoe box. Use the narrow sides of the box so the two holes are less than six inches (15 centimeters) apart. Make sure the holes are directly opposite each other. Place a plastic straw through the two holes. You may need to use the hole punch to enlarge the holes so the straw can rotate within the holes. The ends of the straw should extend out either side of the box.
Use the blades from a purchased pinwheel, or cut and fold a square piece of construction paper into the shape of a pinwheel. Next you will need to attach the pinwheel blades to one end of the straw. Partially unfold a small paper clip and insert the larger end into the straw. Push the straightened end of the paper clip through the center of the pinwheel. Bend this end of the paper clip and tape it to the outside of the pinwheel.
Set the electric fan on a table or countertop. Hold the shoe box so that the pinwheel is free to turn. HAVE AN ADULT PLUG IN AND TURN ON THE FAN. Move the windmill box to direct the breeze from the fan toward the blades of the pinwheel. Move the box until you find the best angle of the fan to the pinwheel so that the pinwheel turns freely and rapidly.
Turn off the fan. Now tape one end of the string to the side of the straw with no pinwheel just outside the box, and wrap the string around the straw a few times. Tie the other end of the string to a paper clip. Attach five other paper clips to the paper clip tied to the string. Allow the string to hang down so that the paper clips on the end of the string rest on the floor.
Now, you will test to see if your windmill can convert wind power to do work and lift the paper clips off the ground. Turn on the fan and hold the box where you did before to make the pinwheel turn.
Observations
Does the windmill turn the straw? Does the string wrap around the straw as the straw turns? What happens to the paper clips?
Discussion
You should observe the straw shaft turning as the wind from the fan is directed toward the blades of the pinwheel. As the pinwheel turns, it should wrap the string around the straw and lift the paper clips into the air. Your windmill converts the energy of the wind to work and lifts the weight of the paper clips. If your windmill is not working, then examine all the parts.
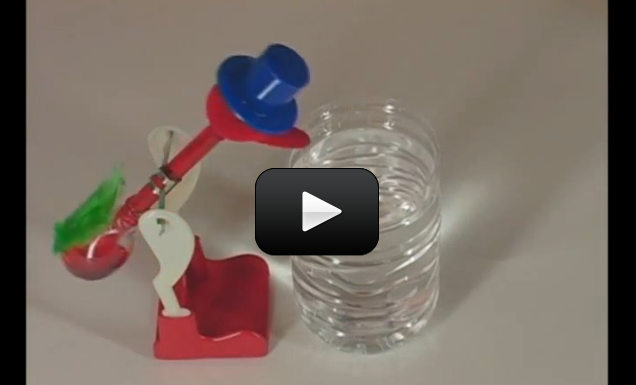
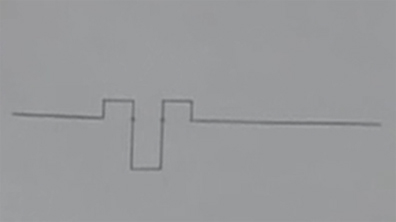
Compare your setup to the drawing, and see if any changes need to be made in your construction.
One way to store the energy produced by a windmill is to lift a weight. When the weight is allowed to fall, work can be produced. Weights in a grandfather clock are used to store energy and can run a clock for a week or longer. A windmill’s energy can be used to pump water to a storage area at a higher elevation. Later, this water can be allowed to fall through a turbine which turns a generator and produces electricity.
Electricity can also be produced directly from wind power. The shaft, or rod to which the windmill blades are attached, can be used to turn a generator. A generator or dynamo is used to convert mechanical energy into electrical energy. Power conversion units can change the direct current that wind generates to an alternating current. The alternating current can be fed directly into utility lines and used in our homes.
The sun is the original source of wind power. Without the sun to heat the earth, there would be no wind. The energy of the sun heats the earth, but all parts of the earth are not at the same temperature. These differences in temperature are responsible for global and local patterns of wind. For example, during the day a constant wind blows from the sea toward the land along coastal regions. Air above the hotter land rises and cooler, heavier air above the ocean moves in to take its place.
The power of the wind can be harnessed to do work. For at least 4,000 years, the wind has been used to move sailing ships. The wind has enough power to move ships across oceans and around the world.
For at least 1,000 years, windmills have been used for pumping water and turning
stones to grind grain. Millions of windmills have been used on the plains of America, Africa, and Australia to pump water from deep wells for livestock and humans.
In this century, windmills or wind engines have been used to generate electricity. Over 15,000 wind engines were installed in California in the 1980s. These wind engines have the capability to produce up to 1.5 billion watts of electricity. In California in 1987, wind was used to produce as much electricity as the city of San Francisco uses in an entire year.
Other Things to Try
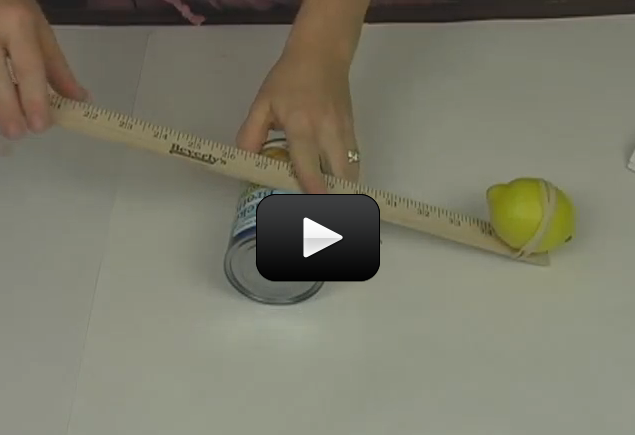
Repeat this experiment and find the maximum weight you can lift with your windmill. Try more paper clips or try a heavier weight such as a pen.
List some of the problems associated with using windmills. What happens when the wind is blowing too gently? What happens if the wind blows strongly, such as in a storm? Do you think the area where you live is windy enough for wind engines to produce electricity?
Exercises
- Name three sources of renewable energy:
- What does the sun have to do with wind?
- Name three examples of wind power in historical or current usage:
[/am4show]

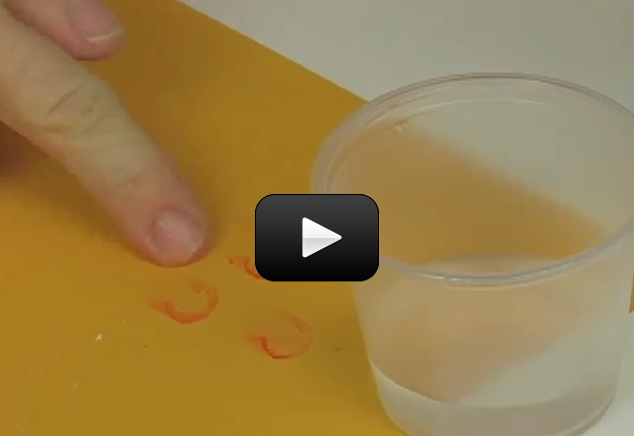


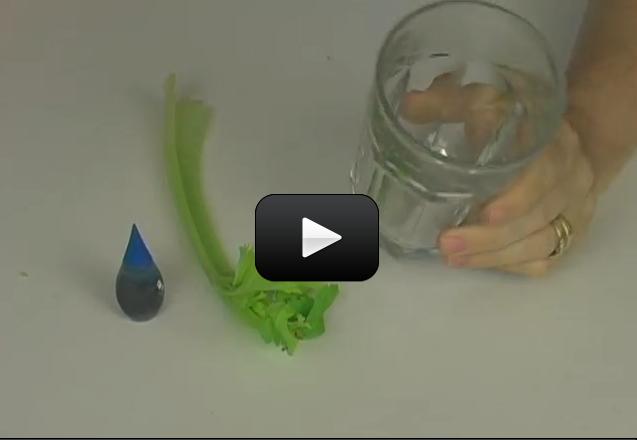
 When birds and animals drink from lakes, rivers, and ponds, how pure it is? Are they really getting the water they need, or are they getting something else with the water?

 Photosynthesis is a process where light energy is changed into chemical energy. As we said in the last section, this process happens in the chloroplast of plant cells. Photosynthesis is one of the most important things that happen in cells.
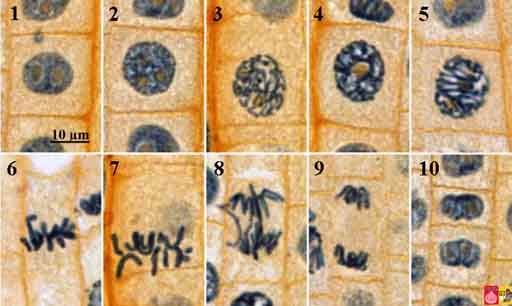
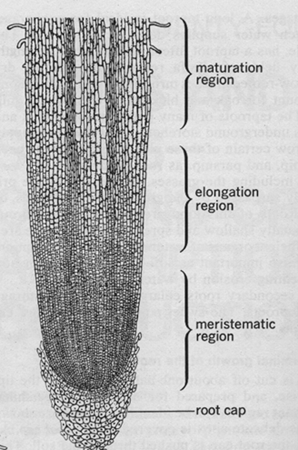
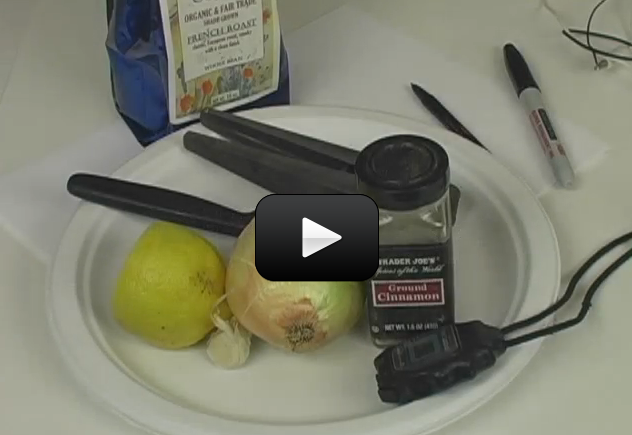
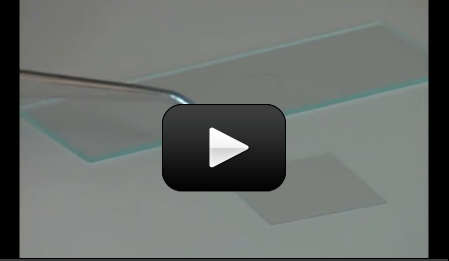
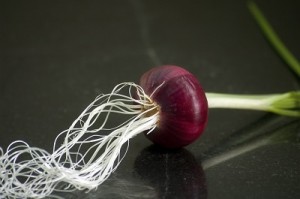 Next, prepare an onion sample. Take it from the root tip called the meristematic zone (use the picture on the right), just above the root cap at the very end of the tip.
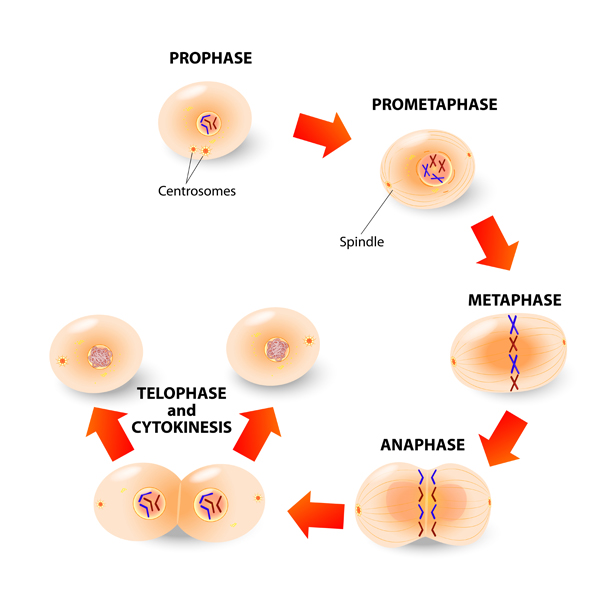


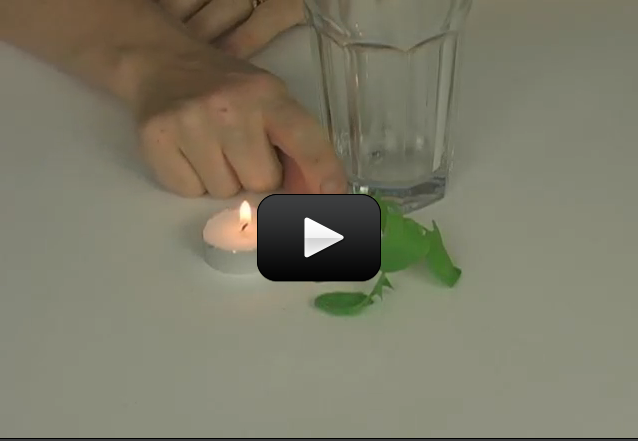
 We don’t fully understand why, but every time we teach this class, kids inevitably start catching things on fire. We think it’s because they want to see if they really can do it – and sure enough, they find out that they can! Just do it in a safe spot (like a leaf on concrete) if that’s something you want to do.
 Make sure you've completed the
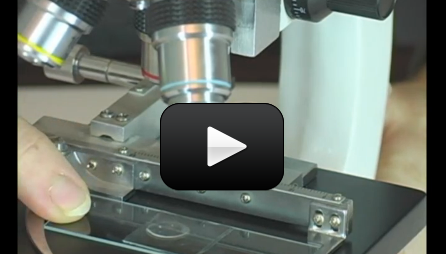


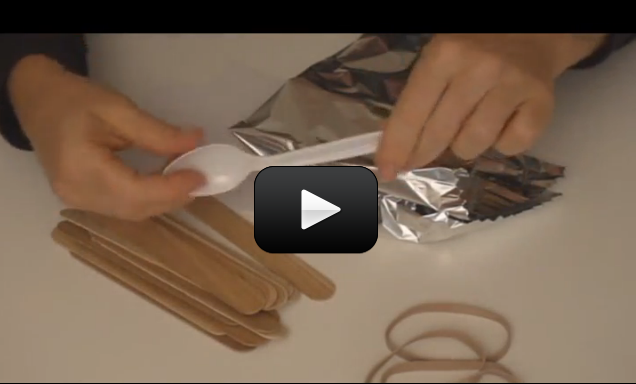
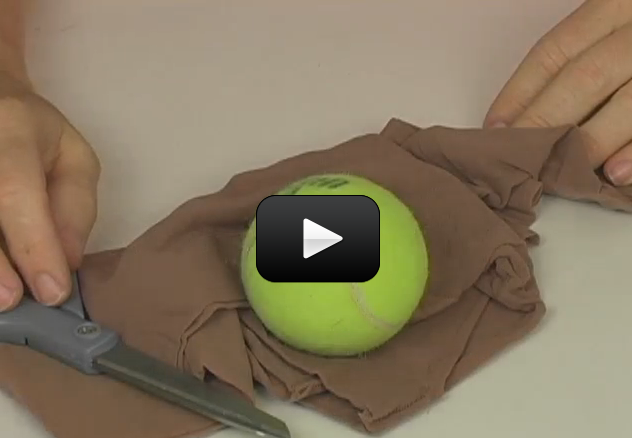
 What’s going on? We’re utilizing the “springy-ness” in the popsicle stick to fling the ball around the room. By moving the fulcrum as far from the ball launch pad as possible (on the catapult), you get a greater distance to press down and release the projectile. (The fulcrum is the spot where a lever moves one way or the other – for example, the horizontal bar on which a seesaw “sees” and “saws”.)

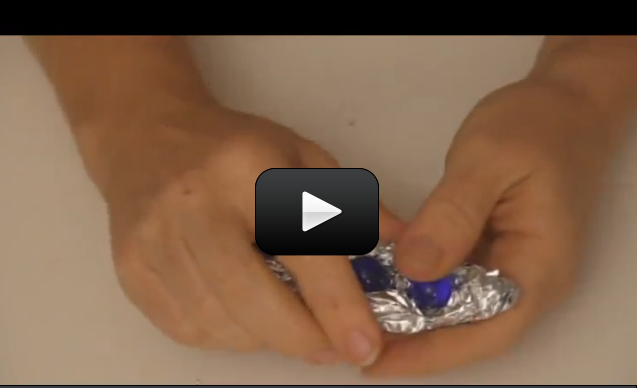
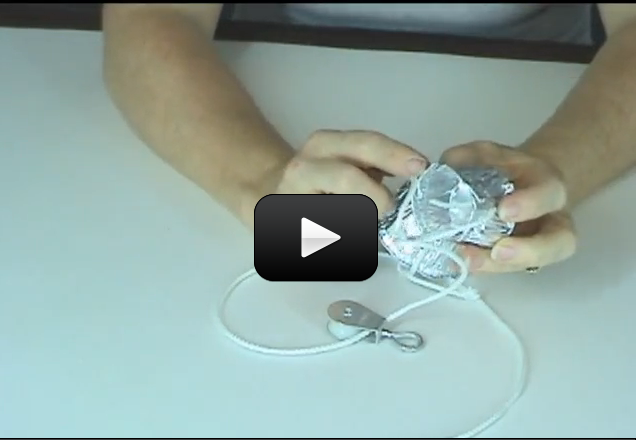
 If you’re finding that the marbles fall out before the bobsled reaches the bottom of the slide, you need to either crimp the foil more closely around the marbles or decrease your hill height.

