Parts of the Lever
Levers, being simple machines, have only three simple parts. The load, the effort, and the fulcrum. Let’s start with the load. The load is basically what it is you’re trying to lift. The books in the last experiment where the load. Now for the effort. That’s you. In the last experiment, you were putting the force on the lever to lift the load. You were the effort. The effort is any kind of force used to lift the load. Last for the fulcrum. It is the pivot that the lever turns on. The fulcrum, as we’ll play with a bit more later, is the key to the effectiveness of the lever.
There are three types of levers. Their names are first-class, second-class and third-class. I love it when it’s that simple. Kind of like Dr. Seuss’s
Thing One and Thing Two. The only difference between the three different levers is where the effort, load and fulcrum are.
[am4show have='p8;p9;p11;p38;p92;p14;p41;p88;p92;' guest_error='Guest error message' user_error='User error message' ]
Are you ready for some
'vintage Aurora' video? We thought you'd want to check out one of the first videos she ever made (in her basement with the auto-focus stuck in the ON position). Enjoy!
Download Student Worksheet & Exercises
“Advanced students: Download your First, Second, and Third Class Levers"
First-Class Lever
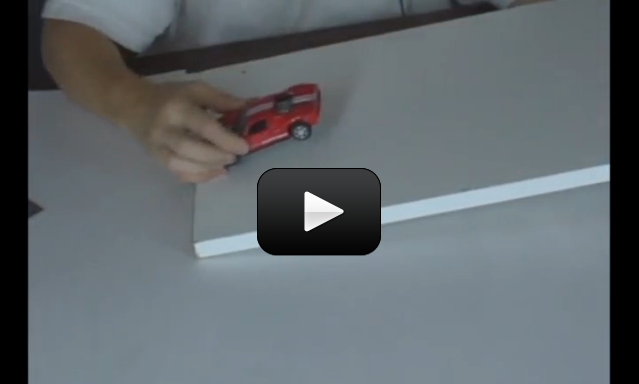
A first-class lever is a lever in which the fulcrum is located in between the effort and the load. This is the lever that you think of whenever you think of levers. The lever you made in Experiment 1 is a first-class lever. Examples of first-class levers are the see-saw, a hammer (when it’s used to pull nails), scissors (take a look, it’s really a double lever!), and pliers (same as the scissors, a double lever).
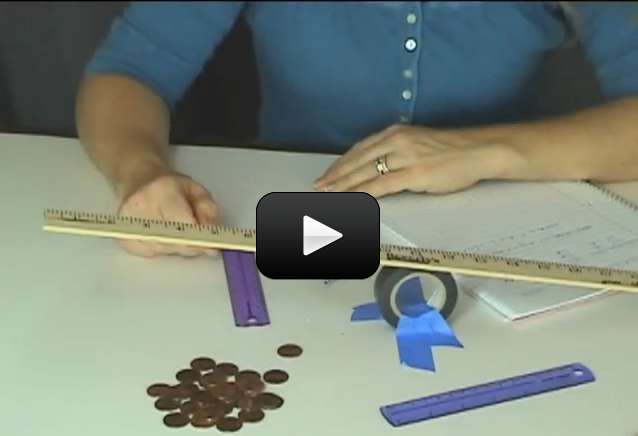
First Class Lever Experiment
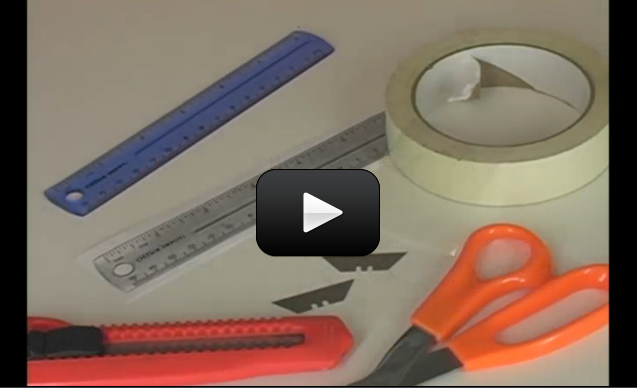
For this experiment, you'll need:
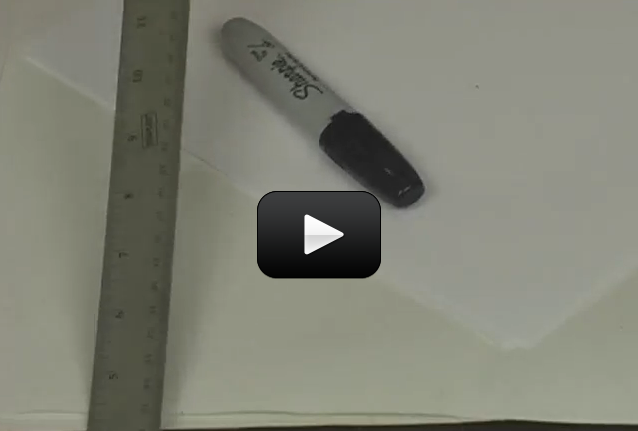
- A nice strong piece of wood. 3 to 8 feet long would be great if you have it.
- A brick , a thick book or a smaller piece of wood (for the fulcrum)
- Books, gallons of water or anything heavy that’s not fragile
Be careful with this. Don’t use something that’s so heavy someone will get hurt. Also, be sure not to use something so heavy that you break the wooden lever. Last but not least, be sure to keep your head and face away from the lever. I’ve seen folks push down on the lever and then let go. The lever comes up fast and can pop you pretty hard.
1. Put your fulcrum on the ground.
2. Put your lever on the fulcrum. Try to get your fulcrum close to the middle of the lever.
3. Put some weight on one end of the lever.
4. Now push down on the other side of the lever. Try to remember how hard (how much force) you needed to use to lift the heavy object.
5. Move the fulcrum under the lever so that it is closer to the heavy object.
6. Push down on the other side of the lever again. Can you tell the difference in the amount of force?
7. Move the fulcrum closer still to the heavy object. Feel a difference now?
8. Feel free to experiment with this. Move the fulcrum farther away and closer to the object. What conclusions can you draw?
What you may have found, was that the closer the fulcrum is to the heavy object, the less force you needed to push with to get the object to move. Later we will look at this in greater detail, but first let me tell you about the other types of levers.
Second-Class Lever

The second-class lever is a little strange. In a second-class lever, the load is between the fulcrum and the effort. A good example of this, is a wheel-barrow. The wheel is the fulcrum, the load sits in the wheel-barrow bucket and the effort is you. Some more examples would be a door (the hinge is the fulcrum), a stapler, and a nut-cracker.
Second-class Lever Experiment
You need:
- A nice strong piece of wood. 3 to 8 feet long would be great if you have it.
- A brick, a thick book or a smaller piece of wood (for the fulcrum)
- Books, gallons of water or anything heavy that’s not fragile
Again, be careful with this. Don’t use something that’s so heavy someone will get hurt. Also, be sure not to use something so heavy that you break the wooden lever. Last but not least, be sure to keep your head and face away from the lever. I’ve seen folks push down on the lever and then let go. The lever comes up fast and can pop you pretty hard.
1. Put your fulcrum, the book or the brick, whatever you’re using on a nice flat spot.
2. Put the end of your lever on the fulcrum.
3. Put the books or gallon jugs or whatever you’re using for a load, in the middle of the lever.
4. Now, put yourself (the effort) on the opposite end of the lever from the fulcrum.
5. Lift
6. Experiment with the load. Move it towards the fulcrum and lift. Then move it toward the effort and lift. Where is it harder(takes more force) to lift the load, near the fulcrum or far? Where does the load lift the greatest distance, near the fulcrum or far?
Third-Class Lever
This fellow is the oddest of all. The third-class lever has the effort between the load and the fulcrum. Imagine Experiment 1 but this time the fulcrum is at one end of the board, the books are on the other

end and you’re in the middle. Kind of a strange way to lift books huh? A few examples of this are tweezers, fishing rods (your elbow or wrist is the fulcrum), your jaw (the teeth crush the load which would be your hamburger), and your arm (the muscle connects between your elbow (fulcrum) and your load( the rest of your arm or whatever you’re lifting)). Your skeletal and muscular system are, in fact, a series of levers!
Third-class Lever Experiment
You need:
- A nice strong piece of wood. 3 to 8 feet long would be great if you have it.
- A brick , a thick book or a smaller piece of wood (for the fulcrum)
- Books, gallons of water or anything heavy that’s not fragile
Again, be careful with this. Don’t use something that’s so heavy someone will get hurt. Also, be sure not to use something so heavy that you break the wooden lever. Last but not least, be sure to keep your head and face away from the lever. I’ve seen folks push down on the lever and then let go. The lever comes up fast and can pop you pretty hard.
1. Put your fulcrum on the ground in a nice flat place.
2. Put your lever on the fulcrum so that the fulcrum is at the very end of the lever.
3. Put your load on the lever at the end farthest from the fulcrum.
4. Now, put yourself (the effort) in the middle of the lever.
5. Lift. You may need someone to hold down the lever on the fulcrum
6. Experiment with the effort (you). Move towards the fulcrum and lift the load Then move toward the load and lift. Where is it harder(takes more force) to lift the load, near the fulcrum or far? Where does the load lift the greatest distance, near the fulcrum or far?
We’ve had a lot of fun levering this and levering that but now we have to get to the point of all this simple machine stuff. Work equals force times distance, right? Well, what have you been doing all this time with these levers? You’ve been moving something (the load) a distance against a force (gravity). You’ve been doing work. You’ve been exerting energy. See how it all ties in nicely?
In experiment 1,2 and 3, I wanted you to notice how much force you exerted and how much the load moved. You may have noticed that when the force was small (it was very easy to lift) the load moved a very small distance. On the other hand, when the force was large (hard to lift), the load moved a greater distance. Let me point your attention to one more thing and then we’ll play with this.
When the force used to lift the load was small, you moved the lever a large distance. When the force used to lift the load was great you moved the lever a small distance. Remember, work=force x distance. There is work done on both sides of the lever. The effort (you in this case) pushes the lever a distance against a force...work is done. The load also moves a distance against a force so there too...work is done.
Now, here’s the key to this that I hope you can see in the next experiment. Work in is equal to work out. The work you do on one side of the lever (work in), is equal to the work that happens to the load (work out). Let’s do a quick bit of math for an example. Phillip wants to move a 10 kg (22 lb.)box. He uses a lever and notices that when he lifts the box .1meter (4 inches)

he has to push the lever down 1 meter with a force of 1 kg. Now let’s do some math. (Officially we should convert kilograms (a unit of mass) to Newtons (a unit of force) so that we can work in Joules which is a unit of work. However, we’ll do it this way so you can see the relationship more easily.)
Phillip’s work (the work in) = 1 kg x 1 m = 1
Work on the bowling ball (the work out) = 10 kg x .1 m = 1
Work in equals work out! Later in this energy unit, you’ll learn about energy efficiency. At that point, you’ll see that you never get all the energy you want from the energy you put in. Some is lost to sound and some to heat. A lever is incredibly efficient but you may still see, in your measurements, that the energy in is greater than the energy you get out.
For Advanced Students:
[/am4show][am4show have='p9;p41;' guest_error='Guest error message' user_error='User error message' ]
Speaking of your measurements...let’s make some. Open up your science journal and record the type of lever, weight, and location information for your different trial runs. Take a look at your data - can you figure out how much weight you'd need to lift your parents?
Let's see if we can figure this out. For a 10' long beam with the fulcrum in the exact center, you can lift as much as you weigh. For example, if you weigh 100 pounds, you can lift some sitting on the other end, as long as they weigh 100 pounds or less. If you slide the beam and move the fulcrum so that the longer end is on your side, you can lift more than you weigh.
So if there's 7 feet of beam on Alice's side and only 3 feet on Bob's end, you can easily figure this out with a little math (and principles of torque). Here's what you do:
(Alice's Weight) * (Distance from Alice to the Fulcrum) = (Alice's Lifting Ability) * (Distance from Bob to the Fulcrum)
If Alice weighs 100 pounds and when standing on the 7-foot end of the see saw, she barely can lift Bob, let's find out how much Bob weighs.
(100 pounds) (7 feet) = (Alice's Lifting Ability) * (3 feet)
700 / 3 = Alice's Lifting Ability, and since she can just barely lift Bob...
Bob weighs 233 pounds!
Now can you figure out how much lever arm distance you need to lift your parents? If Mom and Dad together weigh 300 pounds, and you have a 10' long beam and you weigh 100 pounds, let's find the fulcrum distance you'd need to lift them. Let's put your algebra to use here:
Let's make 'x' the distance from you to the fulcrum. This makes the distance from your parents to the fulcrum 10' - x. (If you're 4 feet from the fulcrum, that means your parents are 6', right?)
(100 pounds) (x) = (300 pounds) (10' - x)
100 x = 3000 - 300 x
400 x = 3000
x = 3000 / 400
Solve for x and you'll find that the
distance from you to the fulcrum is 7.5 feet!
Exercises Answer the questions below:
- What is the best definition for a simple machine?
- A machine with less than three parts
- A machine with a simple name
- A machine that changes the direction or amount of a force
- A machine that helps you do work quickly
- What are the three parts of a lever? Circle all that apply:
- Fulcrum
- Weight
- Load
- Effort
- Name two examples of levers that you could find in your house:
- What are the types of levers called?
- Three tiers
- First, second, and third class
- Poor, rich, and middle
- Forty-five and ninety-nine percenters
[/am4show]
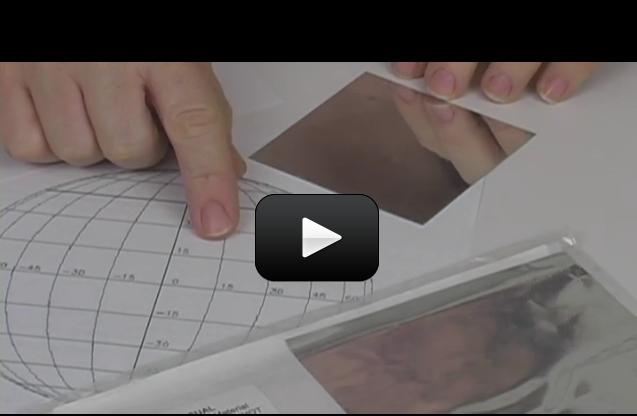
 So you've played with lenses, mirrors, and built an optical bench. Want to make a real telescope? In this experiment, you'll build a Newtonian and a refractor telescope using your
 An optical table gives you a solid surface to work on and nails down your parts so they don’t move. This is an image taken with Schlieren photography. This technique picks up the changes in air density (which is a measure of pressure and volume).
 What if you coat one side of the lens with a reflecting silver coating? You get a mirror!
 Now arch the foam. Notice how the light ways (skewers) come to a point (focal point).
 It just so happens that the Sun’s diameter is about 400 times larger than the Moon, but the Moon is 400 times closer than the Sun. This makes the Sun and Moon appear to be about the same size in the sky as viewed from Earth. This is also why the eclipse thing is such a big deal for our planet. You’re about to make your own eclipses as you learn about syzygy.
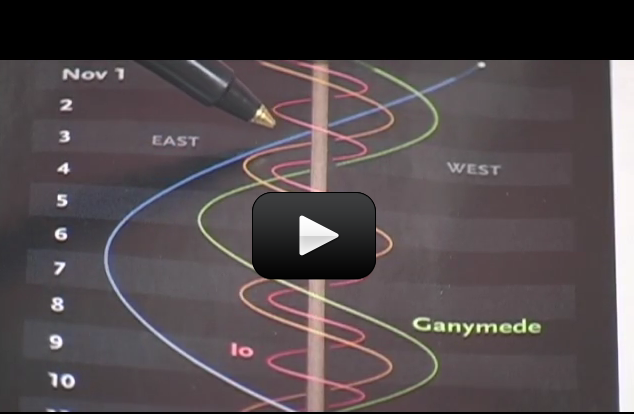


 If you watch the moon, you’d notice that it rises in the east and sets in the west. This direction is called ‘prograde motion’. The stars, sun, and moon all follow the same prograde motion, meaning that they all move across the sky in the same direction.

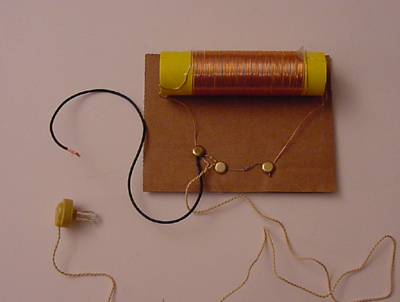
 In addition to laser experiments, I thought you’d like to learn how to pick up sound that’s traveling on a light wave. A crystal radio is among the simplest of radio receivers – there’s no battery or power source, and nearly no moving parts. The source of power comes directly from the radio waves (which is a low-power, low frequency light wave) themselves.
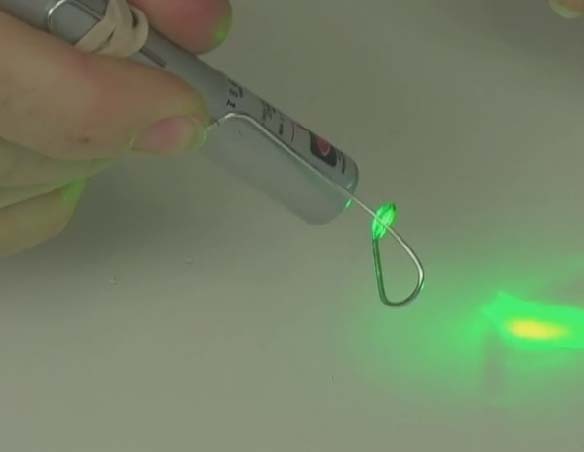
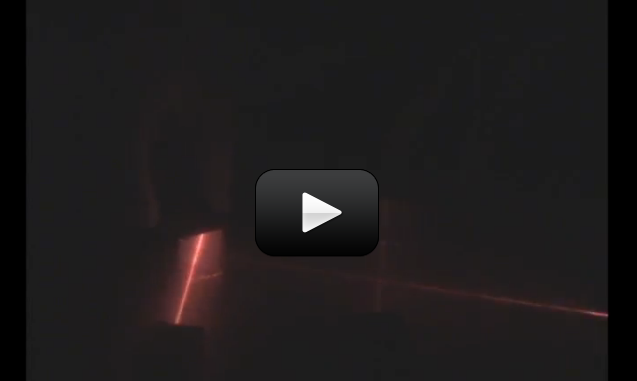
 What happens when you shine a laser beam onto a spinning mirror? In the

 When a beam of light hits a different substance (like the water), the wavelength changes because the speed of the light changes. If you’re thinking that the speed of light is always constant, you’re right… in a vacuum like outer space between two reference frames.
 Spectrometers are used in chemistry and astronomy to measure light. In astronomy, we can find out about distant stars without ever traveling to them, because we can split the incoming light from the stars into their colors (or energies) and “read” what they are made up of (what gases they are burning) and thus determine their what they are made of. In this experiment, you’ll make a simple cardboard spectrometer that will be able to detect all kinds of interesting things!
 When you warm up leftovers, have you ever wondered why the microwave heats the food and not the plate? (Well, some plates, anyway.) It has to do with the way microwaves work.


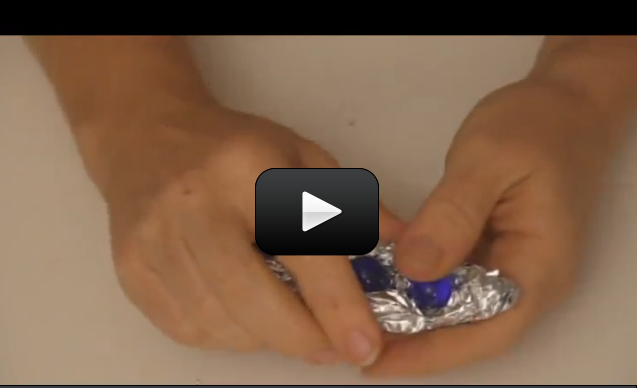
 If you’re finding that the marbles fall out before the bobsled reaches the bottom of the slide, you need to either crimp the foil more closely around the marbles or decrease your hill height.
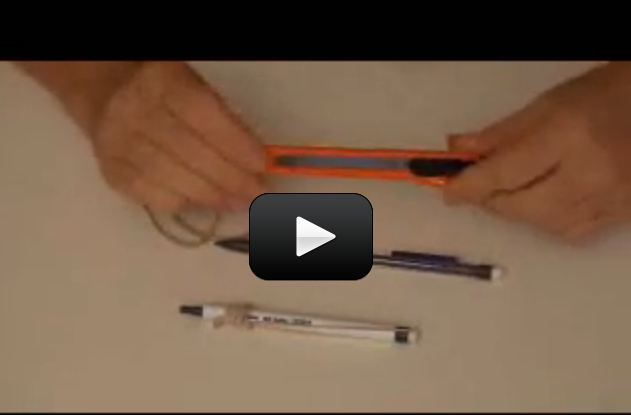
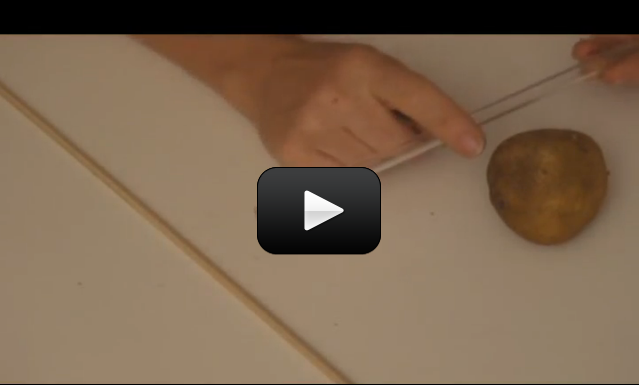
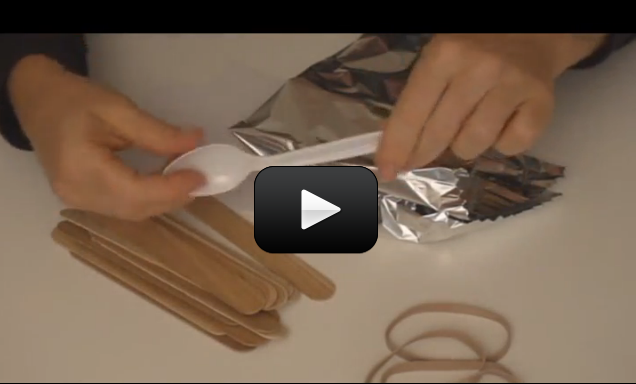
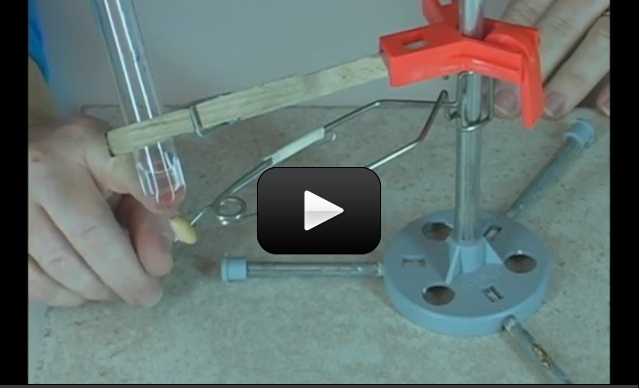
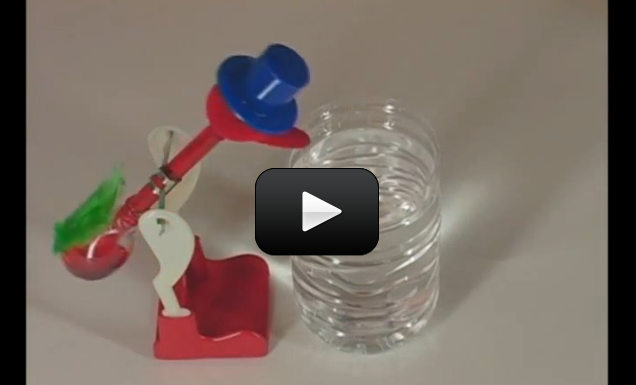
 What’s going on? We’re utilizing the “springy-ness” in the popsicle stick to fling the ball around the room. By moving the fulcrum as far from the ball launch pad as possible (on the catapult), you get a greater distance to press down and release the projectile. (The fulcrum is the spot where a lever moves one way or the other – for example, the horizontal bar on which a seesaw “sees” and “saws”.)


 This experiment is for Advanced Students. For ages, people have been hurling rocks, sticks, and other objects through the air. The trebuchet came around during the Middle Ages as a way to break through the massive defenses of castles and cities. It’s basically a gigantic sling that uses a lever arm to quickly speed up the rocks before letting go. A trebuchet is typically more accurate than a catapult, and won’t knock your kid’s teeth out while they try to load it.


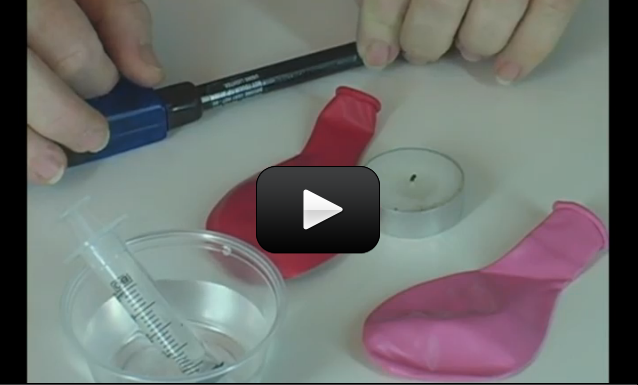
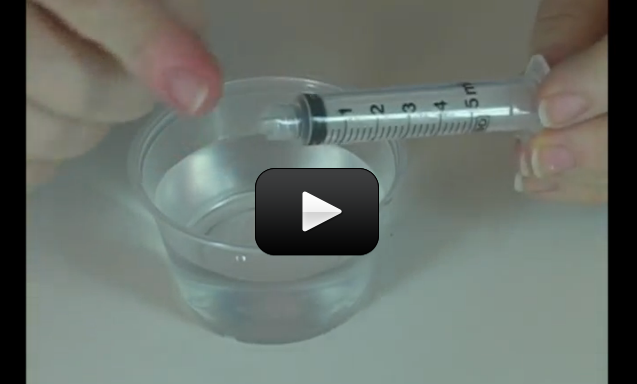
 Let’s play with these different ideas right now and really “feel” the difference between hydraulics and pneumatics. Connect two syringes with a piece of flexible tubing. Cut the tubing into three equal-sized pieces and use one to experiment with. Shove the plunger on one syringe to the “empty”, and leave the other in the “filled” position before connecting the tubing. What happens when you push or lift one of the plungers? Is it quick to respond, or is there “slop” in the system?

 Although urine is sterile, it has hundreds of different kinds of wastes from the body. All sorts of things affect what is in your urine, including last night’s dinner, how much water you drink, what you do for exercise, and how well your kidneys work in the first place. This experiment will show you how the kidneys work to keep your body in top shape.
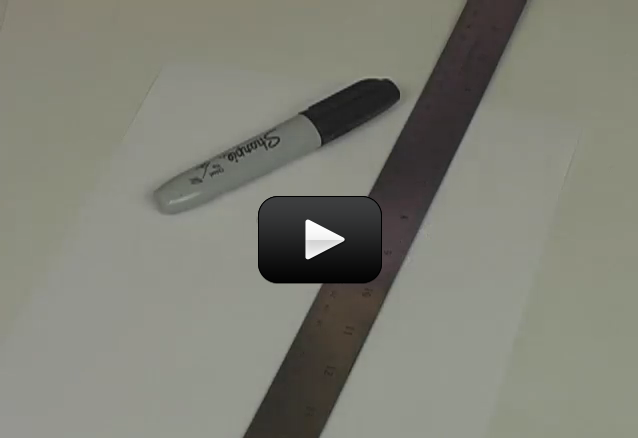
