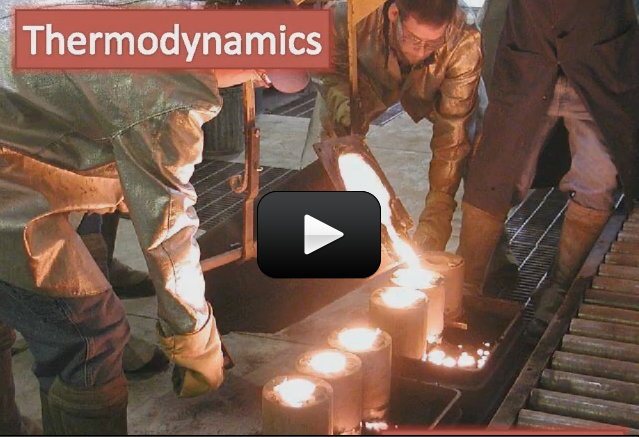
This is a recording of a recent live teleclass I did with thousands of kids from all over the world. I’ve included it here so you can participate and learn, too!
You’ll discover how to boil water at room temperature, heat up ice to freeze it, make a fire water balloon, and build a real working steam boat as you learn about heat energy. You’ll also learn about thermal energy, heat capacity, and the laws of thermodynamics.
Materials:
- cup of ice water
- cup of room temperature water
- cup of hot water (not scalding or boiling!)
- tea light candle and lighter (with adult help)
- balloon (not inflated)
- syringe (without the needle)
- block of foam
- copper tubing (¼” diameter and 12” long)
- bathtub or sink
- scissors or razor
- fat marker (to be used to wrap things around, not for writing)
[am4show have=’p8;p9;p11;p38;’ guest_error=’Guest error message’ user_error=’User error message’ ]
Key Concepts
The terms hot, cold, warm etc. describe what physicists call thermal energy. Thermal energy is how much the molecules are moving inside an object. The faster molecules move, the more thermal energy that object has.
There are three different scales for measuring temperature. Fahrenheit, Celsius and Kelvin. (There’s also a fourth temperature scale for absolute Fahrenheit called Rankine.) Temperature is basically a speedometer for molecules. The faster they are wiggling and jiggling, the higher the temperature and the higher the thermal energy that object has. Your skin, mouth and tongue are antennas which can sense thermal energy.
There are four states of matter: Solid, liquid, gas and plasma. Solids have strong, stiff bonds between molecules that hold the molecules in place. Liquids have loose, stringy bonds between molecules that hold molecules together but allow them some flexibility. Gasses have no bonds between the molecules. Plasma is similar to gas but the molecules are very highly energized. Materials can change from one state to another depending on the temperature and the bonds. Changing from a solid to a liquid is called melting. Changing from a liquid to a gas is called boiling, evaporating, or vaporizing. Changing from a gas to a liquid is called condensation. Changing from a liquid to a solid is called freezing. All materials have given points at which they change from state to state. Melting point is the temperature at which a material changes from solid to liquid. Boiling point is the temperature at which a material changes from liquid to gas. Condensation point is the temperature at which a material changes from gas to liquid. Freezing point is the temperature at which a material changes from liquid to gas.
What’s Going On?
Heat is the movement of thermal energy from one object to another. Heat can only flow from an object of a higher temperature to an object of a lower temperature (this is the First Law of Thermodynamics). Heat is movement of thermal energy from one object to another. When an object absorbs heat it does not necessarily change temperature. Objects release heat as they freeze and condense. Objects absorb heat as they evaporate and melt. Freezing points, melting points, boiling points and condensation points are the “speed limits” of the phases. Once the molecules reach that speed they must change state.
Heat capacity is how much heat an object can absorb before its temperature increases. Specific heat is how much heat energy a mass of a material must absorb before it increases 1°C. Heat capacity is influenced by the specific heat of the material and/or the amount of the material. Each material has its own specific heat. The higher a material’s specific heat is, the more heat it must absorb before its temperature increases. A larger amount of something will have a higher heat capacity then a smaller amount of something. Water has a very high heat capacity.
Questions:
- True or False: Water is poor at absorbing heat energy.
- True or False: A molecule that heats up will move faster.
- True or False: A material will be less dense at lower temperatures.
- For gases, if we increase the temperature, what happens to the pressure and the volume?
- What is specific heat?
- What is heat?
- Does heat flow from cold to hot? Give an example.
- What do the our body sense, heat flow or temperature? Are they the same thing?
- How can we boil room temperature water without heating up the water?
Answers:
- False.
- True.
- False. (Usually.)
- If we increase the temperature, the pressure increases and the volume decreases. This is called the Ideal Gas Law (remember the ping pong balls from the teleclass?)
- Specific heat is how much heat energy a mass of a material must absorb before it increases 1°C.
- Heat is the movement of thermal energy from one object to another.
- No. Heat flows from hot to cold. (This is the First Law of Thermodynamics.) A hot cup of coffee left out on a cold morning will eventually cool to the surrounding air temperature.
- Heat flow. No they are not the same thing. Temperature is a measure of how much energy the molecules have.
- By increasing the pressure by decreasing the volume, we can force the bubbles out of the water and it will boil. Boiling is when the liquid water turns into a gas, NOT when the liquid water heats up. Boiling can happen at many different temperatures when you change the pressure.
[/am4show]
 Make yourself a grab bag of fun things to test: copper pieces (nails or pipe pieces), zinc washers, pipe cleaners, Mylar, aluminum foil, pennies, nickels, keys, film canisters, paper clips, load stones (magnetic rock), other rocks, and just about anything else in the back of your desk drawer.
 It was actually one of Ben Franklin’s not-so-great moments when he arbitrarily assigned the direction of electric current the way we think about it today, which is going from the positive to the negative terminal. Electrons actually move in the opposite direction! BUT in the real world, we all think about current flowing from plus to minus (even though in reality its the opposite direction). Just file it away in your mind in case it ever comes up (which it probably won’t) that you would need to know the actual direction the electrons are moving in a circuit (which most people don’t need to know or care about).
 When you turn on a switch, it’s difficult to really see what’s going on… which is why we make our own from paperclips, brass fasteners, and index cards.
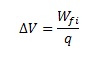
 This simple FET circuit is really an electronic version of the
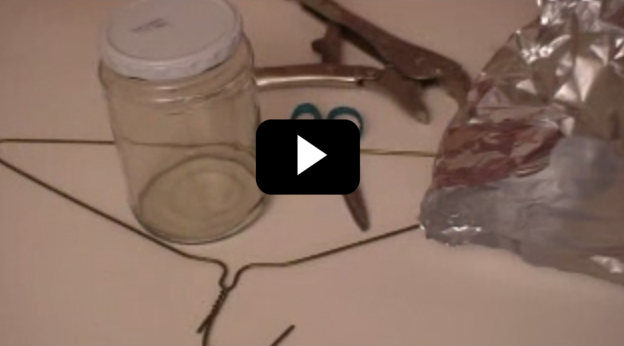
 Einstein received a Nobel Prize for figuring out what happens when you shine blue light on a sheet of metal. When he aimed a blue light on a metal plate, electrons shot off the surface. (Metals have electrons which are free to move around, which is why metals are electrically conductive. More on this in Unit 10).
 Let’s go a little further with this shell thing. An atom can have as few as one and as many as seven shells. Imagine our balloon again. Now there can be a balloon inside of a balloon inside a balloon and so on. Up to seven balloons! Each balloon, whoops, I mean shell, can have only so many electrons in it. This simple equation 2n2 tells you how many electrons can be in each shell. The n stands for the number of the shell.
 Luckily, two Hydrogen atoms happen by. Each one of them has only one electron in its outer shell and needs one more to be satisfied. If both Hydrogens share their one electron with the Oxygen, the oxygen has eight electrons and is satisfied. Also, if the Oxygen shares an electron with each Hydrogen, then both Hydrogens are satisfied as well. Just like your mother told you, it’s nice to share. It is this sharing of electrons that makes atoms come together to form molecules.