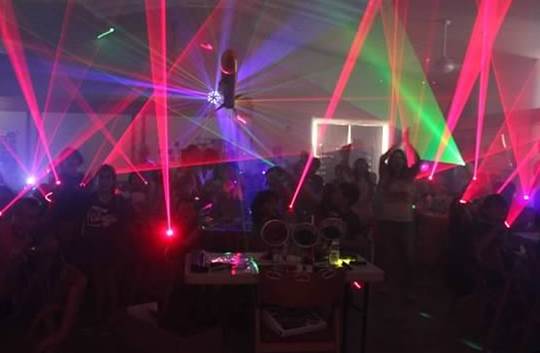
This is a recording of a recent live teleclass I did with thousands of kids from all over the world. I’ve included it here so you can participate and learn, too!
This class is all about Light Waves, Lasers and Holograms! This is a newly updated version of the older Light Waves and Lasers teleclass here.
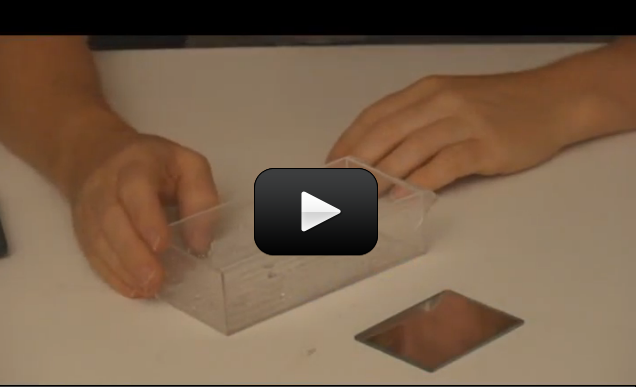
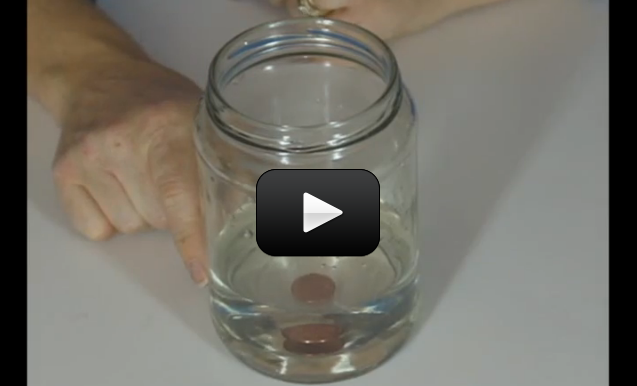
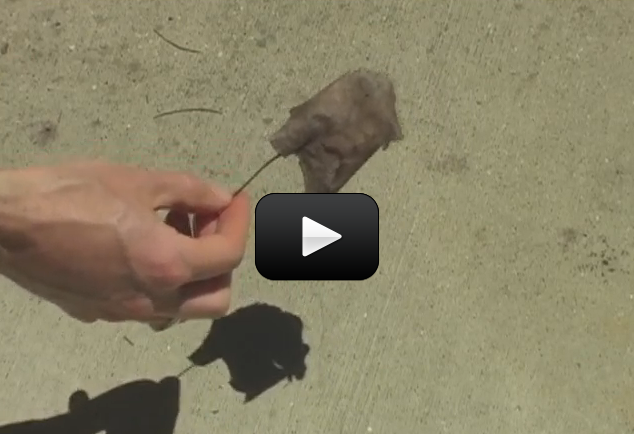
We’re going to learn about the wild world of light that has baffled scientists for over a century. You’ll be twisting and bending light as we learn about refraction, reflection, absorption, and transmission using lenses, lasers, mirrors, and optical filters with everyday stuff like gummy bears, paperclips, pencils and water!
We’re going to learn how to build a projection hologram out of piece of old plastic, make a laser microscope so you can see tiny little microscopic creatures, bend laser light to follow any path you want without using mirrors, and finally understand how glow in the dark toys really work on the subatomic level. Are you ready?
Materials:
- Pencil
- Paper
- Clothespin
- Paperclip
- Rubber band
- Gummy bears
- Red laser
- Flashlight
- Old CD
- Scissors
- Pliers
- Glass of water
- Clear Plastic Film
 Imagine you’re a painter. What three colors do you need to make up any color in the universe? (You should be thinking: red, yellow, and blue… and yes, you are right if you’re thinking that the real primary colors are cyan, magenta, and yellow, but some folks still prefer to think of the primary colors as red-yellow-blue… either way, it’s really not important to this experiment which primary set you choose.)


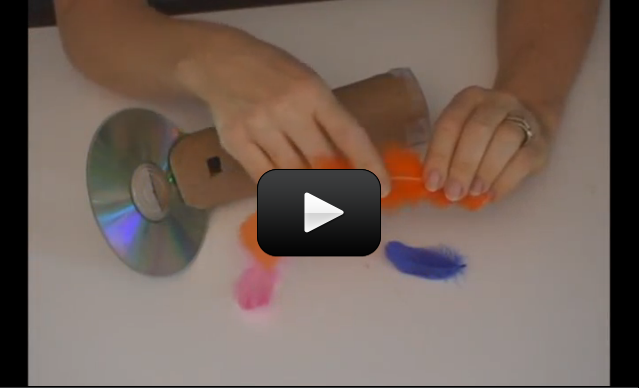
 Charles Benhamho (1895) created a toy top painted with the pattern (images on next page). When you spin the disk, arcs of color (called “pattern induced flicker colors”) show up around the disk. And different people see different colors!
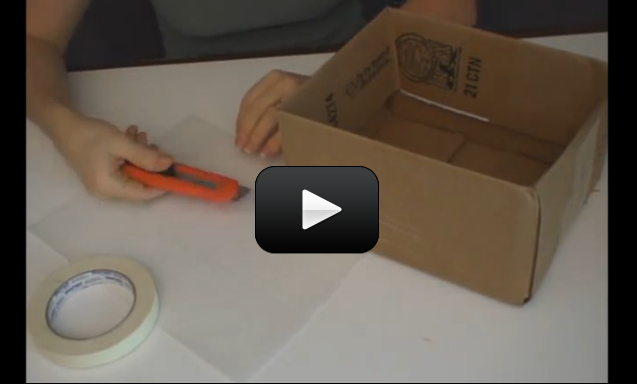
 When you warm up leftovers, have you ever wondered why the microwave heats the food and not the plate? (Well, some plates, anyway.) It has to do with the way microwaves work.

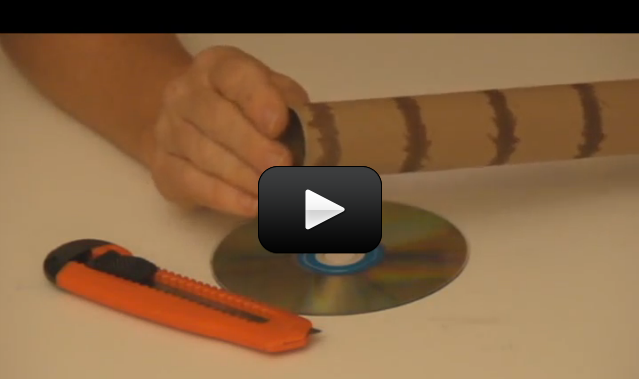
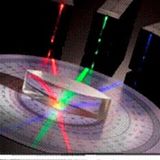
 Spectrometers are used in chemistry and astronomy to measure light. In astronomy, we can find out about distant stars without ever traveling to them, because we can split the incoming light from the stars into their colors (or energies) and “read” what they are made up of (what gases they are burning) and thus determine their what they are made of. In this experiment, you’ll make a simple cardboard spectrometer that will be able to detect all kinds of interesting things!
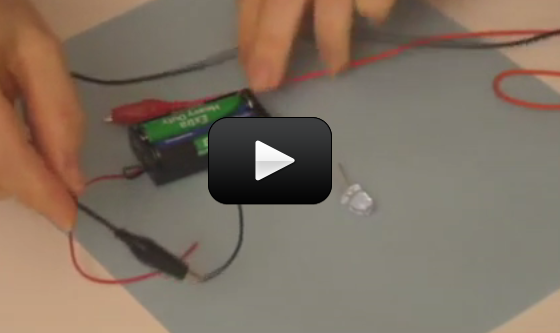

 An optical table gives you a solid surface to work on and nails down your parts so they don’t move. This is an image taken with Schlieren photography. This technique picks up the changes in air density (which is a measure of pressure and volume).
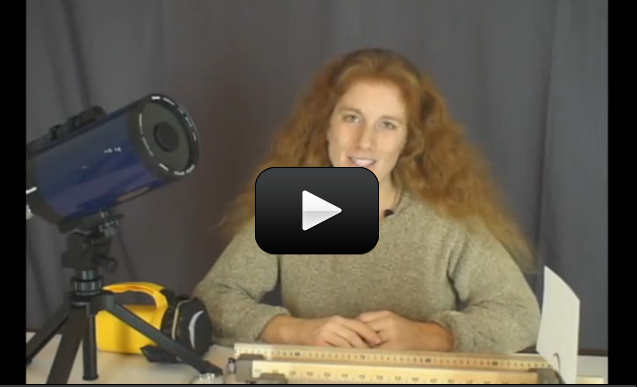
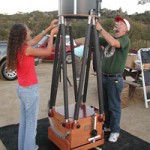 So you’ve played with lenses, mirrors, and built an optical bench. Want to make a real telescope? In this experiment, you’ll build a Newtonian and a refractor telescope using your