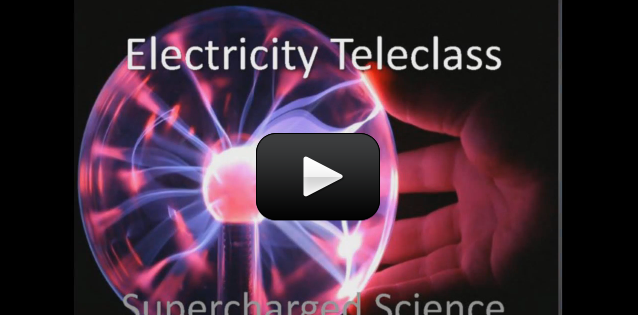
This is a recording of a recent live teleclass I did with thousands of kids from all over the world. I’ve included it here so you can participate and learn, too!


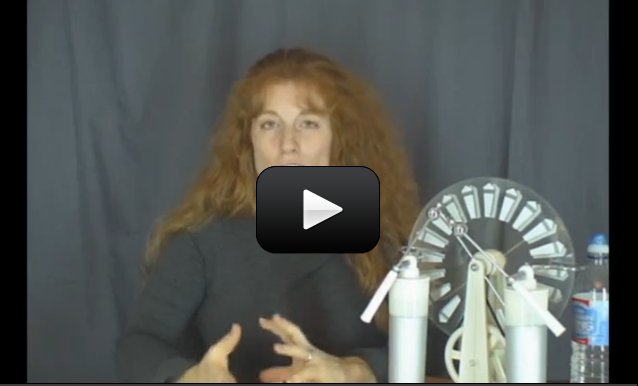
We’re going to study electrons and static charge. Kids will build simple electrostatic motor to help them understand how like charges repel and opposites attract. After you’ve completed this teleclass, be sure to hop on over the teleclass in Robotics!


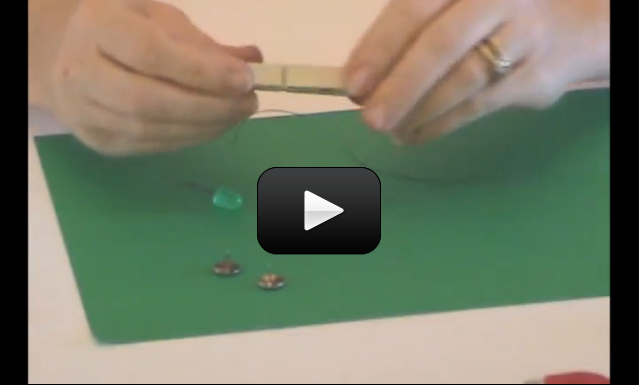
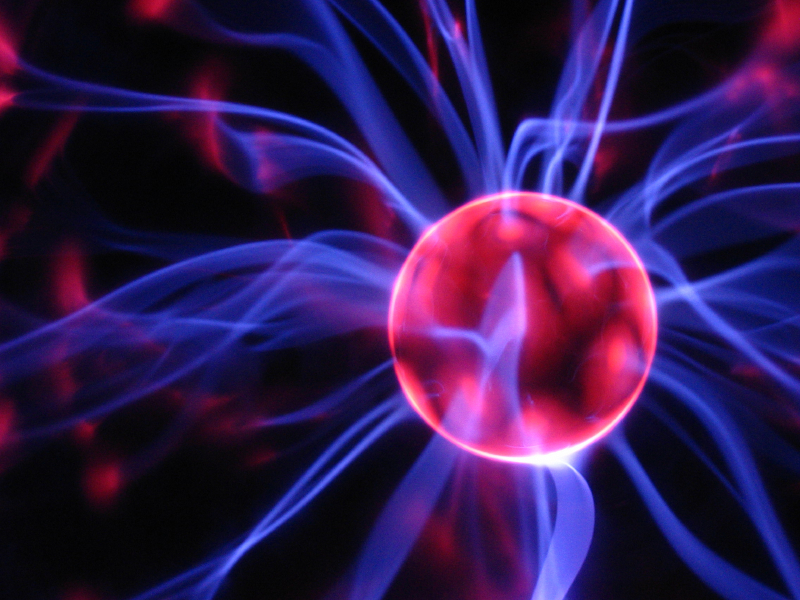
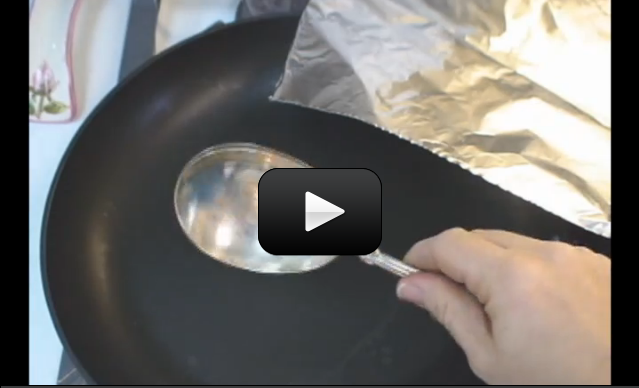
Electrons are strange and unusual little fellows. Strange things happen when too many or too few of the little fellows get together. Some things may be attracted to other things or some things may push other things away. Occasionally you may see a spark of light and sound. The light and sound may be quite small or may be as large as a bolt of lightning. When electrons gather, strange things happen. Those strange things are static electricity.


Please login or register to read the rest of this content.

An electrical circuit is like a raceway or running track at school.  The electrons (racecars) zip around the race loop (wire circuit) superfast to make stuff happen. Although you can’t see the electrons zipping around the circuit, you can see the effects: lighting up LEDs, sounding buzzers, clicking relays, etc.


There are many different electrical components that make the electrons react in different ways, such as resistors (limit current), capacitors (collect a charge), transistors (gate for electrons), relays (electricity itself activates a switch), diodes (one-way street for electrons), solenoids (electrical magnet), switches (stoplight for electrons), and more.  We’re going to use a combination diode-light-bulb (LED), buzzers, and motors in our circuits right now.


A CIRCUIT looks like a CIRCLE.  When you connect the batteries to the LED with wire and make a circle, the LED lights up.  If you break open the circle, electricity (current) doesn’t flow and the LED turns dark.


LED stands for “Light Emitting Diode”.  Diodes are one-way streets for electricity – they allow electrons to flow one way but not the other.


Remember when you scuffed along the carpet?  You gathered up an electric charge in your body.  That charge was static until you zapped someone else.  The movement of electric charge is called electric current, and is measured in amperes (A). When electric current passes through a material, it does it by electrical conduction. There are different kinds of conduction, such as metallic conduction, where electrons flow through a conductor (like metal) and electrolysis, where charged atoms (called ions) flow through liquids.


Please login or register to read the rest of this content.

Before you reach for the pack of Duracells, watch our video on the best batteries to use when starting out with your electricity experiments. (The answer is much cheaper than you think.) Here’s what you need to know:


Please login or register to read the rest of this content.

switch-zoom
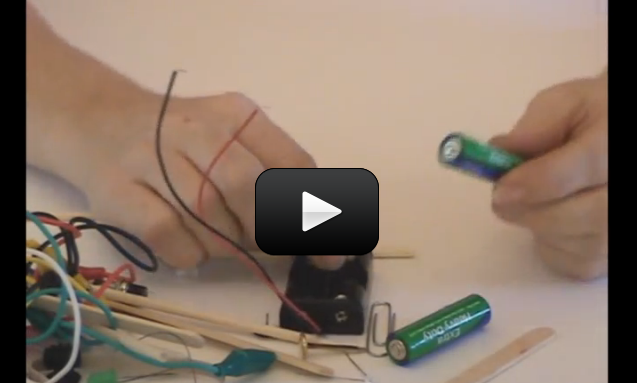
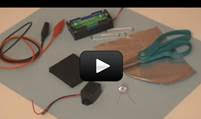
Make yourself a grab bag of fun things to test: copper pieces (nails or pipe pieces), zinc washers, pipe cleaners, Mylar, aluminum foil, pennies, nickels, keys, film canisters, paper clips, load stones (magnetic rock), other rocks, and just about anything else in the back of your desk drawer.


Certain materials conduct electricity better than others. Silver, for example, is one of the best electrical conductors on the planet, followed closely by copper and gold. Most scientists use gold contacts because, unlike silver and copper, gold does not tarnish (oxidize) as easily. Gold is a soft metal and wears away much more easily than others, but since most circuits are built for the short term (less than 50 years of use), the loss of material is unnoticeable.
Please login or register to read the rest of this content.


knifeswitch
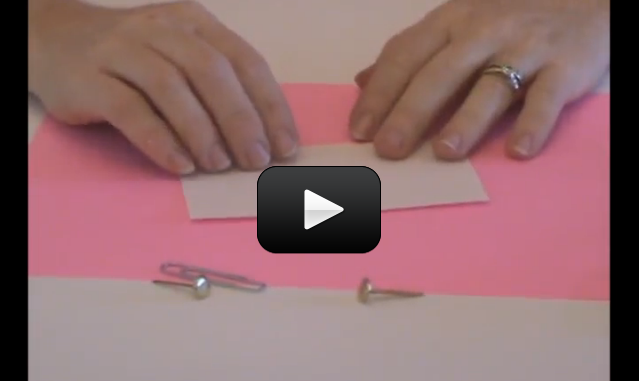
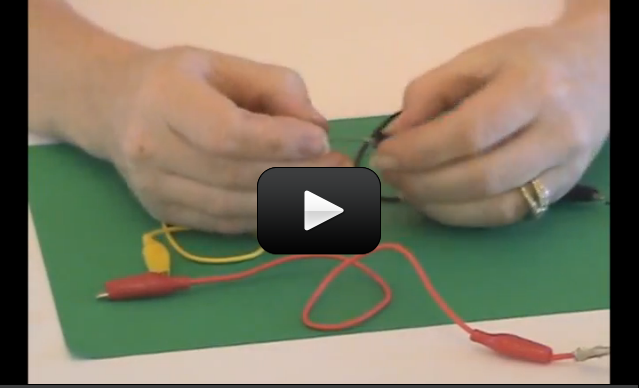
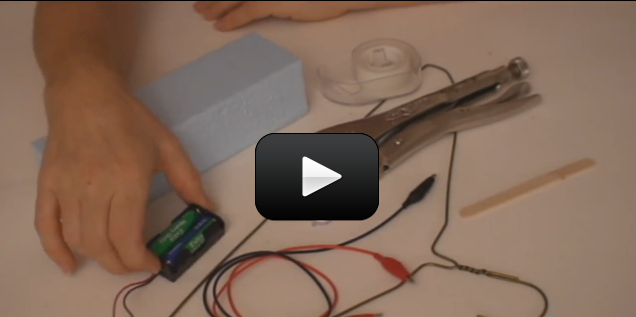
When you turn on a switch, it’s difficult to really see what’s going on… which is why we make our own from paperclips, brass fasteners, and index cards.


Kids can see the circuit on both sides of the card, so it makes sense why it works (especially after doing ‘Conductivity Testers’).


SPST stands for Single Pole, Single Throw, which means that the switch turns on only one circuit at a time. This is a great switch for one of the robots we’ll be making soon, as it only needs one motor to turn on and off.
Please login or register to read the rest of this content.


Imagine you have two magnets. Glue one magnet on an imaginary record player (or a ‘lazy susan’ turntable) and hold the other magnet in your hand. What happens when you bring your hand close to the turntable magnet and bring the north sides together?


The magnet should repel and move, and since it’s on a turntable, it will circle out of the way. Now flip your hand over so you have the south facing the turntable. Notice how the turntable magnet is attracted to yours and rotates toward your hand. Just as it reaches your hand, flip it again to reveal the north side. Now the glued turntable magnet pushes away into another circle as you flip your magnet over again to attract it back to you. Imagine if you could time this well enough to get the turntable magnet to make a complete circle over and over again… that’s how a motor works!


After you get the buzzer and the light or LED to work, try spinning a DC motor:


Please login or register to read the rest of this content.

pot
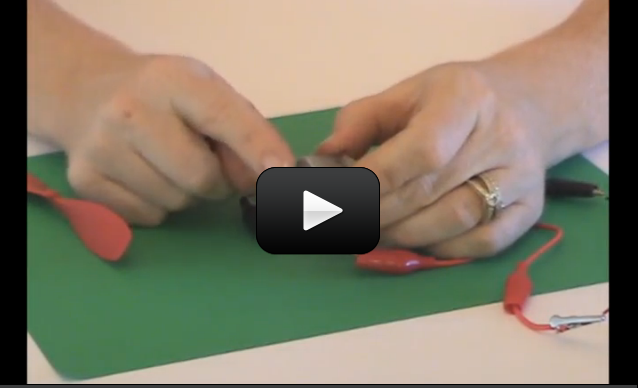
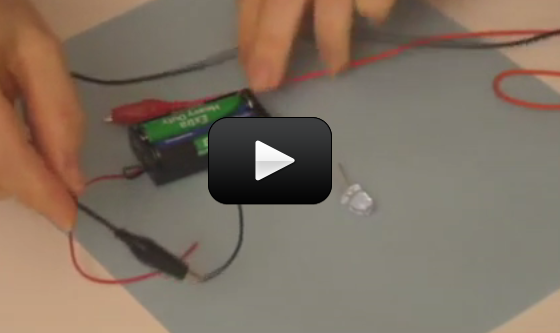
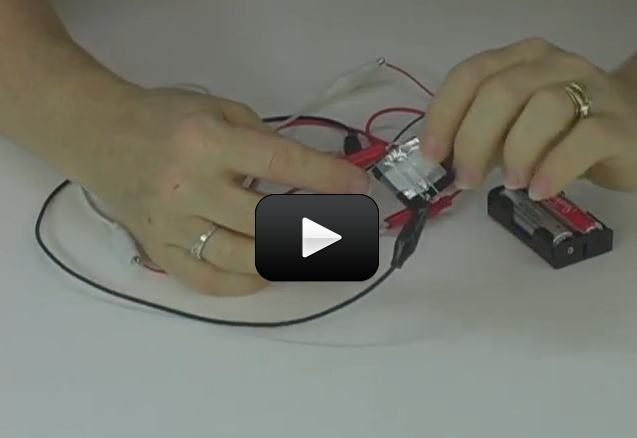
So now you know how to hook up a motor, and even wire it up to a switch so that it goes in forward and reverse. But what if you want to change speeds? This nifty electrical component will help you do just that.


Once you understand how to use this potentiometer in a circuit, you’ll be able to control the speed of your laser light show motors as well as the motors and lights on your robots. Ready?


Please login or register to read the rest of this content.

Once you’ve made a a simple switch, you’re ready to use more advanced electrical components, such as the DPDT switch you picked up from an electronics store (refer to shopping list for this section). When you wire up this nifty device, you’ll be able to get your motors to go forward, reverse, and stop… all with the flip of a switch.


You can use this component along with a potentiometer so you can not only control the direction but also the speed of a motor, like in a robot or laser light show. And don’t feel limited on using this switch just with motors – it works with bi-polar LEDs and other things as well.  For example, you can hook this up so that when it’s in the UP position, the buzzer sounds, and the DOWN position makes the headlights go on. Are you ready to learn how to wire this one up?


Please login or register to read the rest of this content.

This is a super-cool and ultra-simple circuit experiment that shows you how a CdS (cadmium sulfide cell) works. A CdS cell is a special kind of resistor called a photoresistor, which is sensitive to light.


A resistor limits the amount of current (electricity) that flows through it, and since this one is light-sensitive, it will allow different amounts of current through depends on how much light it “sees”.


Photoresistors are very inexpensive light detectors, and you’ll find them in cameras, street lights, clock radios, robotics, and more. We’re going to play with one and find out how to detect light using a simple series circuit.


Materials:


  • AA battery case with batteries
  • one CdS cell
  • three alligator wires
  • LED (any color and type)
Please login or register to read the rest of this content.

Burglar alarms not only protect your stuff, they put the intruder into a panic while they attempt to disarm the triggered noisemaker.  Our burglar alarms are basically switches which utilize the circuitry from Basic Circuits and clever tricks in conductivity.


A complete and exhaustive description of electronics would jump into the physics of solid state electronics, which is covered in undergraduate university courses. Instead, here is a quick description based on the fluid analogy for electric charge:


The movement of electric charge is called electric current, and is measured in amperes (A, or amps). When electric current passes through a material, it does so by electrical conduction, but there are different kinds of conduction, such as metallic conduction (where electrons flow through a conductor, like metal) and electrolysis (where charged atoms (called ions) flow through liquids).


Why does metal conduct electricity? Metals are conductors not because electricity passes through them, but because they contain electrons that can move. Think of the metal wire like a hose full of water. The water can move through the hose.  An insulator would be like a hose full of cement – no charge can move through it.


Please login or register to read the rest of this content.

By controlling how and when a circuit is triggered, you can easily turn a simple circuit into a burglar alarm – something that alerts you when something happens. By sensing light, movement, weight, liquids, even electric fields, you can trigger LEDs to light and buzzers to sound. Your room will never be the same.


Switches control the flow of electricity through a circuit. There are different kinds of switches. NC (normally closed) switches keep the current flowing until you engage the switch. The SPST and DPDT switches are NO (normally open) switches.


The pressure sensor we’re building is small, and it requires a fair amount of pressure to activate. Pressure is force (like weight) over a given area (like a footprint). If you weighed 200 pounds, and your footprint averaged 10” long and 2” wide, you’d exert about 5 psi (pounds per square inch) per foot.


However, if you walked around on stilts indeed of feet, and the ‘footprint’ of each stilt averaged 1” on each side, you’d now exert 100 psi per foot. Why such a difference?


The secret is in the area of the footprint. In our example, your foot is about 20 square inches, but the area of each stilt was only 1 square inch. Since you haven’t changed your weight, you’re still pushing down with 200 pounds, only in the second case, you’re pressing the same weight into a much smaller spot… and hence the pressure applied to the smaller area shoots up by a factor of 20.


So how do we use pressure in this experiment? When you squeeze the foam, the light bulb lights up! It’s ideal for under a doormat or carpet rug where lots of weight will trigger it.


Please login or register to read the rest of this content.

If you want your robot to detect when it’s flipped sideways, this is the sensor you need. It’s ridiculously simple to make, and works great as long as the metal makes good contact. I’ve also included instructions for making a motion sensor as well, just in case you need to detect motion or acceleration.


Please login or register to read the rest of this content.

Once you’ve made the Pressure Sensor burglar alarm, you might be wondering how to make the alarm stay on after it has been triggered, the way the Trip Wire Sensor does.


The reason this isn’t as simple as it seems is that the trip wire is a normally closed (NC) switch while the pressure sensor is a normally open (NO) switch. This means that the trip wire is designed to allow current to flow through the tacks when there’s no paper insulating them, while the pressure sensor stops current flowing in it’s un-squished state. It’s just the nature of the two different types of switches.


However, we can build a circuit using a relay which will ‘latch on’ when activated and remain on until you reset the system (by cutting off the power). This super-cool latching circuit video will show you everything you need to know.
Please login or register to read the rest of this content.


nerve-tester
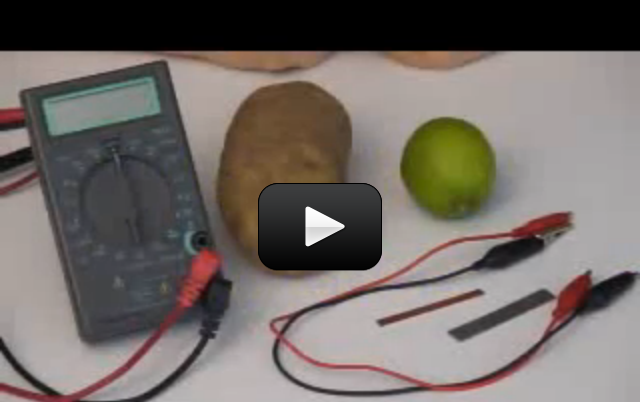
Electrical circuits are used for all kinds of applications, from blenders to hair dryers to cars. And games! Here’s a quick and easy game using the principles of conductivity.


This experiment is a test of your nerves and skill to see if you can complete the roller coaster circuit and make it from one end to the other.  You can opt to make a noisy version (more fun) or a silent version (for stealth). Are you ready?


Please login or register to read the rest of this content.

meter
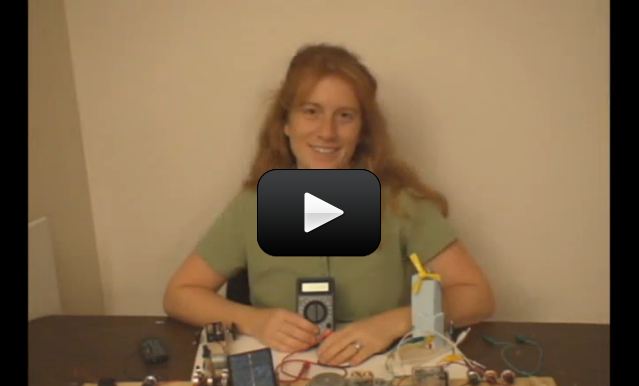
One of the most useful tools a scientist can have! A digital multimeter can quickly help you discover where the trouble is in your electrical circuits and eliminate the hassle of guesswork. When you have the right tool for the job, it makes your work a lot easier (think of trying to hammer nails with your shoe).

We'll show you how to get the most out of this versatile tool that we're sure you're going to use all the way through college. This project is for advanced students.

Please login or register to read the rest of this content.


When high energy radiation strikes the Earth from space, it’s called cosmic rays. To be accurate, a cosmic ray is not like a ray of sunshine, but rather is a super-fast particle slinging through space. Think of throwing a grain of sand at a 100 mph… and that’s what we call a ‘cosmic ray’. Build your own electroscope with this video!


Please login or register to read the rest of this content.

Plasma ball centerThe smallest thing around is the atom, which has three main parts – the core (nucleus) houses the protons and neutrons, and the electron zips around in a cloud around the nucleus.


The proton has a positive charge, and the electron has a negative charge. In the hydrogen atom, which has one proton and one electron, the charges are balanced. If you steal the electron, you now have an unbalanced, positively charge atom and stuff really starts to happen. The flow of electrons is called electricity. We’re going to move electrons around and have them stick, not flow, so we call this ‘static electricity’.


These next experiments rely heavily on the idea that like charges repel and opposites attract. Your kids need to remember that these activities are all influenced by electrons, which are very small, easy to move around, and are invisible to the eye.
Please login or register to read the rest of this content.


Have you wrapped your mind around static electricity yet? You should understand by now how scuffing along a carpet in socks builds up electrons, which eventually jump off in a flurry known as a spark. And you also probably know a bit about magnets and how magnets have north and south poles AND a magnetic field (more on this later). Did you also know that electrical charges have an electrical field, just like magnets do?


It’s easy to visualize a magnetic field, because you’ve seen the iron filings line up from pole to pole. But did you know that you can do a similar experiment with electric fields?


Here’s what you need:


  • dried dill (spice)
  • vegetable or mineral oil
  • 2 alligator wires
  • static electricity source (watch video first!)
Please login or register to read the rest of this content.

You can use the idea that like charges repel (like two electrons) and opposites attract to move stuff around, stick to walls, float, spin, and roll. Make sure you do this experiment first.


I’ve got two different videos that use positive and negative charges to make things rotate, the first of which is more of a demonstration (unless you happen to have a 50,000 Volt electrostatic generator on hand), and the second is a homemade version on a smaller scale.


Did you know that you can make a motor turn using static electricity? Here’s how:


Please login or register to read the rest of this content.

If you have a Fun Fly Stick, then pull it out and watch the video below. If not, don't worry - you can do most of these experiments with a charged balloon (one that you've rubbed on your hair). Let' play with a more static electricity experiments, including making things move, roll, spin, chime, light up, wiggle and more using  static electricity! Please login or register to read the rest of this content.


fet1
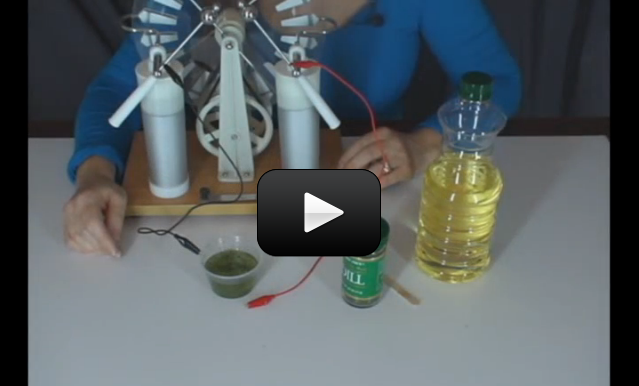
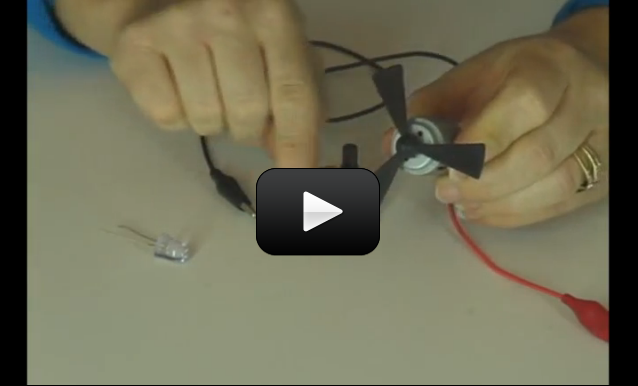
This simple FET circuit is really an electronic version of the electroscope. This “Alien Detector” is a super-sensitive static charge detector made from a few electronics parts. I originally made a few of these and placed them in soap boxes and nailed the lids shut and asked kids how they worked. (I did place a on/off switch poking through the box along with the LED so they would have ‘some’ control over the experiment.)


This detector is so sensitive that you can go around your house and find pockets of static charge… even from your own footprints! This is an advanced project for advanced students.


You will need to get:


Please login or register to read the rest of this content.

When an atom (like hydrogen) or molecule (like water) loses an electron (negative charge), it becomes an ion and takes on a positive charge. When an atom (or molecule) gains an electron, it becomes a negative ion. An electrolyte is any substance (like salt) that becomes a conductor of electricity when dissolved in a solvent (like water).


This type of conductor is called an ‘ionic conductor’ because once the salt is in the water, it helps along the flow of electrons from one clip lead terminal to the other so that there is a continuous flow of electricity.


This experiment is an extension of the Conductivity Tester experiment, only in this case we’re using water as a holder for different substances, like sugar and salt. You can use orange juice, lemon juice, vinegar, baking powder, baking soda, spices, cornstarch, flour, oil, soap, shampoo, and anything else you have around. Don’t forget to test out plain water for your ‘control’ in the experiment!


Please login or register to read the rest of this content.

This experiment is just for advanced students. If you guessed that this has to do with electricity and chemistry, you’re right! But you might wonder how they work together. Back in 1800, William Nicholson and Johann Ritter were the first ones to split water into hydrogen and oxygen using electrolysis. (Soon afterward, Ritter went on to figure out electroplating.) They added energy in the form of an electric current into a cup of water and captured the bubbles forming into two separate cups, one for hydrogen and other for oxygen.

This experiment is not an easy one, so feel free to skip it if you need to. You don’t need to do this to get the concepts of this lesson but it’s such a neat and classical experiment (my students love it) so you can give it a try if you want to. The reason I like this is because what you are really doing in this experiment is ripping molecules apart and then later crashing them back together.

Have fun and please follow the directions carefully. This could be dangerous if you’re not careful. The image shown here is using graphite from two pencils sharpened on both ends, but the instructions below use wire.  Feel free to try both to see which types of electrodes provide the best results.

Please login or register to read the rest of this content.


If you don’t have equipment lying around for this experiment, wait until you complete Unit 10 (Electricity) and then come back to complete this experiment. It’s definitely worth it!


Electroplating was first figured out by Michael Faraday. The copper dissolves and shoots over to the key and gets stuck as a thin layer onto the metal key. During this process, hydrogen bubbles up and is released as a gas. People use this technique to add material to undersized parts, for place a protective layer of material on objects, to add aesthetic qualities to an object.


Materials:


  • one shiny metal key
  • 2 alligator clips
  • 9V battery clip
  • copper sulfate (MSDS)
  • one copper strip or shiny copper penny
  • one empty pickle jar
  • 9V battery
Please login or register to read the rest of this content.

This experiment shows how a battery works using electrochemistry. The copper electrons are chemically reacting with the lemon juice, which is a weak acid, to form copper ions (cathode, or positive electrode) and bubbles of hydrogen.


These copper ions interact with the zinc electrode (negative electrode, or anode) to form zinc ions. The difference in electrical charge (potential) on these two plates causes a voltage.


Materials:


  • one zinc and copper strip
  • two alligator wires
  • digital multimeter
  • one fresh large lemon or other fruit
Please login or register to read the rest of this content.

Using ocean water (or make your own with salt and water), you can generate enough power to light up your LEDs, sound your buzzers, and turn a motor shaft. We’ll be testing out a number of different materials such as copper, aluminum, brass, iron, silver, zinc, and graphite to find out which works best for your solution.


This project builds on the fruit battery we made in Unit 8. This experiment is for advanced students.


The basic idea of electrochemistry is that charged atoms (ions) can be electrically directed from one place to the other. If we have a glass of water and dump in a handful of salt, the NaCl (salt) molecule dissociates into the ions Na+ and Cl-.


When we plunk in one positive electrode and one negative electrode and crank up the power, we find that opposites attract: Na+ zooms over to the negative electrode and Cl- zips over to the positive. The ions are attracted (directed) to the opposite electrode and there is current in the solution.


Please login or register to read the rest of this content.

Never polish your tarnished silver-plated silverware again! Instead, set up a ‘silverware carwash’ where you earn a nickel for every piece you clean. (Just don’t let grandma in on your little secret!)


We’ll be using chemistry and electricity together (electrochemistry) to make a battery that reverses the chemical reaction that puts tarnish on grandma’s good silver.  It’s safe, simple, and just needs a grown-up to help with the stove.


Please login or register to read the rest of this content.

dmm
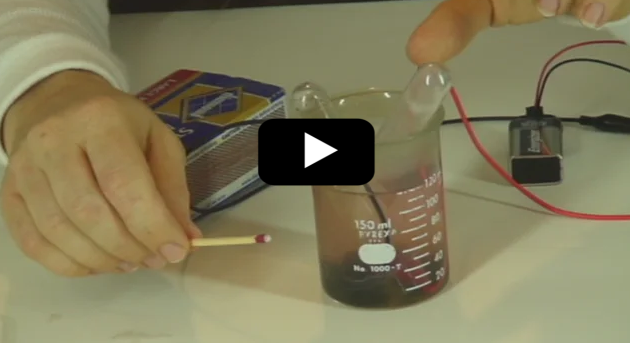
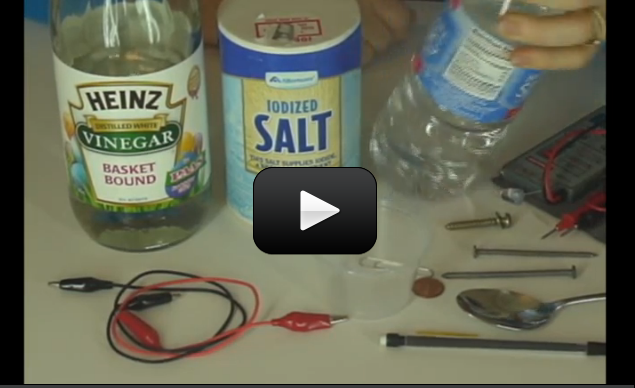
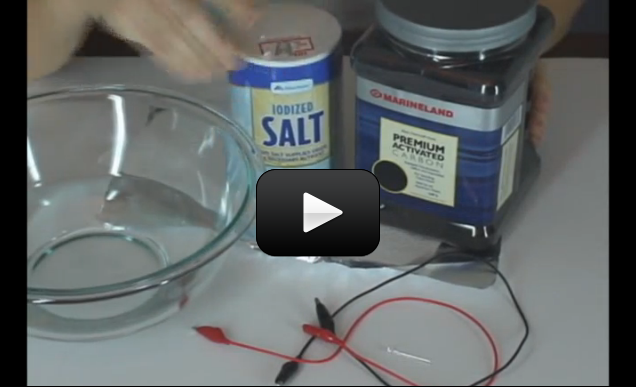
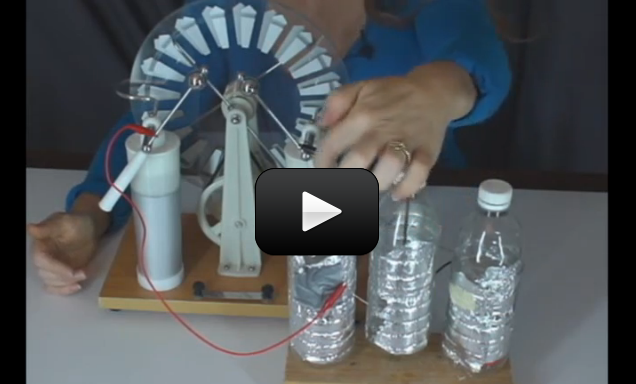
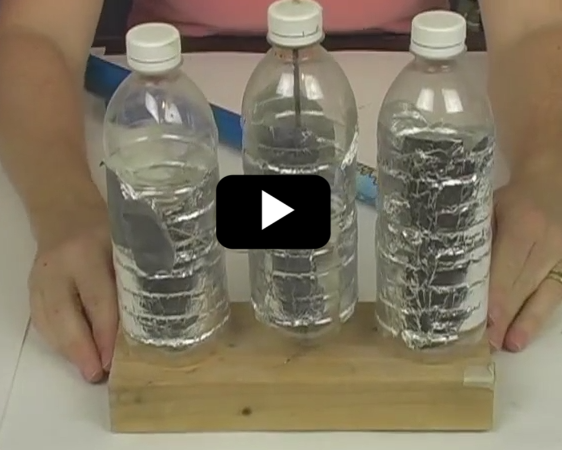
It’s easy to use chemistry to generate electricity, once you understand the basics. With this experiment, you’ll use aluminum foil, salt, air, and a chemical from an aquarium to create an air battery. This experiment is for advanced students.


Please login or register to read the rest of this content.