 This super-cool project lets kids have the fun of playing tag in the dark on a warm summer evening, without the "gun" aspect traditionally found in laser tag. Kids not only get to enjoy the sport but also have the pride that they build the tag system themselves - something you simply can't get from opening up a laser tag game box.
While real laser tag games actually never use lasers, but rather infrared beams, this laser tag uses real lasers, so you'll want to arm the kids with the "no-lasers-on-the-face" with a 10-minute time-out penalty to ensure everyone has a good time. You can alternatively use flashlights instead of lasers, which makes the game a lot easier to tag someone out.
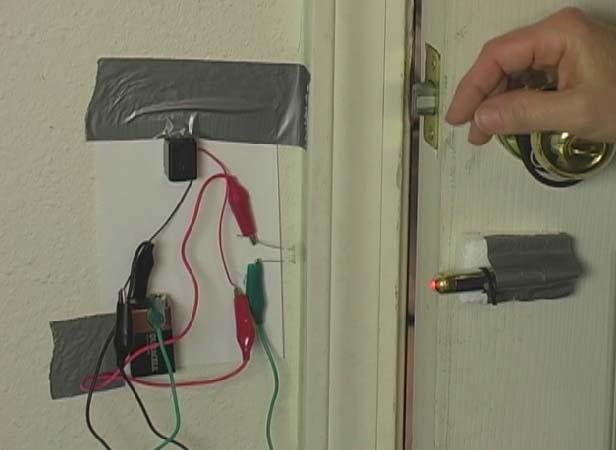
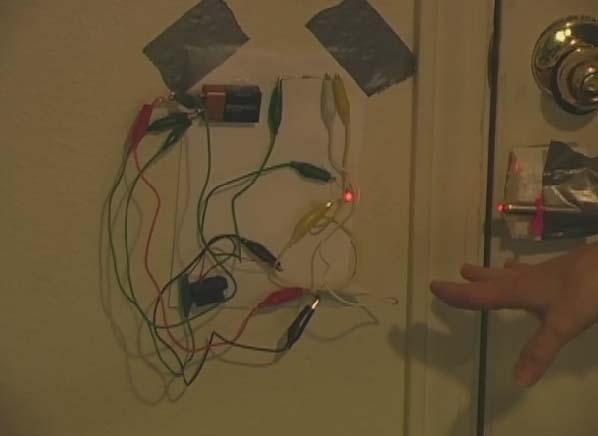
This game uses a simple two-transistor latching circuit design, so there's no programming or overly complicated circuitry to worry about. If you've never built this kind of circuit before, it's a perfect first step into the world of electronics.
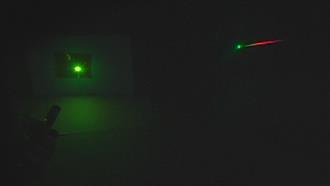
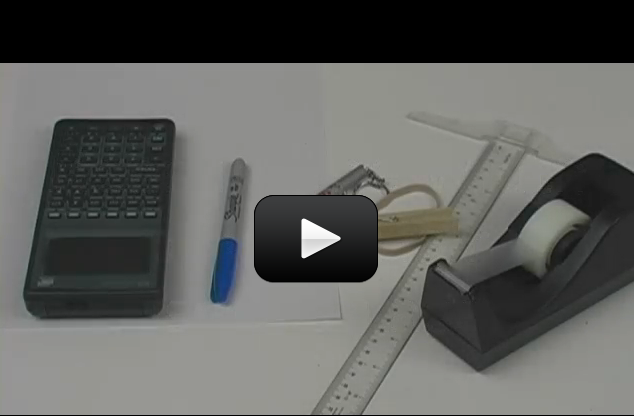
I've provided you with three videos below. This first video is an introduction to what we are going to make and how it works. Here's what you need:
NOTE: We updated this circuit in 2023 to reflect "best practices" when using transistors.
Be sure to build this project as shown in the schematic and breadboard diagrams, and not as shown in the video.
The material list below is based on the new design as shown in the schematic and breadboard diagrams on this page.
The videos show how to build the old circuit, but are still very useful.
Please login or register to read the rest of this content.

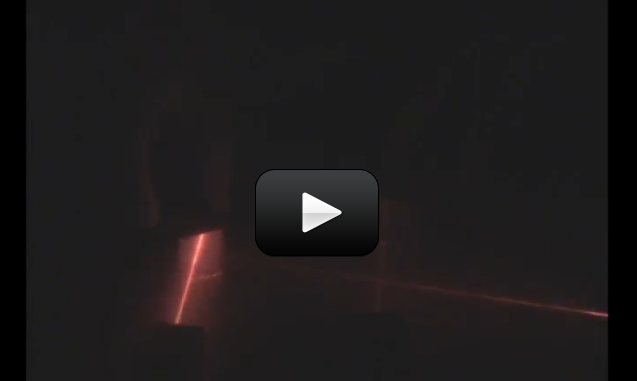

 What happens when you shine a laser beam onto a spinning mirror? In the
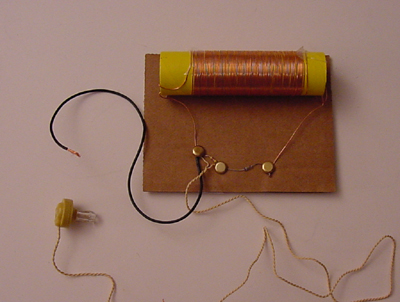
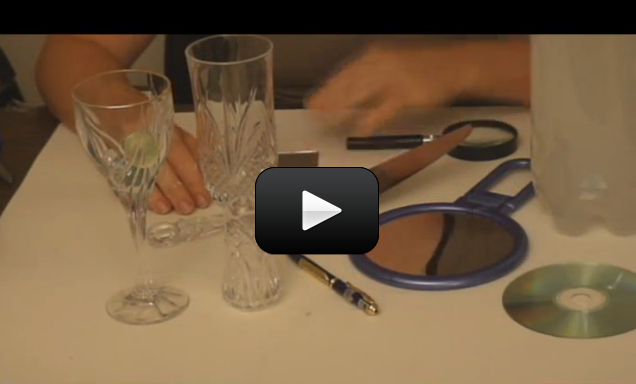
 In addition to laser experiments, I thought you’d like to learn how to pick up sound that’s traveling on a light wave. A crystal radio is among the simplest of radio receivers – there’s no battery or power source, and nearly no moving parts. The source of power comes directly from the radio waves (which is a low-power, low frequency light wave) themselves.