This is a recording of a recent live teleclass I did with thousands of kids from all over the world. I’ve included it here so you can participate and learn, too! (Click here if you’re looking for the more recent version that also includes Chemical Engineering.)


When you think of slime, do you imagine slugs, snails, and puppy kisses? Or does the science fiction film The Blob come to mind? Any way you picture it, slime is definitely slippery, slithery, and just plain icky — and a perfect forum for learning real science. But which ingredients work in making a truly slimy concoction, and why do they work? Let’s take a closer look…


Materials:


  • Sodium tetraborate (also called “Borax” – it’s a laundry whitener) – about 2 tablespoons
  • Clear glue or white glue (clear works better if you can find it) – about 1/2 cup
  • Yellow highlighter
  • Pliers or sharp razor (with adult help). (PREPARE: Use this to get the end off your highlighter before class starts so you can extract the ink-soaked felt inside. Leave the felt inside highlighter with the end loosely on (so it doesn’t dry out))
  • Resuable Instant Hand Warmer that contains sodium acetate (Brand Name: EZ Hand Warmer) – you’ll need two of these
  • Scissors
  • Glass half full of COLD water (PREPARE: put this in the fridge overnight)
  • Mixing bowl full of ice (PREPARE: leave in freezer)
  • Salt
  • Disposable aluminum pie place or foil-wrapped paper plate
  • Disposable cups for solutions (4-6)
  • Popsicle sticks for mixing (4-6)
  • Rubber gloves for your hands
  • Optional: If you want to see your experiments glow in the dark, you’ll need a fluorescent UV black light (about $10 from the pet store – look in cleaning supplies under “Urine-Off” for a fluorescent UV light). UV flashlights and UV LEDs will not work.
Please login or register to read the rest of this content.

When I was in 10th grade, my teammate and I designed what we thought was pretty clever: a superconductor roller coaster, which we imagined would float effortlessly above its magnetic track. Of course, our roller coaster was only designed on paper, because yttrium barium copper oxide ceramics had only just been discovered by top scientists.


Did you notice how it was smoking in the video? That’s because it was so cold! The usual problem with superconductors is that they need to be incredibly cold in order to exhibit superconductive properties.  Yttrium barium copper oxide (YBa2Cu3O7) was the first compound that used liquid nitrogen for cooling, making superconductors a lot less expensive to work with – you no longer needed a cryogenic lab in order to levitate objects above a magnet.


Recently, scientists have found a way to make an amazing superconductor by taking a single crystal sapphire wafer and coating it with a thin (~1µm thick) ceramic material (yttrium barium copper oxide). Normally, the ceramic layer has no interesting magnetic or electrical properties, but that’s when you’re looking at it at room temperature. If you cool this material below -185ºC (-301ºF), it turns out that the ceramic material becomes a superconductor, meaning that it conducts electricity without resistance, with no energy loss. Zero. That’s what makes it a ‘superconductor’.


To further understand superconductivity, it’s helpful to understand what normally happens to electricity as it flows through a wire. As you may know, energy cannot be created or destroyed, but can be changed from one form to another.


In the case of wires, some of the electrical energy is changed to heat energy. If you’ve ever touched a wire that had been in use for a while, and discovered it was hot, you’ve experienced this. The heat energy is a waste. It simply means that less electricity gets to its final destination.


This is why superconductivity is so cool (no pun intended.) By cooling things down to temperatures near absolute zero, which is as low as temperatures can get, you can create a phenomenon where electricity flows without having any of it converted to heat.


Why do superconductors float above magnets?

Scientists also figured out that superconductors and magnetic field really do not like each other. The Meissner effect happens when a superconductor expels all its magnetic fields from inside.


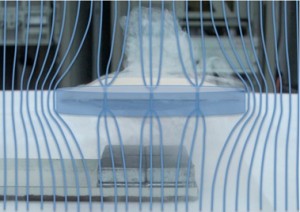
However, if you make your superconductor thin enough, you can get the magnetic field to penetrate in discrete quantities (this is real quantum physics now) called flux tubes (the blue lines that go through the disc).


Inside each of the magnetic flux tubes, the superconductivity is destroyed, but the superconductor tries to keep the magnetic tubes pinned in weak areas and any movement of the superconductor itself (like if you pushed it) causes the flux tubes to move, and this is what traps (or locks) the superconductor in midair.


If you’d like to experiment with superconductors yourself, check out this information.


Chemical Data & Safe Handling Information Sheet

What do I really need to know first? First of all, the chemicals in this set should be stored out of reach of pets and children. Grab the chemicals right now and stuff them in a safe place where accidents can’t happen. Do this NOW! When you’re done storing your chemicals out of reach, come back and download this Chemical Safety Sheet AND watch this video.


Click here to Download the Chemical Safety Information!

[/am4show]


If you’ve ever burped, you know that it’s a lot easier to do after chugging an entire soda. Now why is that?


Soda is loaded with gas bubbles — carbon dioxide (CO2), to be specific. And at standard temperature (68oF) and pressure (14.7 psi), carbon dioxide is a gas. However, if you burped in Antarctica in the wintertime, it would begin to freeze as soon as it left your lips. The freezing temperature of CO2 is -109oF, and Antarctic winters can get down to -140oF. You’ve actually seen this before, as dry ice (frozen burps!).


Carbon dioxide has no liquid state at low pressures (75 psi or lower), so it goes directly from a block of dry ice to a smoky gas (called sublimation). It’s also acidic and will turn cabbage juice indicator from blue to pink. CO2 is colorless and odorless, just like water, but it can make your mouth taste sour and cause your nose to feel as if it’s swarming with wasps if you breathe in too much of it (though we won’t get anywhere near that concentration with our experiments).


The triple point of CO2 (the point at which CO2 would be a solid, a liquid, and a gas all at the same time) is around five times the pressure of the atmosphere (75 psi) and around -70oF. (What would happen if you burped then?)


What sound does a fresh bottle of soda make when you first crack it open? PSSST! What is that sound? It’s the CO2 (carbon dioxide) bubbles escaping. What is the gas you exhale with every breath? Carbon dioxide. Hmmm … it seems as if your soda is already pre-burped. Interesting.


We’ll actually be doing a few different experiments, but they all center around producing burps (carbon dioxide gas). The first experiment is more detective work in finding out where the CO2 is hiding. With the materials we’ve listed (chalk, tile, limestone, marble, washing soda, baking soda, vinegar, lemon juice, etc. …) and a muffin tin, you can mix these together and find the bubbles that form, which are CO2. (Not all will produce a reaction.) You can also try flour, baking powder, powdered sugar, and cornstarch in place of the baking soda. Try these substitutes for the vinegar: water, lemon juice, orange juice, and oil.


Materials:


  • baking soda
  • chalk
  • distilled white vinegar
  • washing soda
  • disposable cups and popsicle sticks
Please login or register to read the rest of this content.

If you’ve ever owned a fish tank, you know that you need a filter with a pump. Other than cleaning out the fish poop, why else do you need a filter? (Hint: think about a glass of water next to your bed. Does it taste different the next day?)

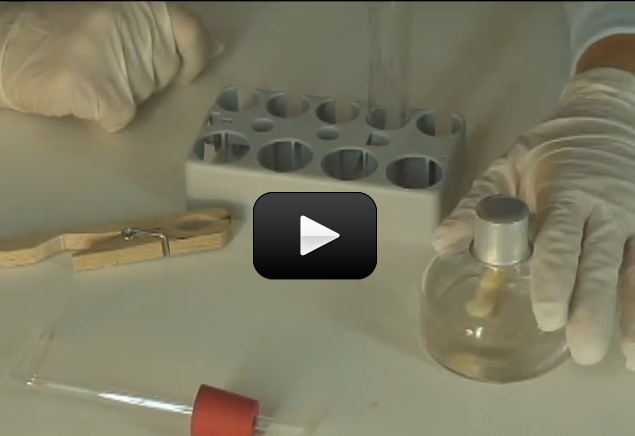
There are tiny air bubbles trapped inside the water, and you can see this when you boil a pot of water on the stove. The experimental setup shown in the video illustrates how a completely sealed tube of water can be heated… and then bubbles come out one end BEFORE the water reaches a boiling point. The tiny bubbles smoosh together to form a larger bubble, showing you that air is dissolved in the water.


Materials:


  • test tube clamp
  • test tube
  • lighter (with adult help)
  • alcohol burner or votive candle
  • right-angle glass tube inserted into a single-hole stopper
  • regular tap water
Please login or register to read the rest of this content.

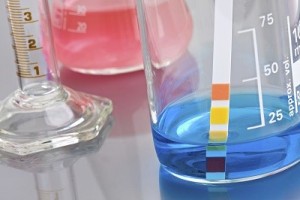
If you had a choice between a glass of lemon juice or apple juice, most folks would pick the sweeter one – apple. Did you know that apples are loaded with malic acid, and are actually considered to be acidic? It’s just that there is so much more sugar in an apple than a lemon that your taste buds can be fooled. Here’s a scientific way (which is much more reliable) to tell how acidic something is.


Acids are sour tasting (like a lemon), bases are bitter (like unsweetened cocoa powder). Substances in the middle are more neutral, like water. Scientists use the pH (power of hydrogen, or potential hydrogen) scale to measure how acidic or basic something is. Hydrochloric acid registers at a 1, sodium hydroxide (drain cleaner) is a 14. Water is about a 7. pH levels tell you how acidic or alkaline (basic) something is, like dirt. If your soil is too acidic, your plants won’t attract enough hydrogen, and too alkaline attracts too many hydrogen ions. The right balance is usually somewhere in the middle (called ‘pH neutral’). Some plants change color depending on the level of acidity in the soil – hydrangeas turn pink in acidic soil and blue in alkaline soil.


There are many different kinds of acids: citric acid (in a lemon), tartaric acid (in white wine), malic acid (in apples), acetic acid (in vinegar), and phosphoric acid (in cola drinks). The battery acid in your car is a particularly nasty acid called sulfuric acid that will eat through your skin and bones. Hydrochloric acid is found in your stomach to help digest food, and nitric acid is used to make dyes in fabrics as well as fertilizer compounds.


Please login or register to read the rest of this content.

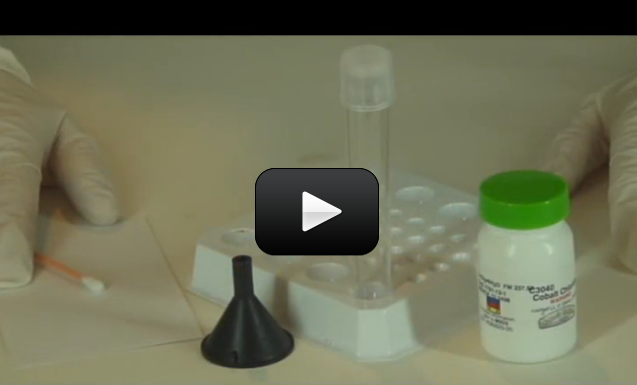
Cobalt chloride (CoCl2) has a dramatic color change when combined with water, making it a great water indicator. A concentrated solution of cobalt chloride is red at room temperature, blue when heated, and pale-to-clear when frozen. The cobalt chloride we’re using is actually cobalt chloride hexahydrate, which means that each CoCl2 molecule also has six water molecules (6H2O) stuck to it.


Please login or register to read the rest of this content.

I have tried for years to make whole wheat bread from scratch, but my loaves usually wound up as hockey pucks or door stops. Although my house always smelled great, my family could never choke down the crumbs of my latest creation. That’s when I enrolled in a bread-making class. Guess what I found out?
Please login or register to read the rest of this content.


If you love the idea of mixing up chemicals and dream of having your own mad science lab one day, this one is for you. You are going to mix up each solid with each liquid in a chemical matrix.

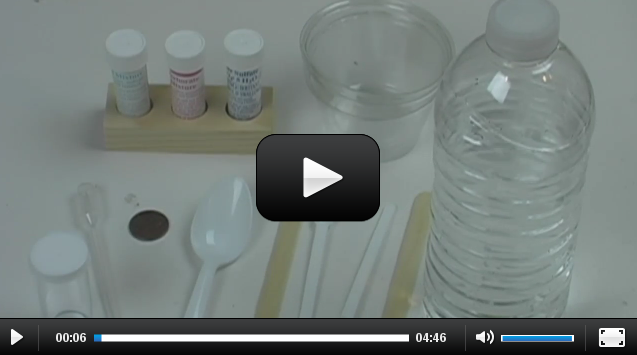
In a university class, one of the first things you learn in chemistry is the difference between physical and chemical changes. An example of a physical change happens when you change the shape of an object, like wadding up a piece of paper. If you light the paper wad on fire, you now have a chemical change. You are rearranging the atoms that used to be the molecules that made up the paper into other molecules, such as carbon monoxide, carbon dioxide, ash, and so forth.


How can you tell if you have a chemical change? If something changes color, gives off light (such as the light sticks used around Halloween), or absorbs heat (gets cold) or produces heat (gets warm), it’s a chemical change.


What about physical changes? Some examples of physical changes include tearing cloth, rolling dough, stretching rubber bands, eating a banana, or blowing bubbles.


About this experiment: Your solutions will turn red, orange, yellow, green, blue, purple, hot, cold, bubbling, foaming, rock hard, oozy, and slimy, and they’ll crystallize and gel — depending on what you put in and how much!


This is the one set of chemicals that you can mix together without worrying about any lethal gases.  I do recommend doing this OUTSIDE, as the alcohol and peroxide vapors can irritate you. Always have goggles on and gloves on your hands, and a hose handy in case of spills. Although these chemicals are not harmful to your skin, they can cause your skin to dry out and itch. Wear gloves (latex or similar) and eye protection (safety goggles), and if you’re not sure about an experiment or chemical, just don’t do it. (Skip the peroxide and cold pack if you have small kids.)


Materials:
• sodium tetraborate (borax, a laundry whitener)
• sodium bicarbonate (baking soda)
• sodium carbonate (washing soda)
• calcium chloride (also known as “DriEz” or “Ice Melt”)
• ammonium nitrate (single-use disposable cold pack)
• isopropyl rubbing alcohol
• hydrogen peroxide
• acetic acid (distilled white vinegar)
• water
• liquid dish soap (add to water)
• muffin tin or disposable cups
• popsicle sticks for stirring and mixing
• tablecloths (one for the table, another for the floor)
• head of red cabbage (indicator)


Please login or register to read the rest of this content.

When you chill helium, nothing changes until it gets extremely cold. It remains a gas until it reaches a temperature below 5 Kelvin (-267.960 Celsius, -450.3280 Fahrenheit) at a pressure of 2.24 atm (227kPa).


1908 Heike Onnes cooled helium to below 5 Kelvin. At this temperature helium turns into a liquid. He could not solidify it by cooling it further because helium does not have a triple point temperature where solid, liquid, and gas phases are in equilibrium with one another. In 1906, solid helium was created by subjecting helium to a pressure of 25 atmospheres at a temperature below 1K.


At temperatures close to absolute zero, helium does not exhibit any viscosity. This makes helium, under those conditions, something called a superfluid.


Please login or register to read the rest of this content.

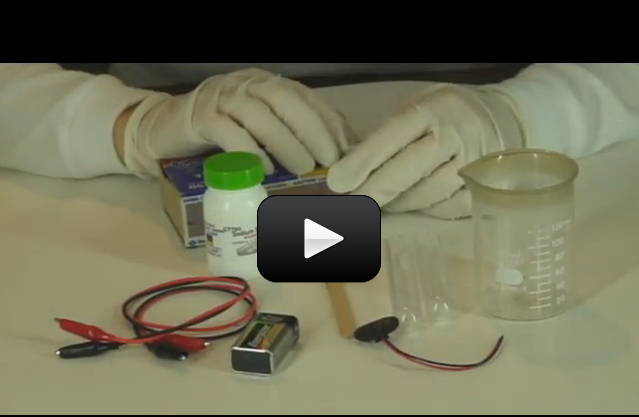
This experiment is just for advanced students. If you guessed that this has to do with electricity and chemistry, you’re right! But you might wonder how they work together. Back in 1800, William Nicholson and Johann Ritter were the first ones to split water into hydrogen and oxygen using electrolysis. (Soon afterward, Ritter went on to figure out electroplating.) They added energy in the form of an electric current into a cup of water and captured the bubbles forming into two separate cups, one for hydrogen and other for oxygen.

This experiment is not an easy one, so feel free to skip it if you need to. You don’t need to do this to get the concepts of this lesson but it’s such a neat and classical experiment (my students love it) so you can give it a try if you want to. The reason I like this is because what you are really doing in this experiment is ripping molecules apart and then later crashing them back together.

Have fun and please follow the directions carefully. This could be dangerous if you’re not careful. The image shown here is using graphite from two pencils sharpened on both ends, but the instructions below use wire.  Feel free to try both to see which types of electrodes provide the best results.

Please login or register to read the rest of this content.


Glow sticks generate light with very little heat, just like the glow you see from fireflies, jellyfish, and a few species of fungi. Chemiluminescence means light that comes from a chemical reaction. When this happens in animals and plants, it’s called bioluminescence.


In a glow stick, when you bend it to activate it, you’re breaking a little glass tube inside which contains hydrogen peroxide (H2O2). The tube itself is filled with another chemical (phenyl oxalate ester and a fluorescent dye) that is kept separate from the H2O2, because as soon as they touch, they begin to react. The dye in the light stick is what gives the light its color.


Please login or register to read the rest of this content.